Friday, June 20, 2014

Cherry Pie Skirt on Tour!

Welcome to my blog for Day 2 of the Cherry Pie Skirt Tour!

image credit: PiePie Designs

If you haven't been to Crafty Hour before, hi! I hope you'll have a look around today. I'm Laura, a stay-at-home-mom to two boys (almost 7 and just 5) and one darling almost 3-year-old, Abigail, who's helping out today.


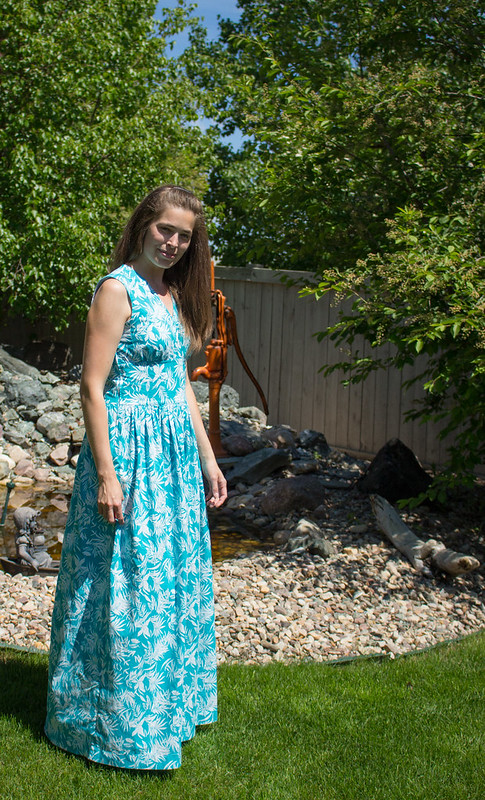
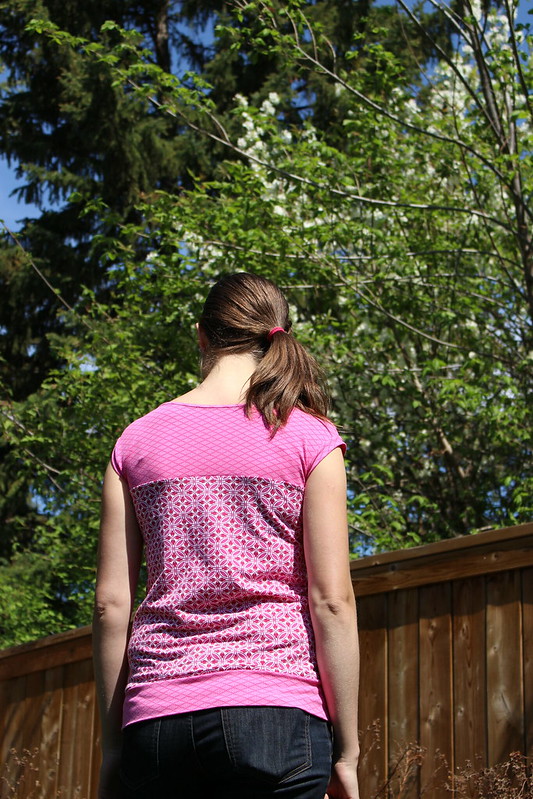
I've been sewing since I was 5 or so - really seriously just the last 8 years. I like to dabble in other handcrafts but always come back to my machines. My little lady has made the last 2.5 years of sewing so much fun! Ruffles! And lace. And colour! But today is not about colour - my version of the Cherry Pie skirt is rather simple, maybe elegant?


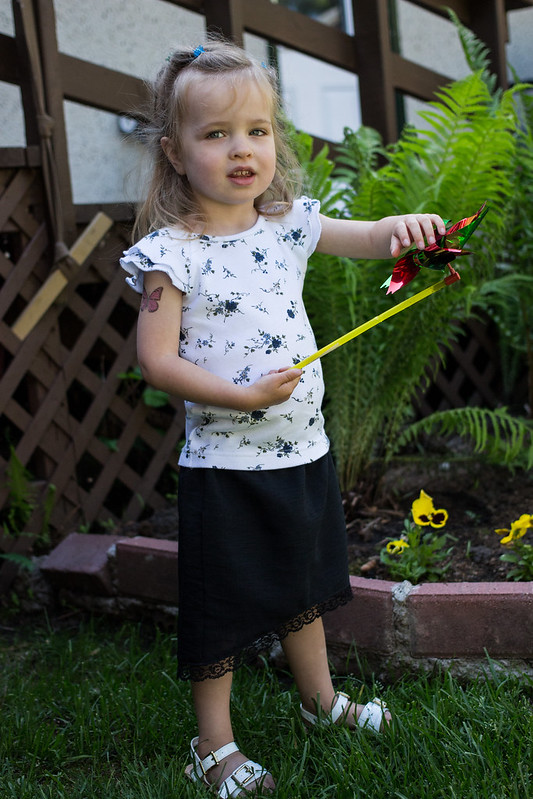
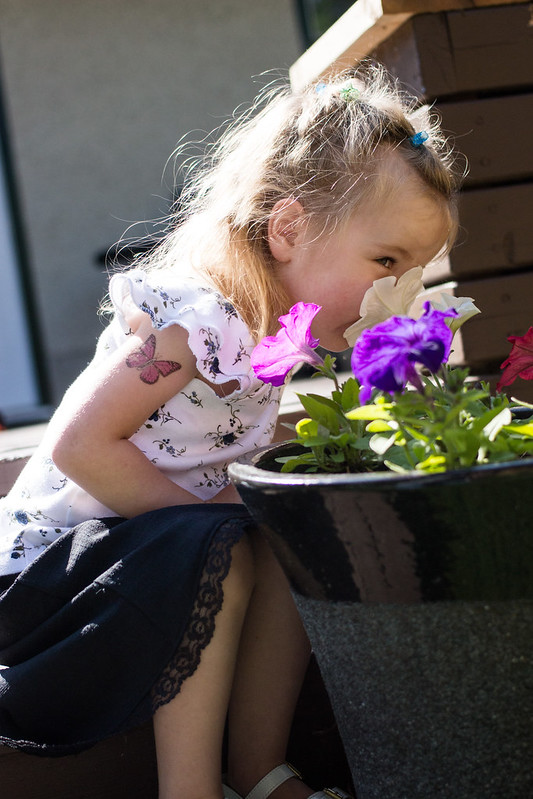
I had fun with this little project! From start to finish, it was under 2 hours to put together. The fabric is a drapey black suiting fabric, leftover from a skirt I made years ago (I knew there was a reason to save all those random pieces!). I added a lining inside because the fabric is a little bit sheer. I followed the pattern's option for lining, but cut the lining the shorter skirt length all around. For the hem, I just serged the raw edge and then stitched flat black lace around the hem, with the edges of the lace and the serged edge aligned. Then I flipped the lace down and topstitched all around the skirt.
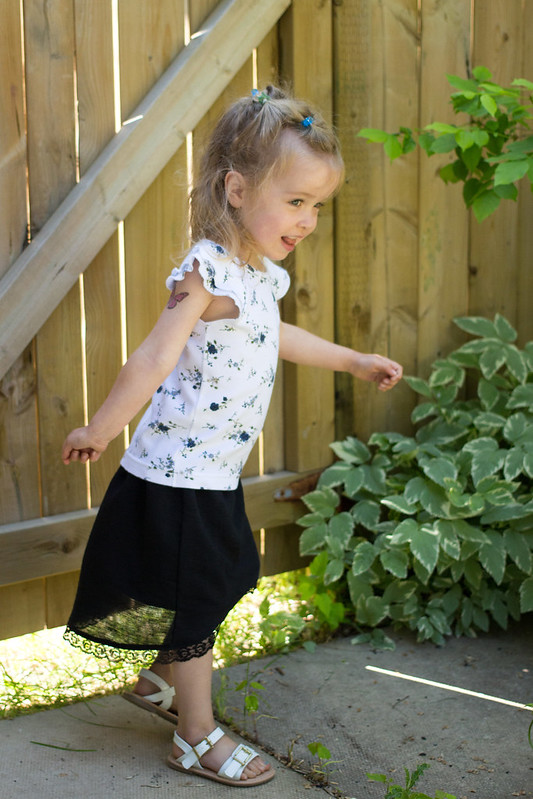
twirling!
Abigail loved it as soon as it came off the machine - but there was a problem. She had nothing suitable to wear with it! :p So I made up a quick little flutter-sleeve tank (adapted from the Streamline Tee pattern).


To celebrate the release of this new pattern, Lisa of PiePie Designs is giving away a copy of the pattern.

a Rafflecopter giveaway

If you don't win the pattern, you can get a copy for the introductory price of $5 until June 27th (after that it will be $7) from Lisa's Craftsy or Etsy shopsBe sure to visit the other stops in the pattern tour to see all the pretty options of this skirt on display and possibly win the pattern!


Friday, June 13, 2014

Crazy Love Rebecca Shift

Another dress for me! This is the Rebecca Shift Dress pattern by SisBoom, same pattern line as my Jenny maxi dress. I'm in love.


The fabric is Jo Ann in brown from the gorgeous Crazy Love line by Jennifer Paganelli, who together with Carla Hegeman Crim (the Scientific Seamstress) designed the SisBoom fabrics and patterns. 

I started with a muslin out of "ugly" fabric to get the size right and found out quickly that I needed to go down a size from what my measurements said I should be. The bodice is Medium 8 and the waistband and skirt are Medium 10. I used the "frankenpatterning" ideas included in the pattern to transition between the sizes. I nipped in the princess seams under the bust about 1/4" each, took the back darts in at the middle about 1/4" each, and took out an extra 1/4" on each side down the centre back, tapering out by the end of the zipper.


I chose to understitch the neck facing and armhole bias bands and then hand-tack them down inside for a neater finish, instead of the topstitching the pattern suggests. I also hand-stitched the facing over the top of the zipper.

Super happy with how the neckline notch just happened to end up inside a motif!


The pattern includes a unique way to get a zipper in perfectly - a gluestick! I used this method first on my Jenny dress and loved it. It was especially useful for this dress, with the symmetrical pattern! I switched to pink thread at the waistband when stitching in the zipper.


Hand hemmed to continue the invisible finishing. I think the last item I hand-hemmed was the little satin brocade dress I made for Abigail for my sister's wedding two years ago...


Best of all - when I walked upstairs wearing the finished dress, my husband was very impressed - he loves bold colours so I guess this was a good choice, even though very out there for me.


Linking up to SewJo Saturday!

Seashore Top by Gracious Threads (giveaway now closed)

****** Our winner for a copy of the Seashore Dress, Top & Tunic pattern is sntbosch ******


Last week I was able to test a new pattern by Jess from Gracious Threads, which she's releasing today as part of the Aspiring Designer's Summer Challenge.


The pattern is called the Seashore Dress, Top & Tunic. I did the straight skirt tunic option - in all there are five variations. Here's her description of the pattern:
This is a versatile pattern with 3 lengths and 2 skirt styles. The lace covered yoke and dainty cap sleeves can go from play to dress up, and the simple skirt design is perfect for showcasing special fabrics!


Fabric: The yoke is a cotton/poly blend eyelet with an underlining of white cotton and the skirt is a fat quarter of quilter's cotton (actually one we all were given at our quilt retreat this year!)

As usual with Gracious Threads patterns, it printed well and the directions were straightforward and clear. Aside from some fabric melting issues (cotton/poly blends when I'm used to good quality quilter's cotton), this little top was a breeze to put together. I used size 16 polyresin snaps at the shoulders instead of buttons, making it even easier.


Jess has graciously offered a copy of the Seashore Dress, Top & Tunic pattern to one of you! Enter the Rafflecopter giveaway below for a chance to win this sweet and versatile pattern.

a Rafflecopter giveaway

Look - I picked a pitty fower for you!


Monday, June 9, 2014

Jenny Maxi dress for moi!

Actually made this one in March, on time to take along to Mexico, but finally got proper photos yesterday! Nice weather is here, hopefully to stay!


Details
Pattern: Jenny Dress by SisBoom
Fabric: apparel weight cotton floral
Size: Large Tall, A cup, modest neckline option

I started out with a muslin and made just a few tweaks to the sizing, but the cotton I used for the muslin was a different weight and hand than my good fabric so I ended up needing to take it in a good deal. I originally used the cutting line for tall on the midriff piece but had to go down to regular as it seemed to sit wrong. Once I had the whole thing together and the zipper in I realized it was still roomy so had to take the sides in another 1/2" on each side. Next time I'll choose a smaller size to start, I think.


Very pleased with how it turned out, overall! It's very exciting to actually have a full-length dress, as a tall girl.


Monday, June 2, 2014

Mommy & Me!

I had a chance to test a pattern for my friend Jess (Gracious Threads) - the new Skylark Tank & Tee!


Such a fun little top, with a surprise at the back!


Super pattern! The pattern pieces are computer drawn and print out accurately. The photo tutorial style directions are simple to follow and contain some good tips and techniques for working with stretch fabrics. Since the testing phase, Jess has added some length to a few of the sizes - Abigail's is a tiny bit short on her.


I had a remnant of Patty Young's Heaven & Helsinki pink lattice jersey leftover from another project, and for the trim/back I used part of a ladies' tank top I found at a thrift sale. For 50¢ no less! I was able to cut the binding and back insert out of the shelf bra of the tank, leaving the main body for a shirt for me!


I drafted a pattern for myself based on a t-shirt that fits well, and then cut the top part out of the Patty Young print as a yoke and took in the sides of the original tank a bit. Simple bound neckline and banded cap sleeve edges made it super fast, and then I added a band at the bottom.


Love banded tees! They stay put nicely. Plus I'm tall, so nothing ever seems quite long enough. This one is juuuust barely, but I'm pretty happy with it.


YES! Sunshine after 4 days of rain and cloud! And I think we can safely say our two weeks of spring have arrived. Everything is green and all the trees and blooming. Hot weather coming up soon!