Showing posts with label tutorial. Show all posts

Saturday, May 16, 2015

Haven Acres Blouse turned tunic

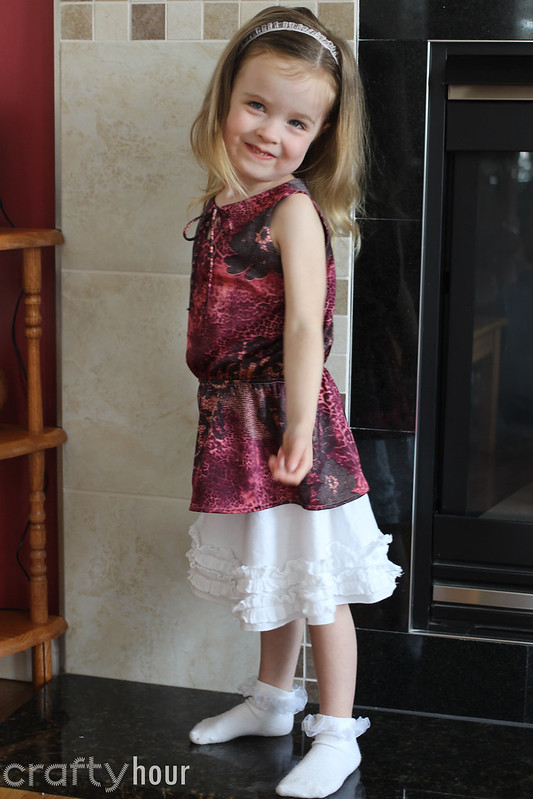
Here's another little garment I made for Abigail a couple of weeks ago. Finally getting around to posting my recent sewing.


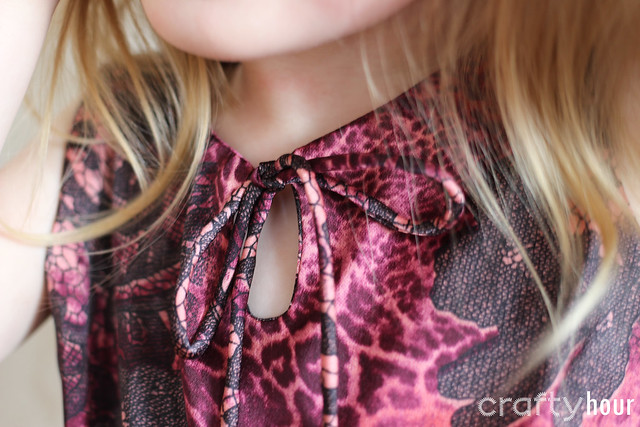
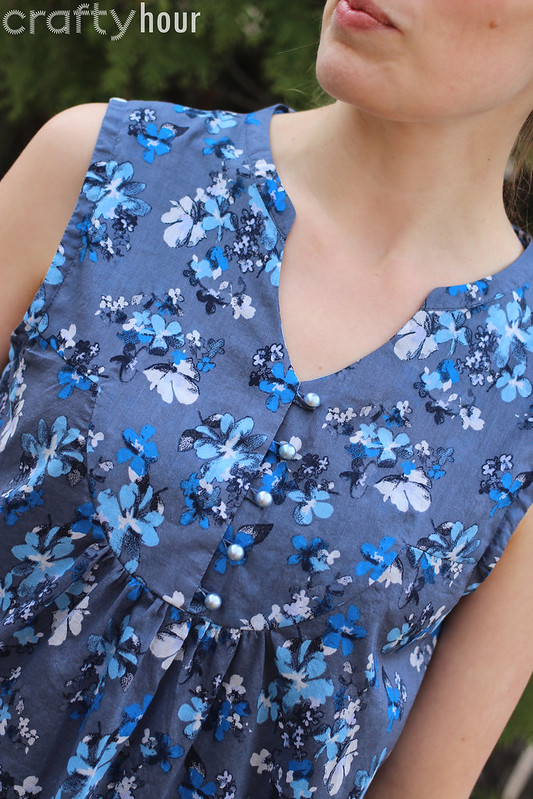
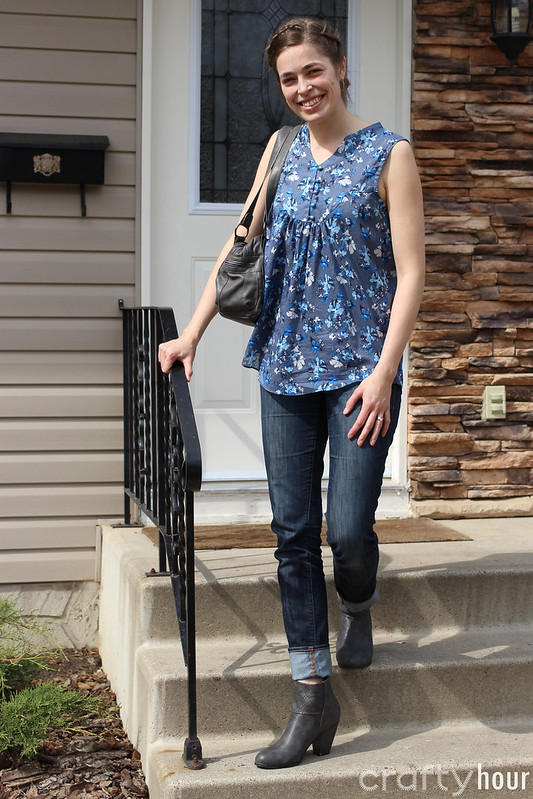
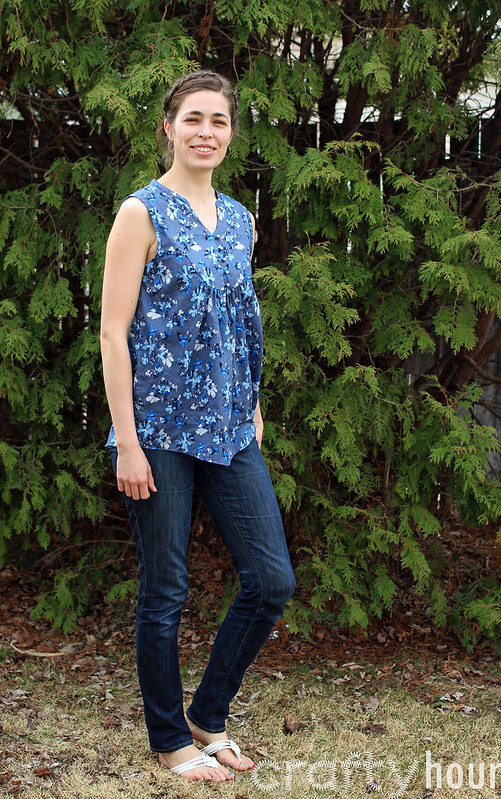
I had some scraps of this gorgeous fabric leftover from the tunic I made myself a couple of years ago that has been begging to become a Haven Acres Blouse. This time I mixed things up a little and made the blouse into a longer sleeveless tunic with a combined neck and armhole facing. You can find my tutorial for creating and sewing this kind of facing over at Sew So Easy.


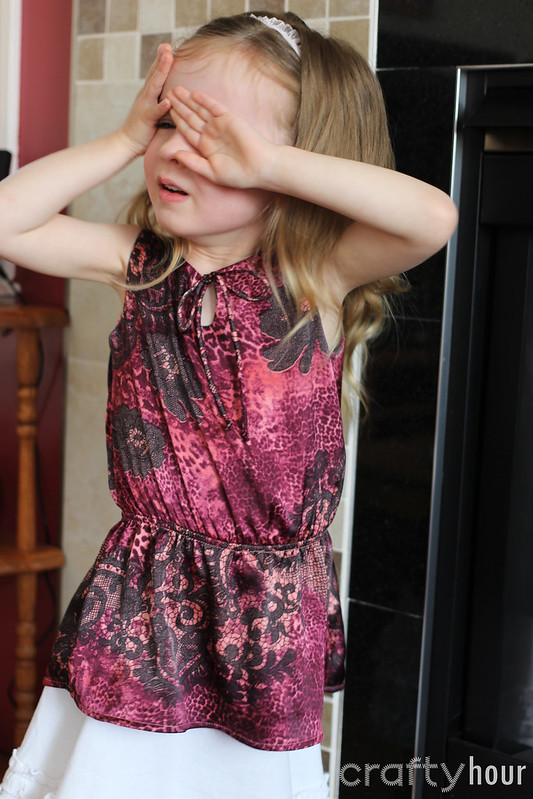
And one more photo, just because she's a goof and so cute and I love her!


Wednesday, May 13, 2015

Valencia Tunic - new release by Mouse House Creations

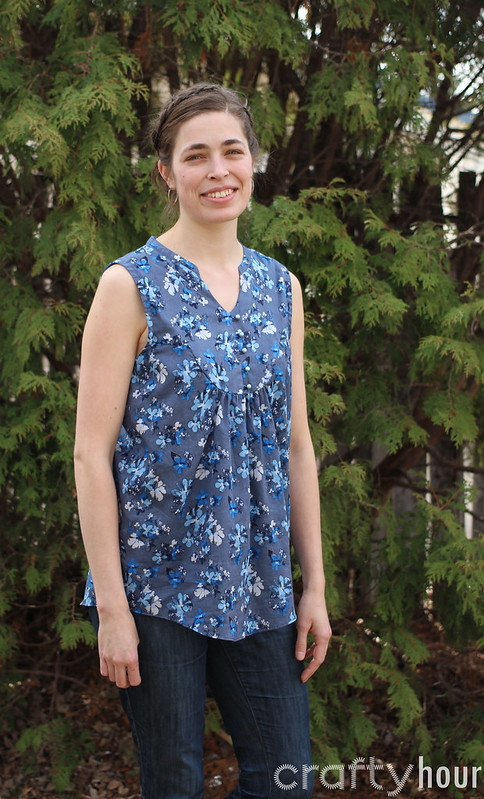
Recently I had the chance to test the new Valencia Tunic pattern for Mouse House Creations. Now that it has been released (and I have some time finally!) I can share!


I'm sharing a tutorial about working with sheer fabrics over at Sew Easy today - check it out to see some techniques and ideas you might not be familiar with to make working with lightweight fabrics simple.


The Valencia has an unique shaped yoke, a sweet little mandarin collar, soft gathers at the centre front and back, and a curved hem. The yoke can be made either lined or unlined, which also makes it a great pattern for choices like colour-blocking or a sheer lace top.


For this version I used a lightweight cotton silk and lined the yoke with the same fabric. I found the perfect pale blue pearlized shank buttons and to keep the delicate look, left the yoke free from topstitching.


I'm hoping to make a few more for this summer - such a sweet and breezy style to keep cool in! I think this version will be adorable with a pair of shorts too.


Wednesday, February 25, 2015

Spool Love Mug Rug

Come see me over on So Sew Easy this morning for a fun tutorial with a little paper-piecing! This cute little sewing-themed project is the perfect size to try out this technique, or it can be super quick if you have some experience.

EDIT April 2026 - Since the pattern is no longer available at the So Sew Easy website, I'm hosting the whole tutorial and pattern here!


I'm back with a tutorial to make this cute little Spool Love mug rug!  It's something a little different you might not have tried before – paper piecing.  This technique is used to piece odd shapes together with precision.

You can also use the paper-piecing pattern and tutorial to make multiple spools in a mini wall quilt or a table runner too! I'd love to see whatever you come up with.  Have your own sewing blog?  Please link back if you adapt it to create your own project.

Spool Love Mug Rug 


Download the paper-piecing spool pattern at this link.  (Be sure to print the pdf with no scaling)

Materials: You will need some scraps, as follows:

- background (gray), 1 about 4″ x 5″, 2 about 3″ x 1.5″, 4 about 1″ x 1.5″
- spool “thread” (pink or color of your choice), 2 about 3″ x 2″, 2 about 1″ x 3.5″
- spool top and base (faux bois), 2 about 3.5″ x 2″
- binding, about 25″ x 2.25″ wide
- batting (scrap about 6″ x 8″)
- backing (about 6″ x 8″)


You can roughly cut your scraps to the right sizes, or just hold them up on the back of the paper to make sure they will cover the area. So, starting with the spool centre piece, cut out the paper pattern piece (doesn't have to be exact). Hold your spool centre scrap up behind the paper to make sure it will cover the centre, labeled #1. It should be with the wrong side toward the paper back. Then take your next scrap, a background piece, and lay it right side facing the centre piece. You want to make sure it covers space #2 when it is stitched and folded out toward the side.


This next photo here shows pieces #1 and #2, right sides together, with the edges about 1/4″ over the line, ready for stitching. Now take the paper pattern piece with the two fabric scraps in position and, using a short stitch length, stitch down the line from the right side of the paper. Start a few stitches back from the end of the line, as you will need seam allowance at the top and bottom to stitch this unit to the next ones. Once stitched, press the background piece #2 away from the centre, and then repeat layering piece #3 on the other side of the centre.


Your middle unit is finished. Move on to either the top or bottom section. Take a scrap of whatever you're using for the spool ends (I used faux bois fabric for fun!) and make sure it will cover area #1. Take a scrap of the backing fabric and line it up to cover space #2 and #3, the corners. (Be sure it will cover the space once it's folded back – triangles can be tricky!) Stitch the two angled lines from the printed side, then trim the seam allowance to 1/4″ and press each corner open. With a scrap of your spool end fabric, piece section #4, trim the seam allowance, and press open. Repeat for the second spool end.


Now that all three units are pieced and pressed, trim each of them down to the dotted lines around the pattern piece. Then match the spool ends to the middle section. For precision, poke a pin through the spot where seams match. Stitch carefully along the line to join both spool sections to the middle. Then peel the paper off each section carefully. A shorter stitch length makes for more perforations, so it should be pretty easy to remove the paper. If needed, use tweezers to pull out any stubborn corner bits.


Press the whole spool block – your paper-piecing is done! Trim the unit to 3″x4″. Next, cut two strips of the backing fabric 1″x3″ and stitch to the top and bottom of the spool block. Press the strips away from the block. Cut one piece of the background fabric to 4″x5″ and stitch to the side of the completed spool unit. Press seam. Your mug rug top is finished! Trim to 5″x6.5″. Layer the mug rug top, scrap of batting, and the backing fabric and baste.


Now you get to have fun quilting your little mug rug! I chose to stitch in the ditch around the spool ends and then free motion some “thread” around the spool, leading into a word.

TIP – use an erasable marker to draw out your word or design so you can follow the writing as you sew and then erase it afterward.


The last step is to trim the excess batting and backing and bind the mug rug. If you're looking for a good tutorial on binding, the last part of my Wonky Stars Mug Rug tutorial has one.

Your sweet mug rug is finished and ready to keep your sewing table clean and your mug happy!


Tuesday, December 9, 2014

Wonky Stars and Snowy Forests

Getting excited about the holidays yet? I'm featured on So Sew Easy with a tutorial to make this Wonky Star Mug Rug.    
                UPDATE: or jump to the tutorial hosted right here!


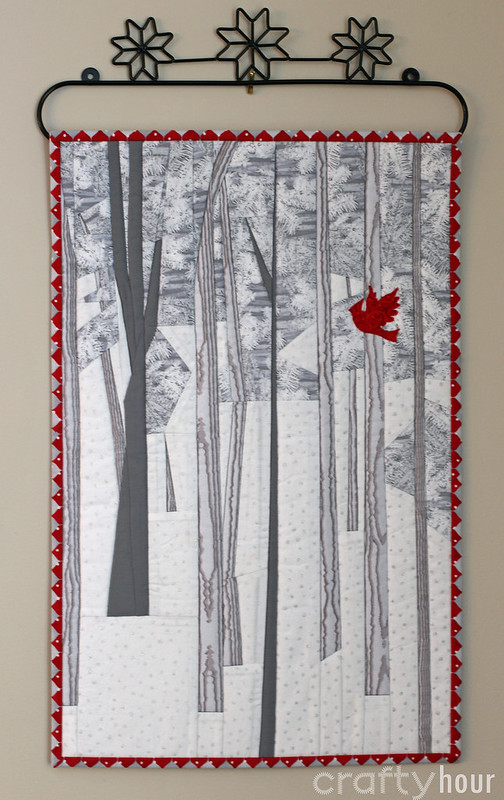
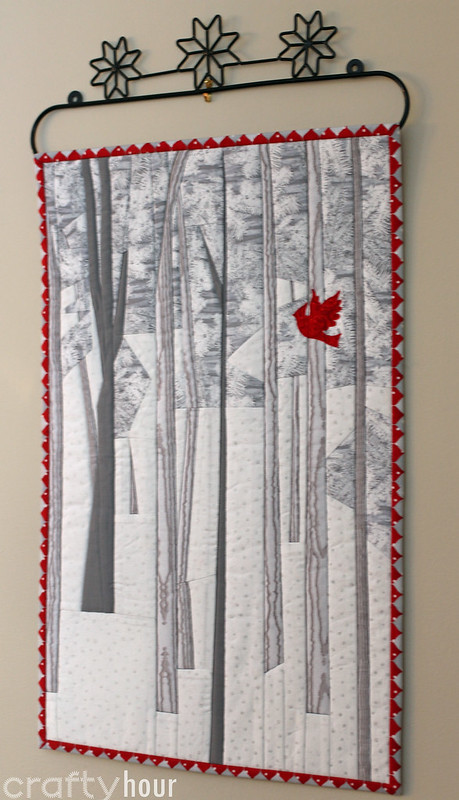
I've been working on a bit of abstract "art" the last couple of weeks, using the rest of the fabrics from that mug rug!


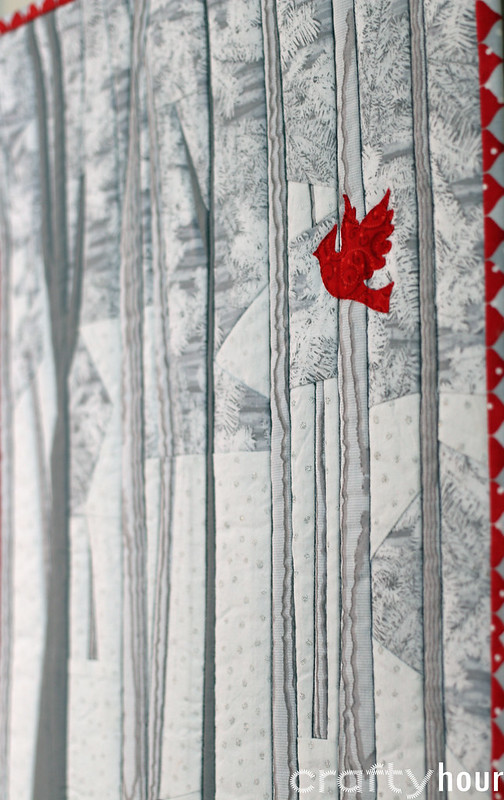
Years ago I pinned this gorgeous paper-pieced block by Trillium Designs, thinking it would make a beautiful full-sized quilt, if only I could find the right scale of prints. I printed the pattern for the block, enlarged to 175%, redrew all the seam allowances back to 1/4", and then just started piecing. I mixed and matched strips to get a long, narrow forest of birch trees.


The gray/white branch fabric and the binding are from the Holiday Cheer line by Jan Shade Beach, as is the pretty red print for the raw-edge appliquéd cardinal. The wood grain and "snow" (glitter polkadot) fabrics are just from Fabricland.


I found the cutest wall quilt hanger at a local quilt shop and made a simple sleeve for it, just a 2.5" strip with both raw edges sewn into the binding and then handstitched onto the backing.


Now for the Wonky Stars mug rug - wouldn't it make a perfect gift tucked into a stocking, or mailed in place of a Christmas card??


Obviously this one is a Christmas-themed one, but you could use another colour palette for another occasion. The Wonky Star block was the first quilt block I was really interested in two years ago – I made a quilt with 6″ and 12″ wonky stars as one of my first quilted projects.

Materials:
- Scraps of coordinating fabrics – I used a few prints from the Holiday Cheer line by Jan Shade Beach
- Coordinating fabric strip for binding
- White or other solid background
- Small scrap of batting
- Backing fabric
- Embroidery floss in coordinating colours

The finished dimensions of this little mug rug are 4.5″ x 6.5″. It's based on a 1″x1″ grid (finished squares), so if you want to scale up you can figure out the math. For instance, you could add 1/4″ to each piece and end up with a mug rug that was 5.5″ x 8″. So first, we're going to cut out 16 white squares at 1.5″ x 1.5″. Then cut 5 squares, one for the centre and four for the star points, at 1.5″ x 1.5″ of both feature fabrics (the red and gray). (If you want a little more room to play with the wonkiness of each star, cut 4 of the squares at 2″ x 2″)


Now cut all but one of each set of coloured squares in half, from corner to corner, to make triangles. The remaining two full squares will be the centre of each star.


Lay out 8 of the white or background squares, and lay 4 triangles of each colour over them, right sides together. You will be sewing the long edge of the triangle to the white square to make one point of the star. Be sure before you sew that the triangle will cover the square below once you flip it open. To get the wonky effect, try to make sure the angles are different for each.


Now trim the white square below and press the triangle open.


Now for the second star points. Place the remaining triangles on each unit in the same way, stitch, trim, and press open.


Use your quilting ruler to square up each set of star points. They should measure 1.5″ x 1.5″ inches. Ideally, there should be 1/4″ seam allowance at the base of each unit where the star points join, so when you stitch them to the centre square you don't have a gap between the points. So you can actually trim a little more off the white edge than the star edge to help achieve this.


Arrange the star point blocks around the centre square likes this:


Then sew each row of squares together. Press the two outside rows with the seams toward the outer edge, and the centre row with the seams toward the middle block. This way the seams will nest when you sew the rows together.


Now sew the three rows together, and press the seams. Your wonky star block is complete! Repeat steps for the second block. Each block should measure 3.5″ x 3.5″.


Now to complete your mug rug top, cut two 1.5″ x 3.5″ strips of white and lay the blocks out like this:


Sew one star block to one strip and press the seam toward the strip. Repeat for the second block and strip.


Sew the two halves of the mug rug together and press the seam. Your mug rug top is complete. It should measure 4.5″ x 6.5″.


Layer the mug rug top with the batting and backing and pin or baste the three layers together. Now you're ready to quilt!


I chose to do a simple running stitch around my stars with embroidery floss. You could also machine quilt this. Once you're finished, remove any basting stitches and trim the batting and backing.


To bind the mug rug, cut a strip 2″ wide by about 24″. Fold the strip in half, wrong sides together and press. Fold one end of the binding strip 1/4″ under and press. Begin stitching the binding strip, raw edges matching the mug rug, leaving the folded end free, with 1/4″ seam allowance.


When you get to the first corner, stop stitching at the 1/4″ mark, pivot, and sew down to the corner.


Cut your thread and flip the binding up at right angles away from the mug rug, like this:


Then fold it back down with the raw edges matching again. You'll have a nice square corner.


Start stitching 1/4″ in from the end, so you don't catch the fold in your stitching. Repeat for all the corners.


When you get the end, trim the binding strip and slip it inside the beginning of the binding. Finish sewing the binding down.


Now fold the binding to the back and slipstitch it down. Fold the corners to mitre at the back the same way as they are on front.


And you're done! 


Brew yourself a cup of tea or coffee and enjoy your pretty Christmas mug rug – or send it to a friend in the mail instead of a Christmas card!


Monday, December 8, 2014

Michael Miller's 7th Day of Christmas - skirt tutorial

Merry Christmas! 


I'm excited to be part of Michael Miller's 12 Days of Christmas! They kindly sent a selection of fabrics from their new line, All the Trimmings (coming soon!) for me to play with. I fell in love with the sweet owls cuddling in a tree, and so did my little Abigail.


It wasn't hard to come up with a fun combination of fabrics from the same line to use for this yoked skirt with elastic waistband, ruffle and "ribbon" and bow!


Of course, her brothers needed a little something to coordinate! Bowties, using the free SisBoom Bosco Bowtie pattern.


Wanna make your own little lady this cute ruffley skirt? Michael Miller Fabrics has lots of fun holiday themed coordinating fabrics to choose from!


What you'll need:
  • main fabric (I used All The Trimmings Christmas Lovebirds Winter)
  • fabric for the yoke and trim (Candy Cane Stripe Santa)
  • fabric for ruffle (All The Trimmings Tangly Lights Candy)
  • 3/4-1” wide non-roll elastic
  • Thread and other sewing supplies
NOTES:
  • All seam allowance 3/8" unless specified.
  • Finish seams with your preferred method, such as zigzagging or serging the seam allowance.
  • I've done the math for all the sizes based on finished skirt measurements - you will be best checking your child's waist measurement and the skirt length, and then you can make any adjustments necessary.
Size
Approximate waist
Elastic cutting measurement
Skirt length
6-12 months
16”
15.5”
9.5”
12-18 month
16.5”
16”
10.5”
2T
17”
16.5”
11.5”
3T
18”
17.5”
12.5”
4T
19”
18.5”
13.5”
5T
20”
29.5”
14.5”
6T
21”
20.5”
14.5”


Yardage

Fabric 1
Fabric 2
Fabric 3
Size 6mo-3T
1/4 yd
1/4 yd
1/4 yd
Size 4T-6T
1/2 yd
1/4 yd
1/4 yd


Prepare your fabric. It’s important to prewash and dry the fabric the same way you will be caring for the garment. Once it’s washed, press and lay it out to cut the following:


Cutting Chart

Fabric 1
Fabric 2
Fabric 3

Main skirt (cut 1)
Waistband (cut 1)
Trim (cut 1)
Bow (cut 1 each)
Ruffle (piece to make your measurement)
6-12 mo
5” x 30”
4” x 20”
2.5” x 31”
all sizes:
5” x 6”
and
2.5” x 3”
2.5” x 44”
12-18 mo
5” x 31”
5” x 20.5”
2.5” x 32”
3” x 47”
2T
7” x 32”
5” x 21”
2.5” x 33”
3” x 49”
3T
8” x 33”
5” x 22”
2.5” x 34”
3” x 51”
4T
9” x 34”
6” x 23”
2.5” x 35”
3” x 53”
5T
10” x 35”
6” x 24”
2.5” x 36”
3” x 55”
6T
11” x 36”
6” x 25”
2.5” x 37”
3” x 57”

Let's start with the main skirt. Take the main skirt piece (fabric 1) and stitch the short ends together, right sides facing. Finish the seam. Repeat this for the ruffle (fabric 3), piecing together your strips to make the required length. Press each seam to one side.


Make a narrow hem on the ruffle by pressing 1/8" toward the wrong side, then folding 1/8" more and stitching.


Run two rows of basting stitches along the top edge of the ruffle strip and pull up to gather.


Take the main skirt piece and pin the ruffle to the bottom edge, right sides together, pulling the basting threads to make them match. Pin well.


Stitch the skirt and ruffle together and finish the seam.


Press the seam up toward the skirt.


Take your bow piece (fabric 2) and fold in half so that the two 5" ends match, right sides together. Sew this seam, leaving a gap for turning about 1.5" at the centre, backstitching to reinforce each line of stitching.


Roll the tube you now have so the seam is centred, then press the seam open (this seam doesn't need finishing as it will be enclosed).


Now stitch each end closed, then trim each corner at an angle, taking care not to cut through the stitching.


Take the bow loop piece and fold it so the 3" ends are matching, right sides together and stitch.


Turn both bow pieces right side out and press each, centering the seam on the smaller piece.


Accordion fold the bow piece to make a pleasing bow and use a pin to keep it together for now.


Take the loop piece and wrap it around the bow and trim if necessary, then stitch the ends together and finish.


Turn the seam inside and press.


Accordion fold one end of the bow to feed it through the loop. Arrange the loop so that the seam is toward the back.


Now take your trim piece (fabric 2) and sew it into a long tube, right sides together. Turn it right side out, using a tube turner or a safety pin. Press with the seam centred.


Lay it out around the hem of the skirt to see how long it needs to be, mark and trim if necessary. Stitch the ends together.


Press the seam open. Topstitch one edge of the trim loop.


Now lay your finished loop of trim around the skirt. I chose to centre the seam where I wanted my bow, right next to a pair of cuddling owls, off-centred on the front of the skirt. Pin it carefully in place over the ruffle and topstitch in place.


Place your bow over the seam and handstitch in place.


Nearly done! Take your waistband (wider strip of fabric 2) and bring the short ends together, right sides facing. Stitch together, leaving a 1" opening near the end (to thread your elastic through), and then stitch the last approximately 3/8" again, reinforcing at each stop and start.


Finish each side of the seam separately and then press the seam open.


Finish the edge nearest the gap. Now fold that edge down enough to make a casing for your elastic. Topstitch the edge and stitch down the casing.


Gather the top edge of the skirt to match the waistband piece as described above. Stitch and finish the seam, then press it up toward the waistband.


Insert your elastic in the gap in the casing, using a large safety pin or bodkin to pull it through. Then overlap the ends by about 1/2", stitch together, and pull the elastic into the casing.


Handstitch the opening in the casing closed - and you're finished!


Enjoy your pretty skirt! And maybe try a matching bowtie from the scraps. :)


And just to show how much fun (hah) it was to try get photos of three wiggly kids, here are a few outtakes:


(thank goodness for leggings!)