Showing posts with label girl. Show all posts

Tuesday, March 28, 2017

Gracious Threads Swimwear

I've had some trouble finding ready-to-wear swimsuits for Abigail. She is wearing size 5 or 6 for length, but everything sags, gapes, or falls off her very slim body! A while ago I measured her for a pattern and realized she has the same measurement for chest, waist and hips - which would be why everything slides off... So sewing it is (though why that is my last resort, I'm not sure! lol)

I found a really cheap rasher shirt at a (ahem) big box store for $7 and it was SPF50 fabric, so figured I couldn't sew for that. That was my starting point for a couple of swim sets.


First is the skirted bottom, made from Gracious Threads' Eclipse Tankini set. I made size 3. The tankini top has the peplum in the pattern, so I just took the waist cutting line from the size down and sandwiched the skirt between the waistband and the bottoms - worked perfectly!


Enclosed seams on swim bottoms
Here's something fun I learned the last bottoms that I sewed for myself! You know how the gusset seam of swim bottoms can be enclosed by sandwiching between the front outer and front lining of the suit? The same can be done with the side seams! This is a quick little mini tutorial on how to accomplish this.


It was a bit tricky to show this well so I took a quick video to hopefully make it a bit clearer.


Next up is also a Gracious Threads pattern, the Swim & Surf Shorts. I think this pattern is genius! Perfect for a little girl (or a big one, like me, for that matter!) Swim bottoms with attached shorts. Exactly what she needs for playing in the sand and a little extra coverage from the sun.  I'll update this post to include once they are finished!


Wednesday, September 21, 2016

Hello, Fall!

Whew! It has been too long. Spring and Summer flew past, full of family times and just life.  Now my front steps look like Fall, the kids are back in school, with my baby going to part-time kindergarten (!), and schedules and routines have started again.


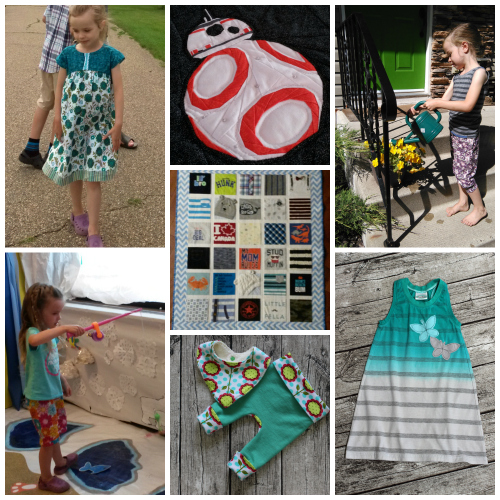
I've had a little time here and there to sew since my last post, but not a lot of time for taking proper photos and blogging. Here's just a few of those projects:


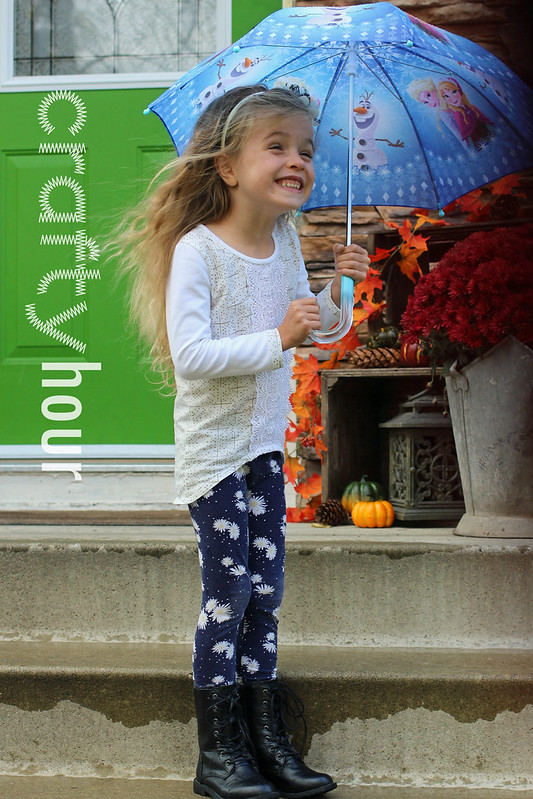
I'm hoping to be more regular with sewing now that baby girl is in school part time. My quick start is this pretty Raindrop Tee:


Details
Pattern: Raindrop Tee by Gracious Threads
Size: 5
Fabric: White/gold is a tee-shirt of mine that didn't fit well, white is cotton lycra, white guipure lace.
Mods: Cut the neck binding 2" longer than the pattern states, added folded cuffs as there was not enough fabric for sleeves otherwise.

She is so excited I was sewing for her again!


Tuesday, August 11, 2015

Roses for another wedding

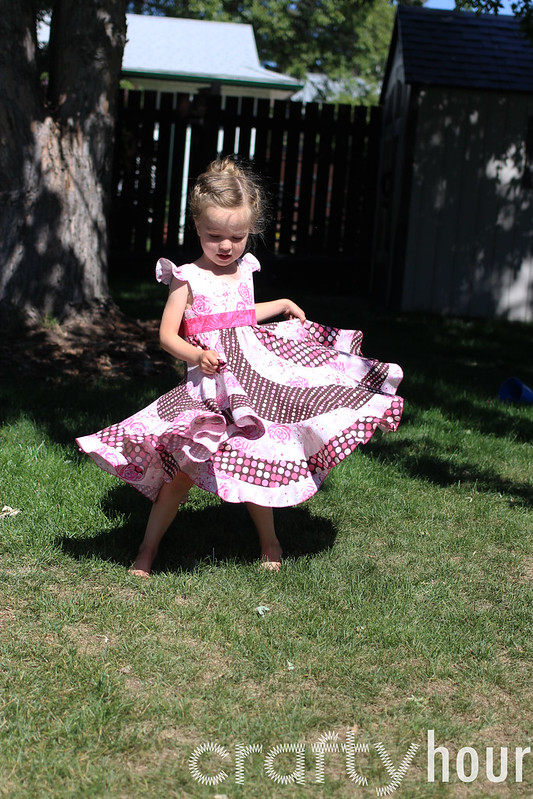
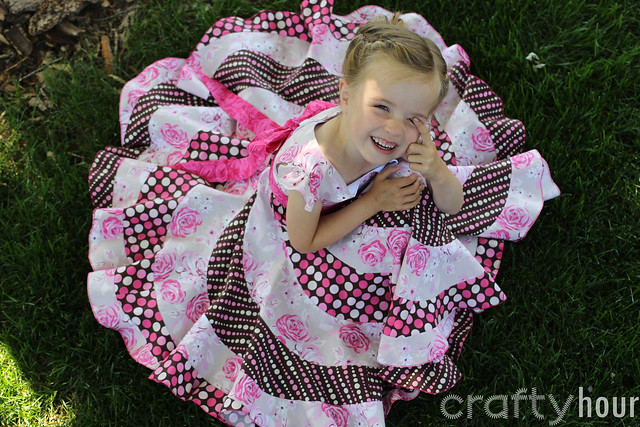
Another sister is getting married toward the end of the month! I finally got brave and tackled the Candy Castle Peppermint Swirl Dress pattern that's been on my wishlist since before Abigail was even walking!


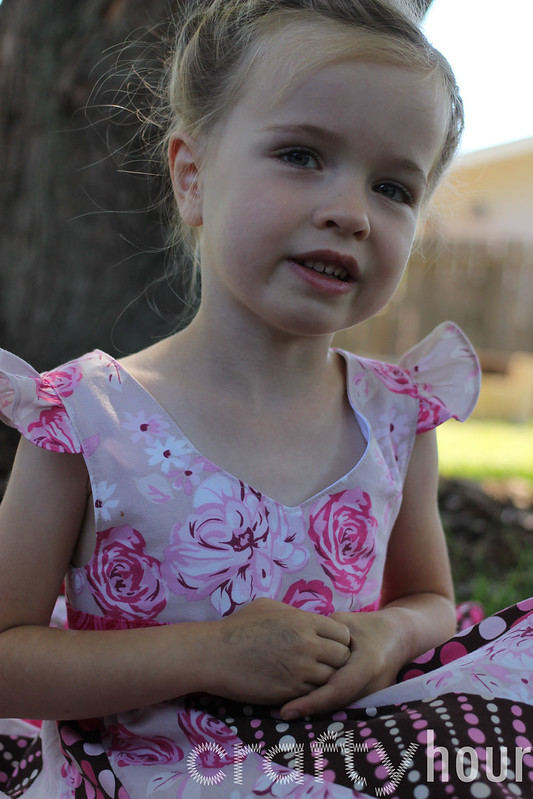
I made the size 3 slim, with the size 4 length and size 4 skirt. I also altered the armholes a bit, as a quick muslin showed that they would be much too deep on my skinny girl. The other modification I made was to change the neckline. The scalloped neck was too deep and the scallops in this size really didn't suit her shape.


My pretty sweetheart! I used just 12 flounces instead of 14, as I just had three colours. Just cut the width at the top of each flounce a bit wider to keep about the same amount of gathering all around. Still makes a full circle - she loves it!


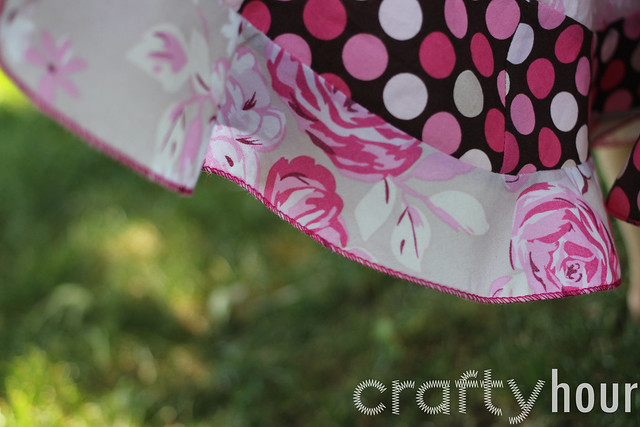
One of my favourite parts, the rolled serger hem. Made it a very fast finish.


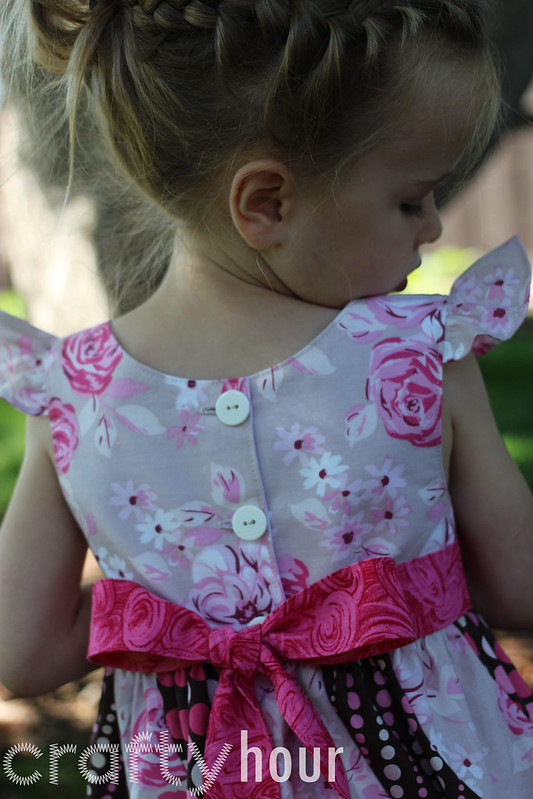
The back - I had the perfect buttons in my button box - ivory-coloured with roses engraved on them.


Saturday, May 30, 2015

A Yellow & Blue Wedding!

My husband's sister got married in March. Two of our kids were in the bridal party, along with two other little people, so I got to do some fun sewing!


The other flower girl's mom and I used Vogue 7819 to make the two flower girl dresses. The dress has an organza overlay, a partial circle underskirt with a netting sewn on for volume, pleated sash, and invisible zipper. The satin was a little tricky to work with, but the result was so cute!


I'm blogging over at Sew So Easy with techniques on working with sheer fabrics today. Click over to check out more details on construction of the dress.


I used the Dapper Lad pattern by Ellie Inspired to make the vests for Benjamin and the other ring bearer (wait, I guess they were actually sign bearers!), and this pattern, scaled down a little and with a slide at the back for the bowties.


Hamming it up during the official photos - that's my handsome almost 6-year-old on the left!


Of course Ian needed a matching tie - I used a white on yellow polka dot for the tie tip, just for fun.


And a shot of the family together! My dress happened to match the bridal party, and my husband was in the party, so nice & matchy matchy.  :)


While I was working on the vests I took a couple of photos - thought I'd share them for tips on working with satin - look for a post very soon!

Saturday, May 16, 2015

Haven Acres Blouse turned tunic

Here's another little garment I made for Abigail a couple of weeks ago. Finally getting around to posting my recent sewing.


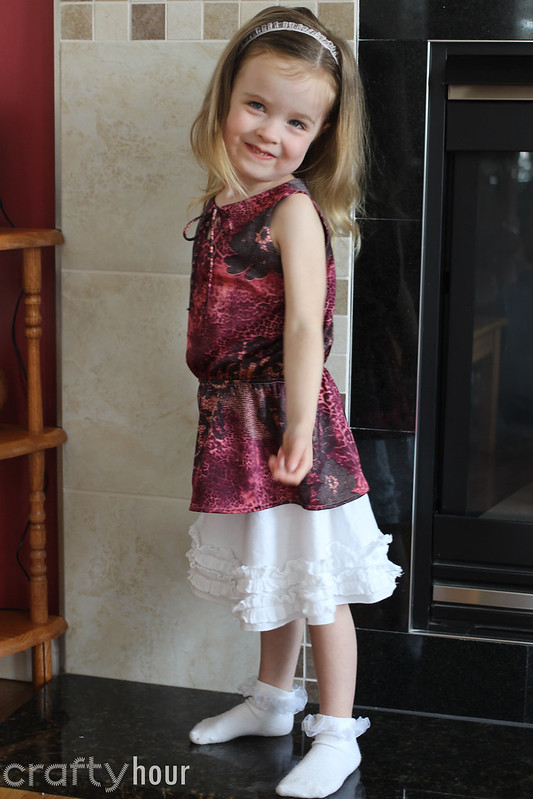
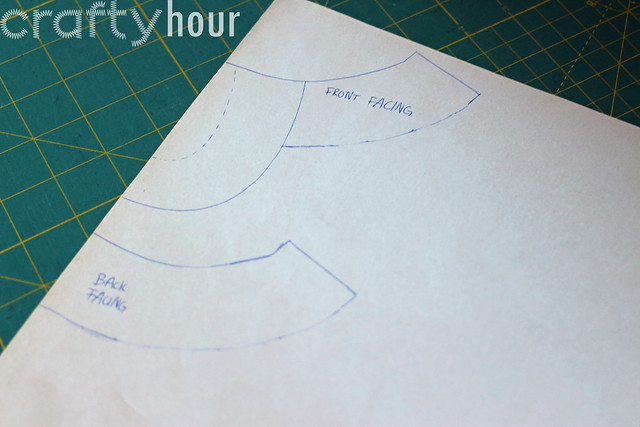
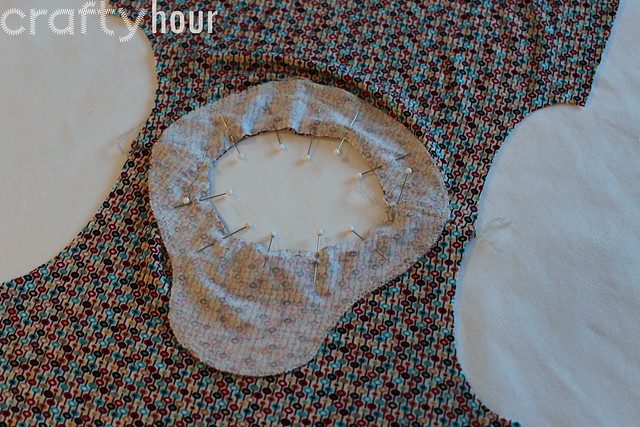
I had some scraps of this gorgeous fabric leftover from the tunic I made myself a couple of years ago that has been begging to become a Haven Acres Blouse. This time I mixed things up a little and made the blouse into a longer sleeveless tunic with a combined neck and armhole facing. You can find my tutorial for creating and sewing this kind of facing over at Sew So Easy.


And one more photo, just because she's a goof and so cute and I love her!


Wednesday, February 11, 2015

The Haven Acres Mini Collection is here!

Welcome to Day 3 of the blog tour for the Haven Acres Mini Collection! Jennifer from Jennuine Designs created this beautiful equestrian-inspired collection, consisting of a pretty blouse, well-fitting leggings, and a totally adorable cap.


Jennifer's design is unique, but I'm even more impressed with her pattern! It looks so professional - from the beautiful watercolour cover to the thorough and easy to understand directions and perfect pattern pieces! One of my favourite things about Jennifer's pdf patterns is that she uses layers for the different sizes, so you can just turn off the sizes you don't need and print just one size, or two if you need to grade between sizes!

Sweet Pea Cap

It's been a long haul, testing this collection over the last couple of months but Jennifer stuck to it and has this beautiful pattern collection to show for it.

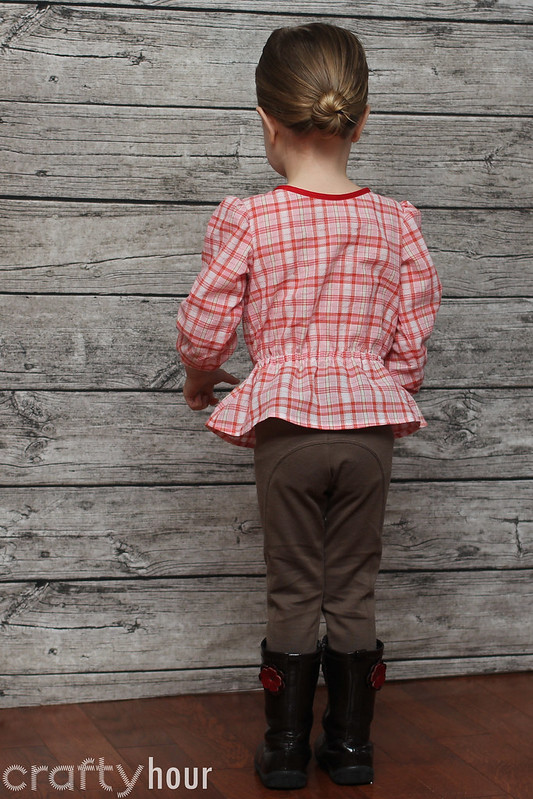
The Dressage Leggings pattern has options for basic leggings or the equestrian-style paneled version, and each of those versions also has a regular rise or a high rise for the smaller sizes, to accommodate cloth diapers. The leggings fit great and the paneled pattern pieces are perfectly drafted to make them easy to put together, including an option for flat-felled seams for comfort. This first pair I made out of a tan ponte di roma - since then a few tweaks have been made to the pattern to perfect the fit.


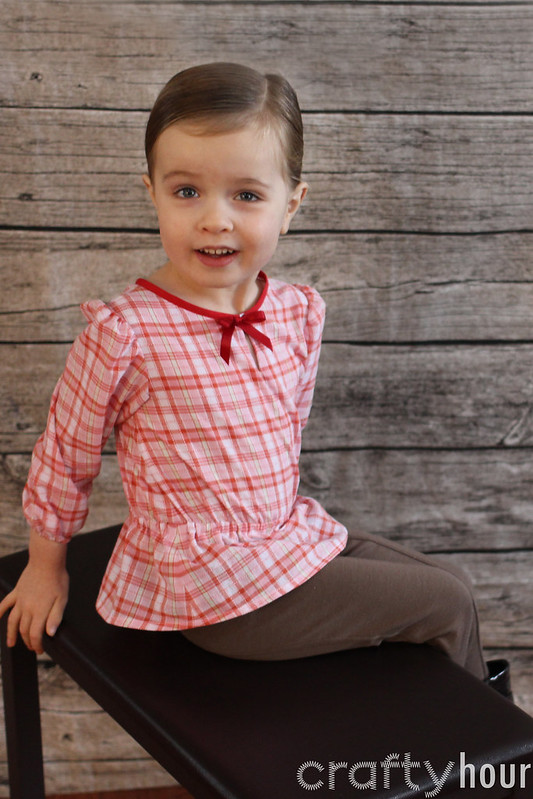
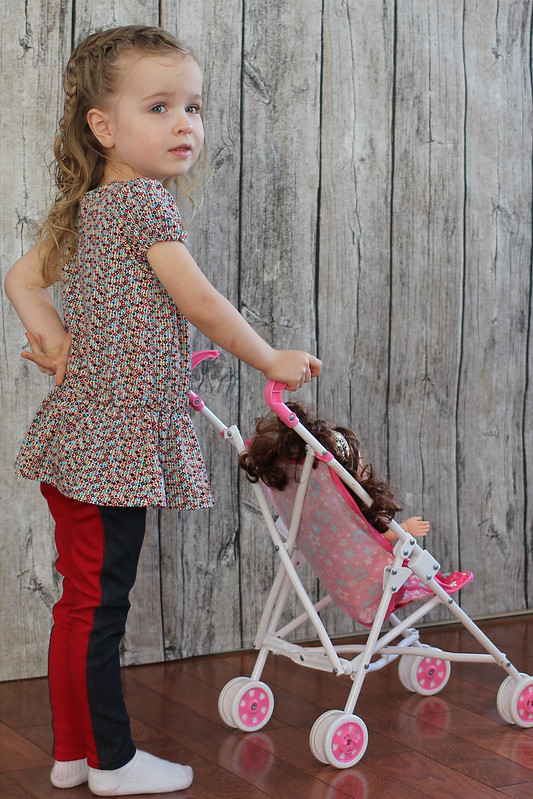
The little red plaid blouse is the pre-test version of the Haven Acres Blouse - since then the length of sleeves and bodice have changed a bit and the front keyhole is a slightly different shape. I used a pretty soft cotton lawn plaid for a more country feel riding blouse, and she adores it. The blouse has the prettiest little peplum flounce with elastic casing at the waist, softly puffed sleeves in two lengths, and a bias-bound neckline with an elastic loop/button closure under a ribbon, or the option to add ties over the keyhole.


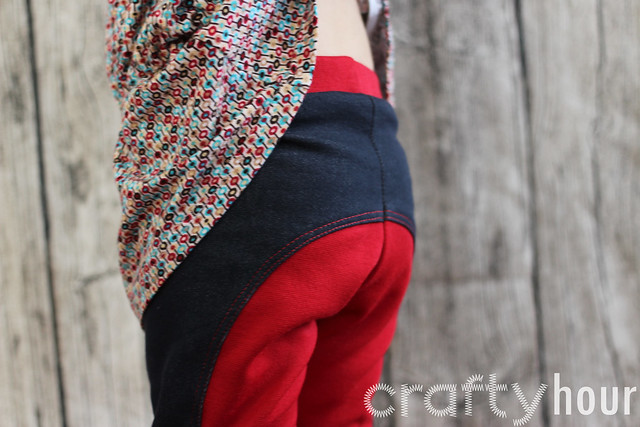
Here's the back of the Dressage Leggings for a better view of the riding-inspired panels:


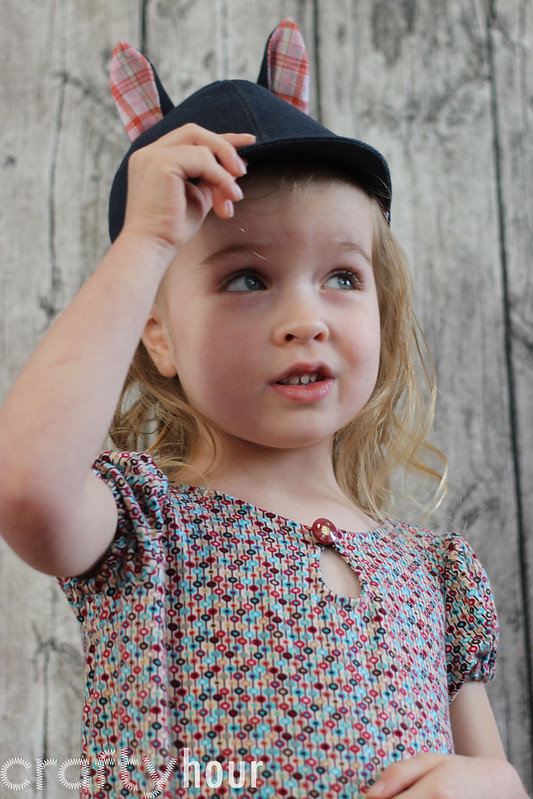
And the last piece in the collection is the Sweet Pea Cap, the most adorable little riding-style cap because PONY EARS! (or so I am told by little miss.)


One of the testers also came up with a sweet design for kitten ears, which Jennifer kindly added to the pattern for even more options.  The cap is a super simple sew with several sizes based on head measurements (thankfully! My girlie has a huge head for a 3 year-old).

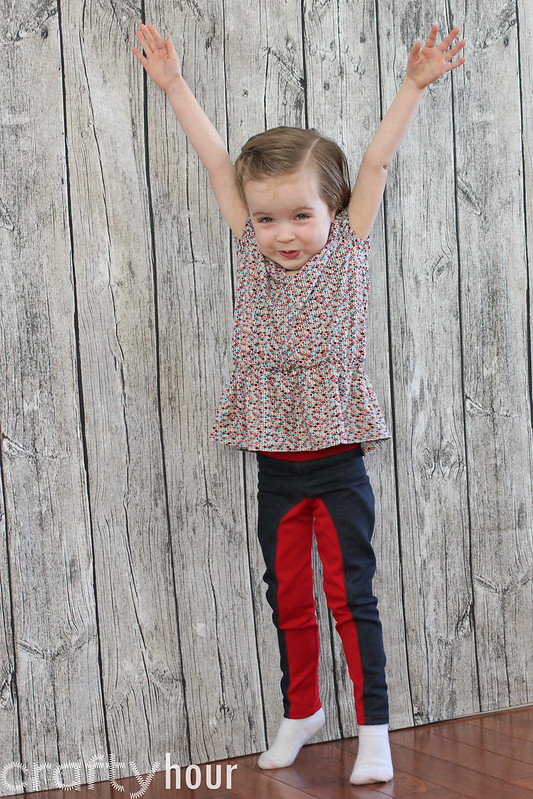
I did another pair of the Dressage Leggings and a blouse, all in colours to mix & match. For the leggings I used stretch denim with a red ponte di roma for the inner panels, and went up one size to account for the denim not being as stretchy. They fit like a dream on my skinny, no-butt girl!


Love the red topstitching. I had to use a regular needle in two passes instead of a twin needle because of the denim, and just regular thread to topstitch.


This version of the Haven Acres Blouse I used a soft jersey knit instead of a woven, just to try it out. I love the result!


Details of this blouse: I used her regular size, the size 3, just with a little added length to account for her long back. Instead of using binding at the neck, I drew a facing pattern based on the necklines combined with the keyhole facing.


I cut out the facing pieces from the same fabric and stitched them together at the shoulders. The I finished the outer edge with the serger (alternatively, this could be left raw, as jersey wouldn't fray).


Once I had sewn the shoulder seams of the blouse together as per the pattern, I pinned and sewed the neckline facing in place, and then stitched the keyhole opening as the pattern describes. From there it was simple to turn the facing inside and tack it down just at the shoulder seam. Alternatively it could be topstitched down all the way around, either very close to the neckline or close to the outer edge of the facing.


Thanks for the opportunity to test such a unique collection, Jennifer! I know there are more pairs of Dressage Leggings for sure and also another Haven Acres Blouse on the horizon for Abigail!


Check out the rest of the tour for more amazing versions of this collection!


[this post contains affiliate links]

Saturday, December 13, 2014

Christmas Princess Dress

A Christmas dress for my little Abigail! This is the first Candy Castle pattern I've used, after eyeing them for several years! It's the Princess Dress.


(sorry for the quality of the photos - it's dark, I haven't learned my flash properly yet, and she was not patient for long!)
I made the size 3T slim, as she measured perfectly for that size. There is only just enough ease in the dress though, so wondering if I should have done the regular 3T.


I found this fabric a couple of months ago - bought it from a lady who owned a dress shop and was going out of business. It's an iridescent satin, sort of silvery-blue with a matte back, and she had this matching crinkle-textured satin, also with a matte back too. I think I paid about $12 for 4 yards? So I was able to mix up the textures and contrast a bit in the layers.


The only stitching on the outside of the dress is the ruffle hems and the buttonholes. I wanted a beautiful finish for the gorgeous fabric, so I was careful to understitch or just press where needed.


The sleeves are also hemmed by hand.


The neckline is very pretty. I think it I were to make this over I'd go with a slightly higher neckline though, as when she moves around much it slides a bit low for my taste. Also, the sleeves are a bit close to the body so the dress lifts up a lot when she raises her arms. I think this is probably due to the sleeve head shape, a touch steep, maybe.


I didn't do bows at the back, thinking they would just be crushed when she sits. Not sure if you can see (this shiny satin is incredibly hard to take a nice photo of!), but I spread the gathers smooth at the point of each swag to keep the ruffles flat there.


Sad little Missy - turns out the inside is uncomfortable, probably the serging at the waist seam. I thought that might happen and now I wish I had handstitched the lining of the bodice over the seam as I've done in other dresses. Guess she needs to wear something under it now, or maybe I can figure out a way to make it smoother inside.

Sunday, September 28, 2014

Birdie Dress Coat

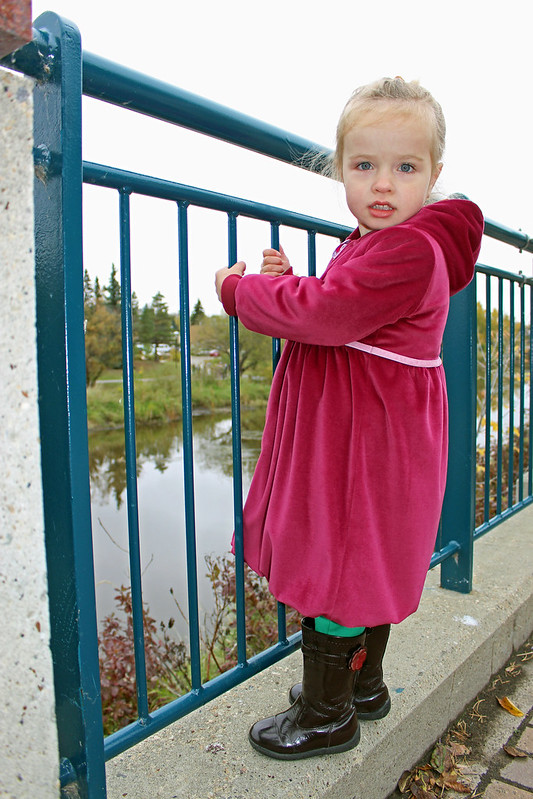
I've had this fabric for 2 years - finally got up the courage to tackle a coat for Abigail.


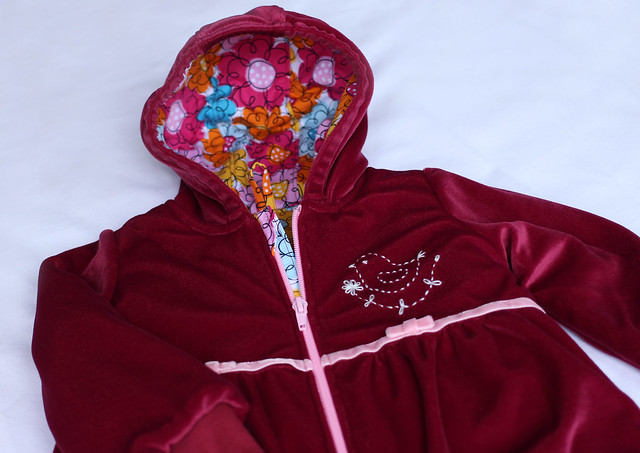
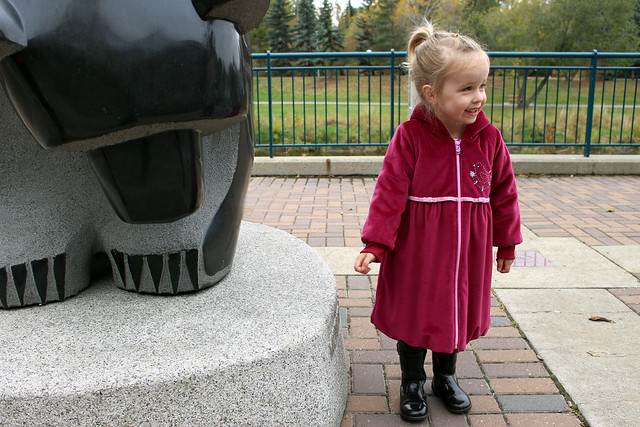
The pattern is called Lintunen, #9 from Ottobre Kids magazine, Winter 6/2012. I used Abigail's measurements to choose the size, cutting size 80 for width and 92 for length. The outer fabric is fuchsia velour, with a lining of cotton poplin, an interlining of microfleece, and a vest interlining of Thinsulate.


I used the birdie design included with the pattern, with three strands of silver embroidery floss. The bows and waist trimming are velvet ribbon. I've never done a zipper shield before and had to sort of guess because the directions were a touch sparse.


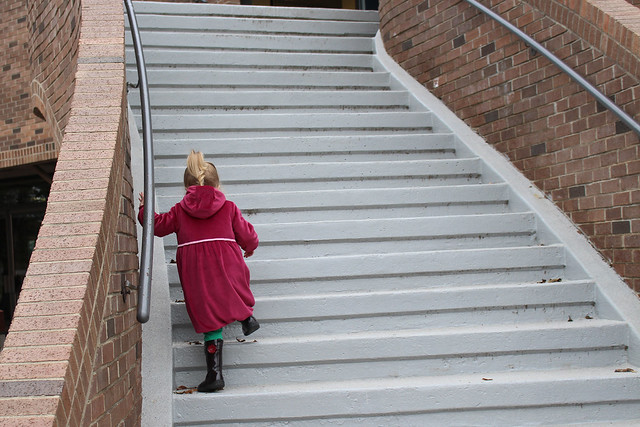
I love the length on Abigail. It should easily keep her quite warm for all but the coldest winter days. The only sad part is that the hood is too small for her head, in part because I didn't realize I needed seam allowance on the front of the hood, but also just because her head is so big!


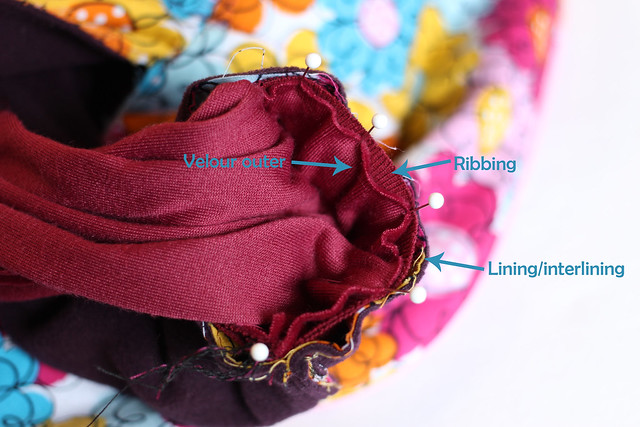
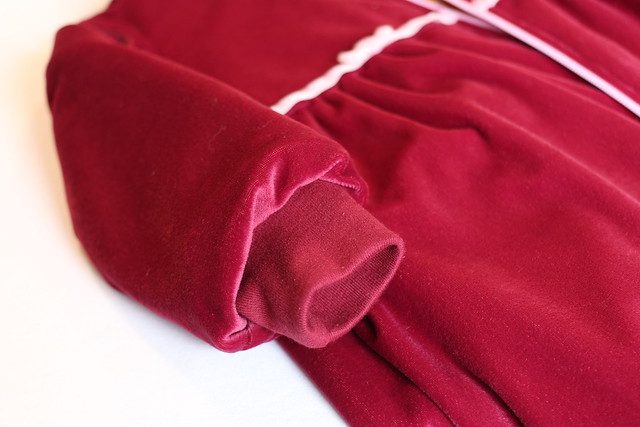
The only real alteration I made to this pattern was to add ribbed cuffs to keep her wrists draft-free, instead of the cased elastic the pattern calls for. (this same idea would work to add cuffs to a ready made coat too!) I took a few quick photos of how I did the cuffs. I cut cuffs to fit her wrist, about 3" long when doubled. Where the pattern calls for the edges of the lining and outer sleeves to be sewn right sides together, I just sandwiched my double-layered cuff between, and pinned with all raw edges together.


Sewn together:


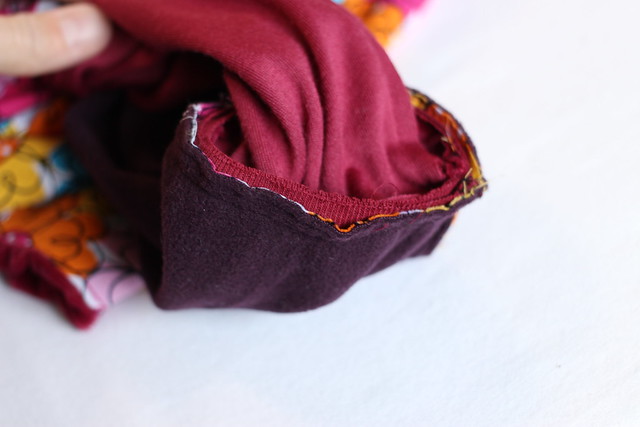
Once turned right side out through the opening in the lining, the longer outer fabric blouses over the ribbed cuff.


View of the lining side:


Little missy is very pleased with her new birdie coat, so I am too!