Showing posts with label tall girl. Show all posts

Wednesday, May 13, 2015

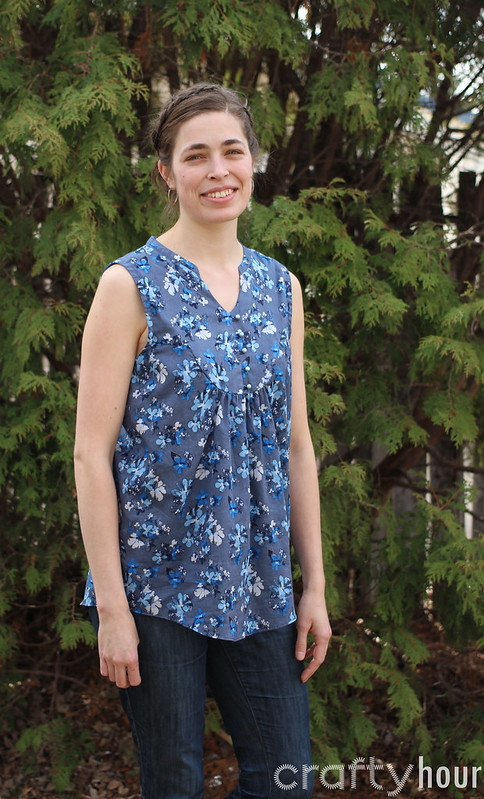
Valencia Tunic - new release by Mouse House Creations

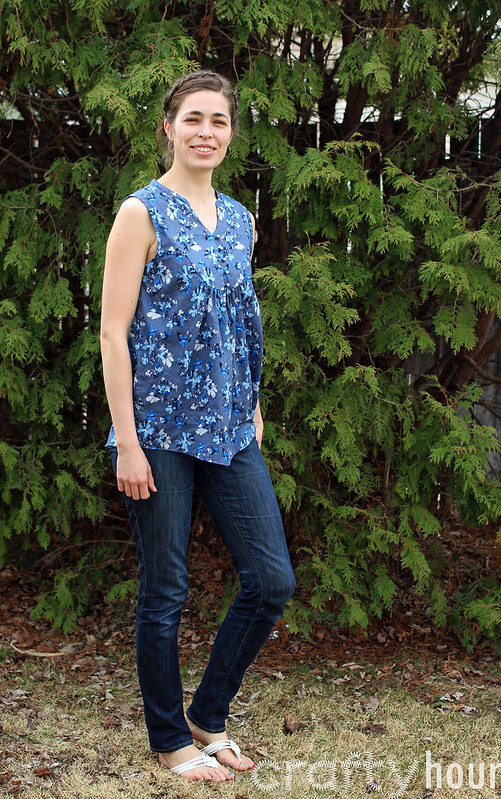
Recently I had the chance to test the new Valencia Tunic pattern for Mouse House Creations. Now that it has been released (and I have some time finally!) I can share!


I'm sharing a tutorial about working with sheer fabrics over at Sew Easy today - check it out to see some techniques and ideas you might not be familiar with to make working with lightweight fabrics simple.


The Valencia has an unique shaped yoke, a sweet little mandarin collar, soft gathers at the centre front and back, and a curved hem. The yoke can be made either lined or unlined, which also makes it a great pattern for choices like colour-blocking or a sheer lace top.
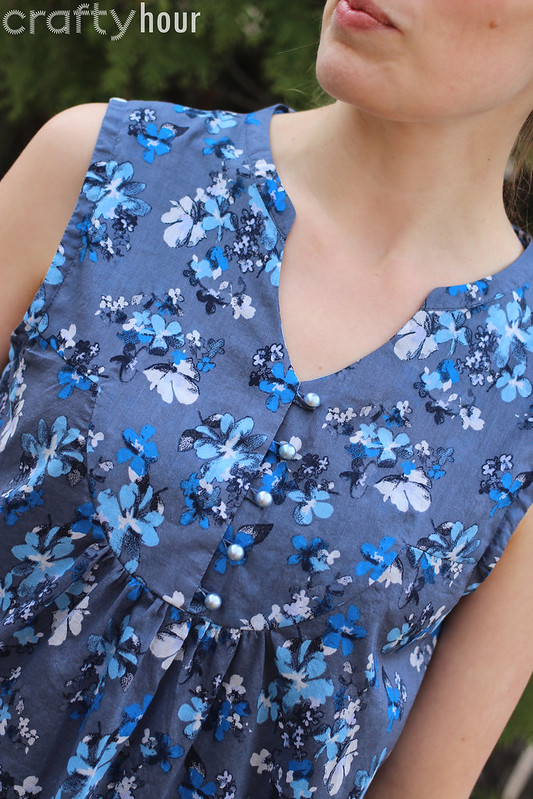


For this version I used a lightweight cotton silk and lined the yoke with the same fabric. I found the perfect pale blue pearlized shank buttons and to keep the delicate look, left the yoke free from topstitching.
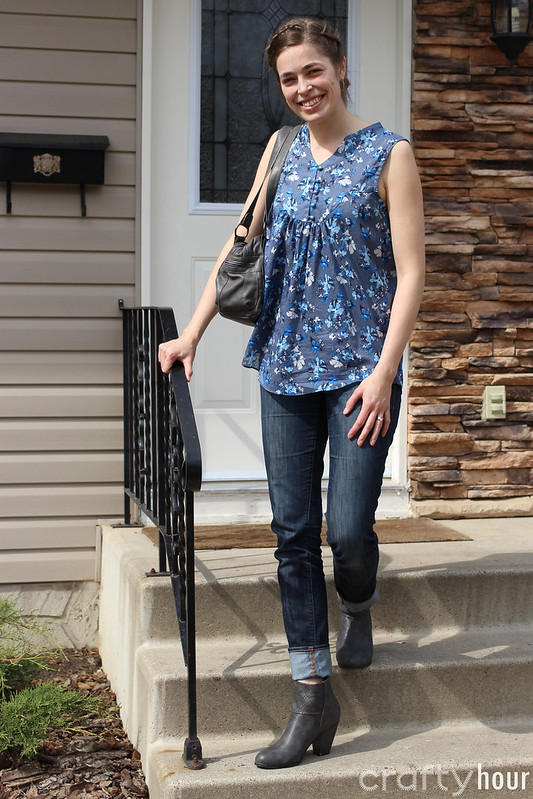


I'm hoping to make a few more for this summer - such a sweet and breezy style to keep cool in! I think this version will be adorable with a pair of shorts too.
Thursday, April 16, 2015

Agility Tank by 5 out of 4 Patterns

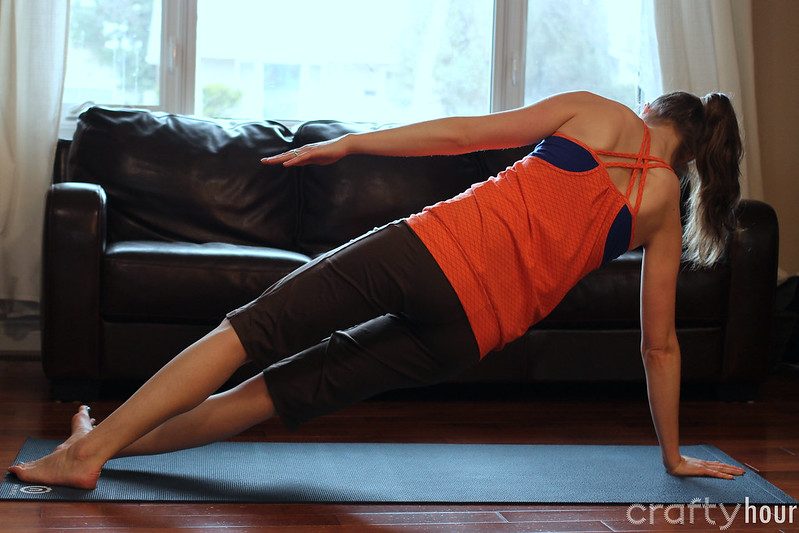
Last week I tested the new workout wear pattern by 5 out of 4 Patterns, the Agility Tank and Dress.


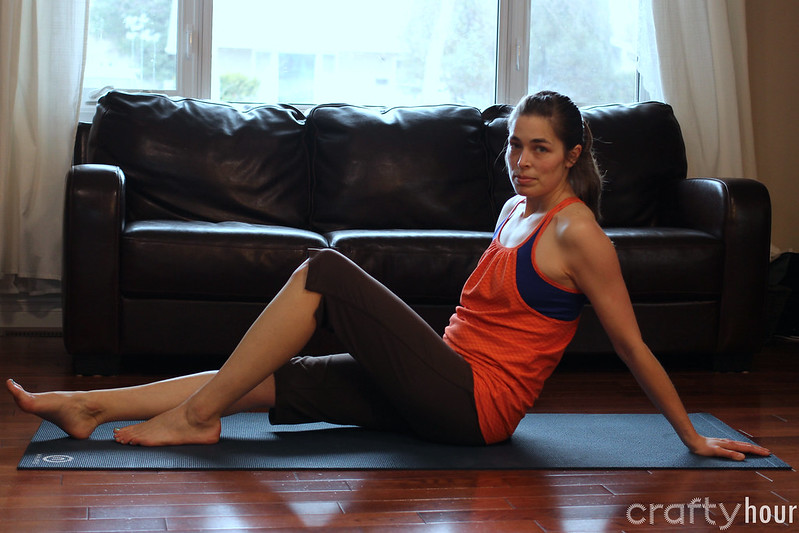
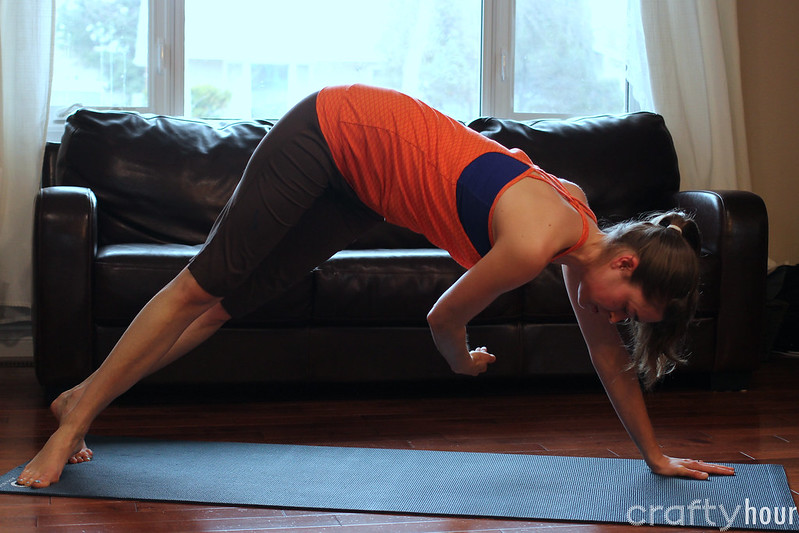
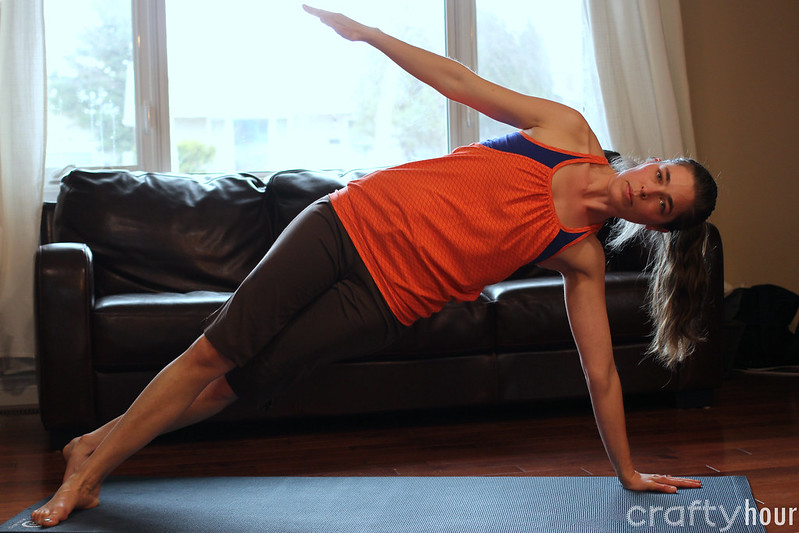
This one was fun, and very timely, as I've been hard at work on PiYo every morning. As a tall girl, it's great to be able to make myself a workout top that is long enough to stay put while active! I tell you, the name Agility suits this top - it keeps up with me!


The pattern has options for a stand-alone sports bra, this tank (or dress length) which is the sports bra plus overlay, and an A-line style tank or dress. Each variation also has a nursing access option. The pattern is well-written and was a joy to test. Jessica was a great designer to work with and ready with quick answers and prompt updates to the pattern pieces. 


This is my favourite part - the woven straps at the back. It also has an option for a T-back. I chose the banded hem option but there is also a drawstring hem option. I used one of Patty Young's Heaven and Helsinki knits, which is 58% cotton, 38% poly and 4% spandex, for the overlay and the straps, and a random piece of blue midweight french terry (?) for the bra part. The blue was leftover from another project so I'm really not sure what it is content, but it must have some spandex because it works really well.


The pattern is on sale today and tomorrow, and you can purchase 3 patterns for an extra 15% off cart total with the code Buy3.

Friday, December 5, 2014

Sew Fab Bundle - Extraordinary Girl and Capitol Hill

The new Sew Fab Bundle is here! This time it's a Winter Women's Bundle, with 10 new patterns, available till December 15th.


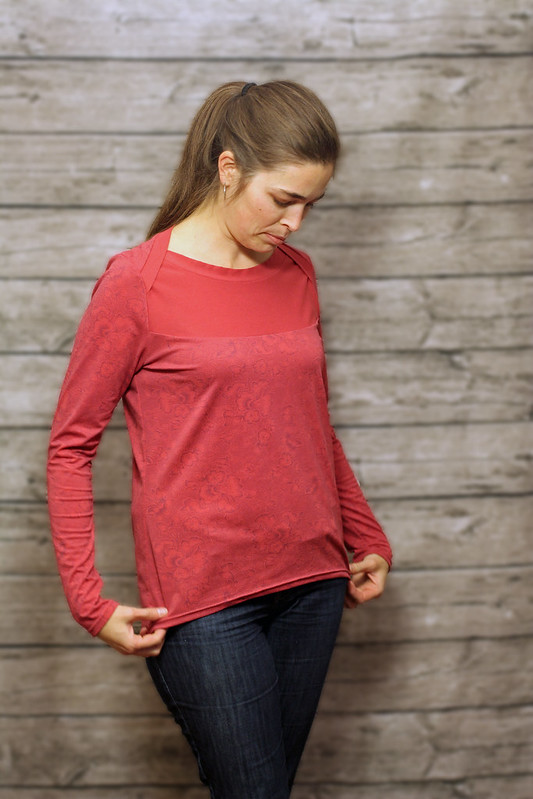
And, yes, that's me, top right corner, wearing the Extraordinary Girl by Filles à Maman. I also did my own version of the Capitol Hill by Straight Stitch Designs. For pattern descriptions and size charts, take look over here.


For the Extraordinary Girl, I did two versions during testing. This pattern is fun - I would never have thought of a lap-shoulder top for a woman, but it's a fun and unique detail and surprisingly easy to sew. This was my first try with the original pattern (since then the sides have been shaped a little more).


I used some fashion jersey, almost a coral colour with dusky roses printed all over it. I used the reverse of the same fabric for the contrast yoke and neck bands. I made my usual adjustment for long back by adding 1.5" inches to both front and back and 1" to the sleeve length.


With the final pattern I made my favourite version:


The fabric for this is much softer feeling - it's a Michael Miller knit from the Heaven and Helsinki line by Patty Young. The orange-red was a remnant I picked up ages ago.


This is a very bold colour for me! I usually stick to greens and blues and blacks for myself, but this was so happy I had to try it. I love the slight hi-lo hem.


The twin-needle hems worked out great - this time I just used regular thread in the bobbin instead of wooly nylon, as lately I can't get any good tension with that stuff.


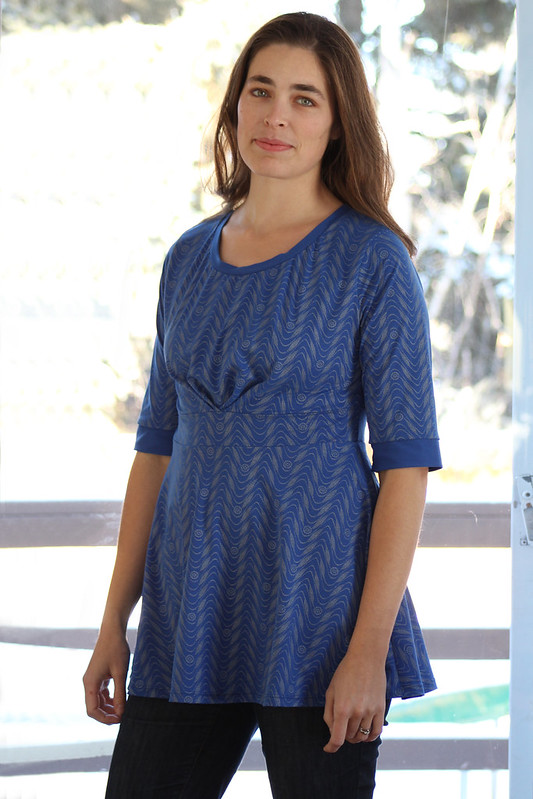
I also tested for Kimberly of Straight Stitch Designs. After a lot of hard work and versions, she came out with this gorgeous design:


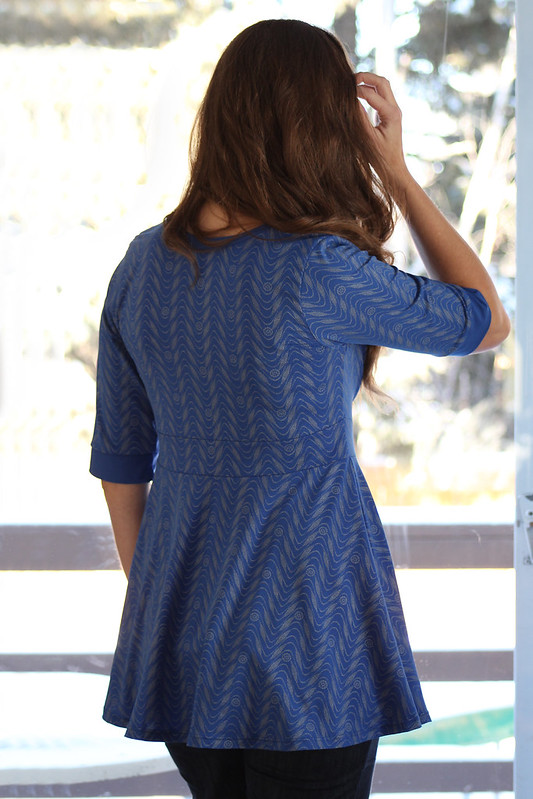
The Capitol Hill top and dress has lots of options and unique details! I did the elbow length banded sleeves and 3/4 circle skirt tunic length for mine. There are also options for a gathered skirt and full circle skirt, each in tunic or dress length, and long sleeves too. The bust shaping comes from overlapped double pleats at the centre, which Kimberly did a video walkthrough of as well as a thorough description in the pattern.

So check out the rest of the Sew Fab Bundle and enjoy!


Wednesday, September 24, 2014

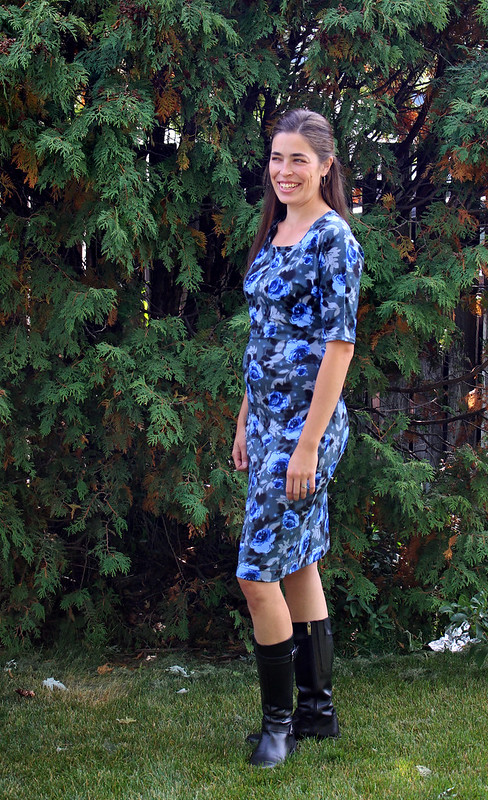
Selfish Blue Roses - A Dress for Me

Well, this week is Selfish Sewing Week, so I knew I'd be dropping my "must sew" list for at least one selfish project. We'll see if any others happen, but in the meantime, I'm super pleased with my latest dress!


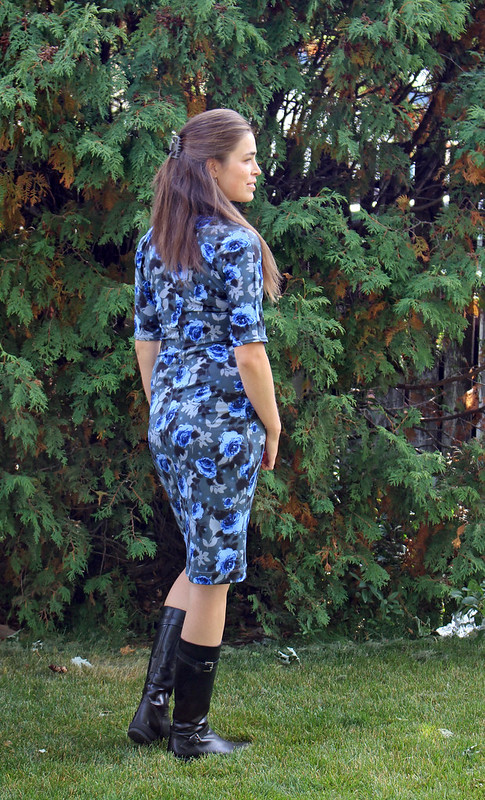
I bought this soft single jersey several years ago when I was expecting Abigail, meaning to make a pretty maternity top or something, then ended up on bedrest not needing much more than a lovely hospital gown. Since then, it's beckoned to me several times, until I recently found the perfect pattern to show off the beautiful print - the Wear Everywhere Dress by So Sew Easy. Free pattern too!


The pattern printed perfectly and the dress went together as if it'd been meant for this fabric. The only adjustments I made were cutting between sizes 4 and 5 to fit my measurements, and adding 2.5" to the length to suit my height. I used wooly nylon in the bobbin with a straight stitch to topstitch and understitch at the neck. The tricky part was getting the neckline to lie flat. The weight of the facing wanted to make it gape a little. At first I was going to stabilize it by sewing in some Lastin but I'm clear out. I ended up handsewing a line of running stitches along the inside edge from shoulder seam to shoulder seam for a little stability. 


The fit is perfect and it feels so comfy! BUT I think this may be my "goal" dress for now... unless I find some spanx! lol No room for mummy tummy in here! :D


(UPDATE: My goal comment was a bit of a joke slash snide commentary on myself - I'm not really that self-conscious about it [or at least I try not to let it bother me] Thank you, all my wonderful friends telling me to just rock this dress!! )

Monday, September 1, 2014

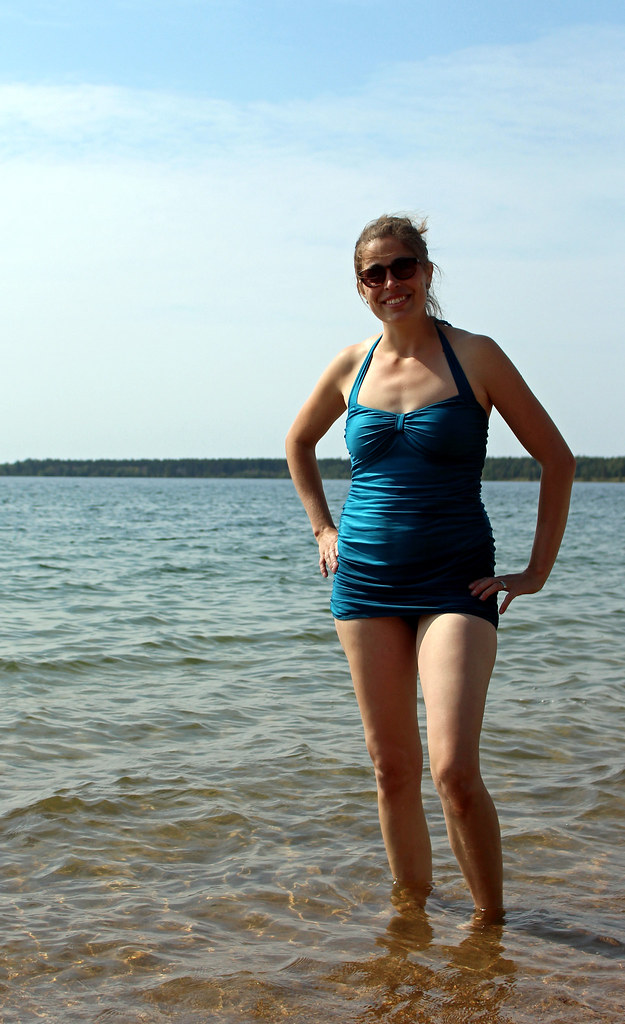
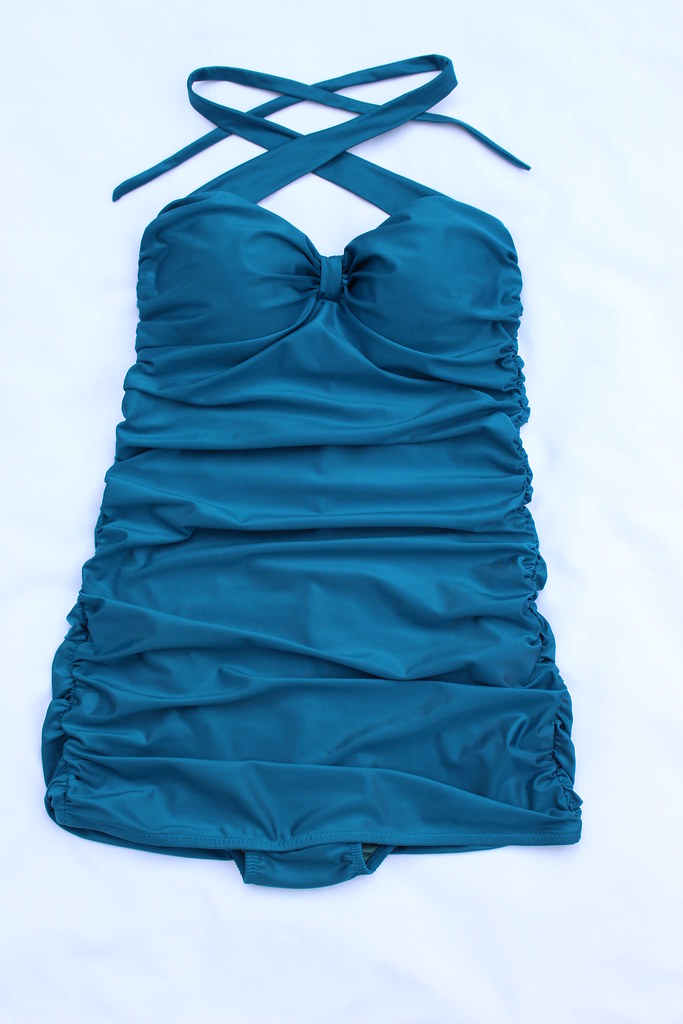
Bombshell Bathing Suit

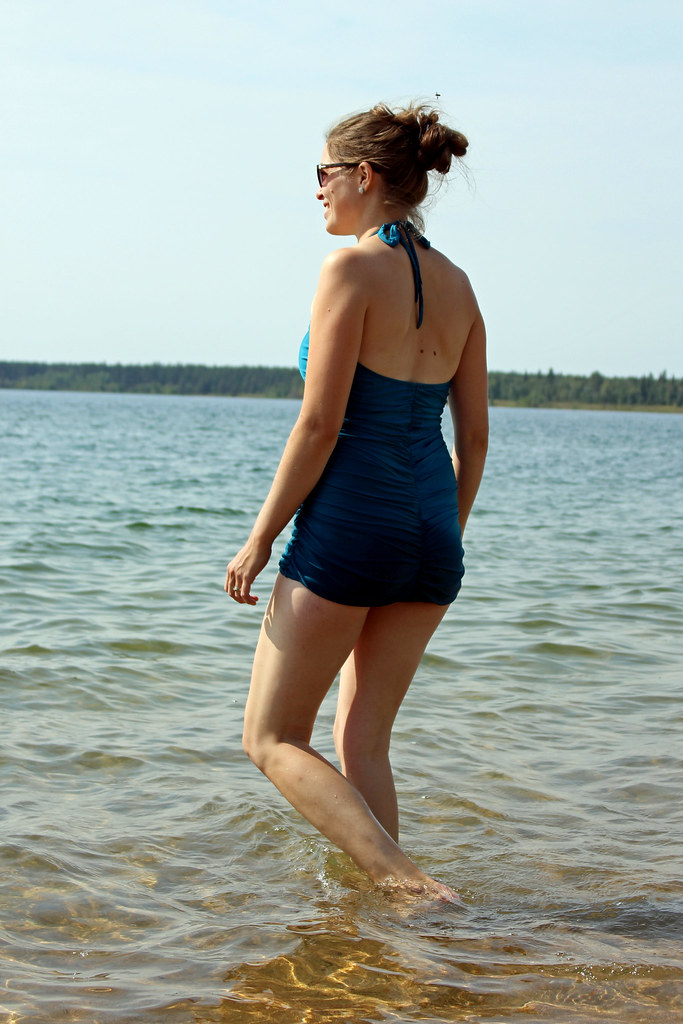
I didn't think this one would happen yet this summer, and then I had an unexpected whole free day before our lake vacation. I printed and assembled the pattern 9am and worked most of the day on it, and another hour the next evening finished it, just on time for the lake!


Details
Pattern: Bombshell Swimsuit by Closet Case Files
Fabric: Tricot Satin Matte Nylon Spandex
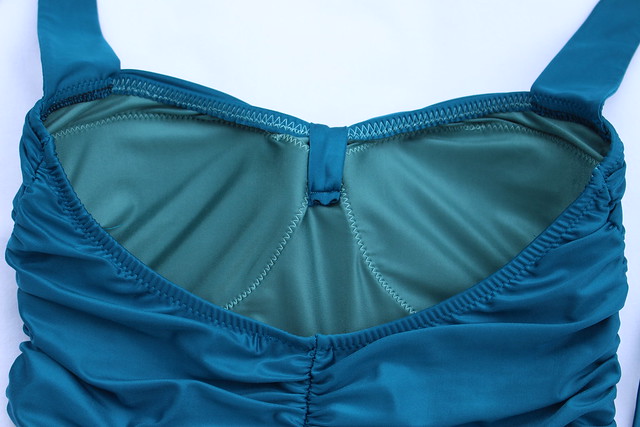
Lining: Satin Milliskin Nylon Spandex Lining, both from Girl Charlee (referral link)
Size: 12 waist/hips, tapering to 10 at the bust


Mods: I added 1.5" in length to both front and back to accommodate my long torso. Also used 80% negative ease on the elastic around the top of the suit and on the front "skirt" part to keep from gaping. Inside I added cups from a cheap bikini.


Fits perfectly - first swimsuit ever to fit so well! I was so impressed with the pattern and directions and the sewalong covers any point that needed clarification.


The fabric was amazing to sew with - now I know this suit pattern works on me, I may just need to stock up on some more colours from Girl Charlee! I could see a bright red one, black, gray....

Saturday, August 2, 2014

Mommy & Me Swimsuits!

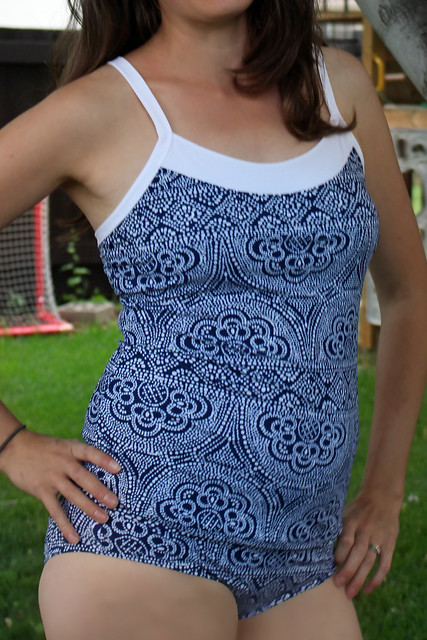
Finished these two swimsuits for Abigail and me a bit ago. I'm really excited to have a tankini that is long enough first time ever!


Details
Pattern: Jalie 3023, skirted tankini for Abigail, briefs for me.
Fabric: Swimsuit print, Fabricland; white solid, Marshall Fabrics
Modifications: On both suits I angled about 1/4" in on each side of the top yoke pieces when sewing the binding on. It seemed to gape otherwise. Also added 3/4" to the length of the tankini top for me (my usual length adjustment is 1.5" - 2"). Aside from that, no mods. Everything is topstitched with a three-step zigzag.


I'm going to be brave a post a pic, not a very good one, I'm afraid. I did the shelf bra inside the tankini top and sewed in cups for added support. I just used cups from a bra that fit well - will see how well that holds up. I'm pretty happy with how the bottoms fit too. Nearly every suit I've ever tried has dragged from either the top or the bottom because of my length, so this is a treat!

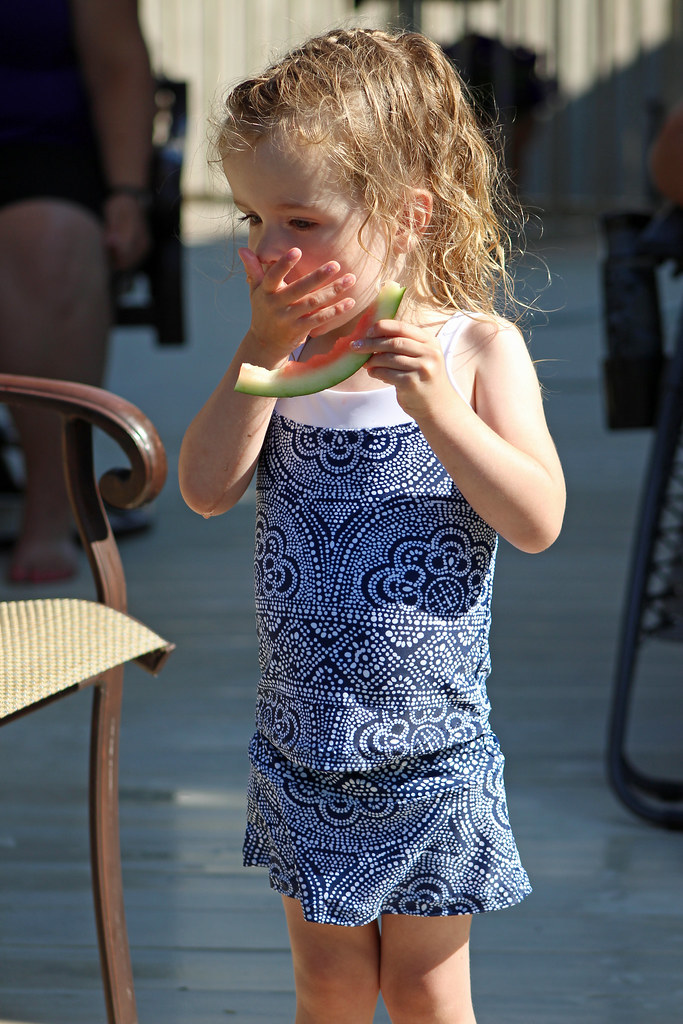
Abigail loves her skirted suit. The size 2 is a little bit big on her skinny bottom when it's wet, now that she doesn't wear swim diapers anymore, but other than that it is perfect.

Next up - the Bombshell Swimsuit for me! I'm pretty nervous about trying this - it feels like a fluke that these two tankinis were so straightforward. This fabric from Girl Charlee just arrived in the mail, and I've gotten as far as printing the pattern. Wish me luck!

Thursday, July 31, 2014

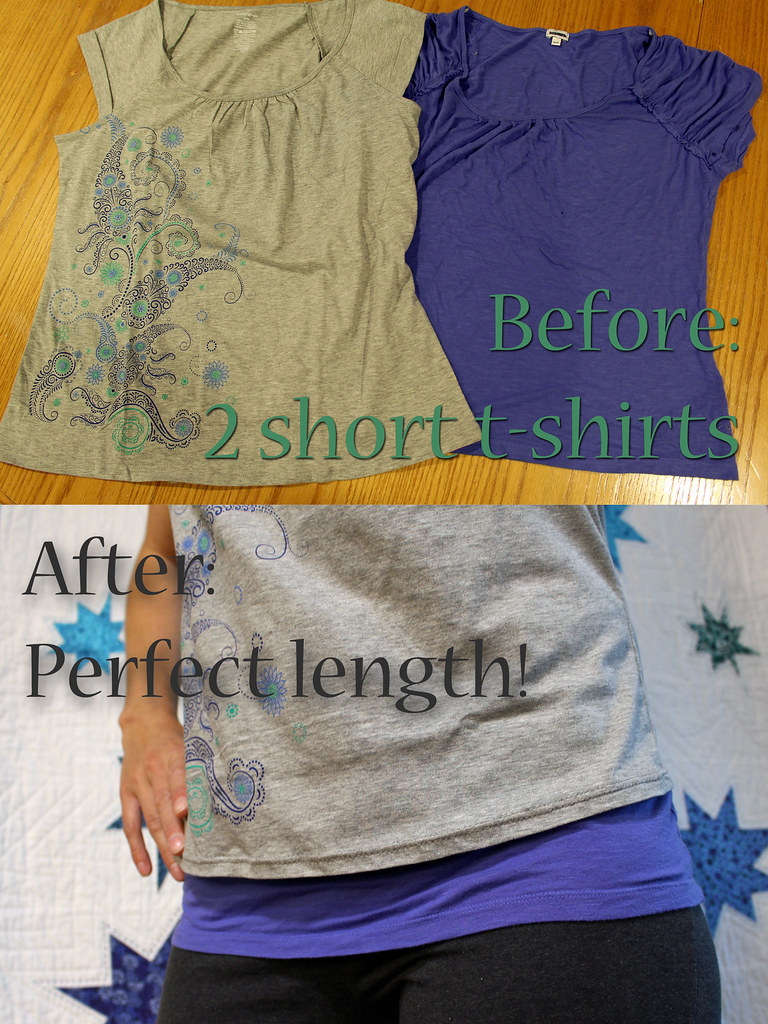
Tall Girl Woes - Lengthening a Too-Short Shirt

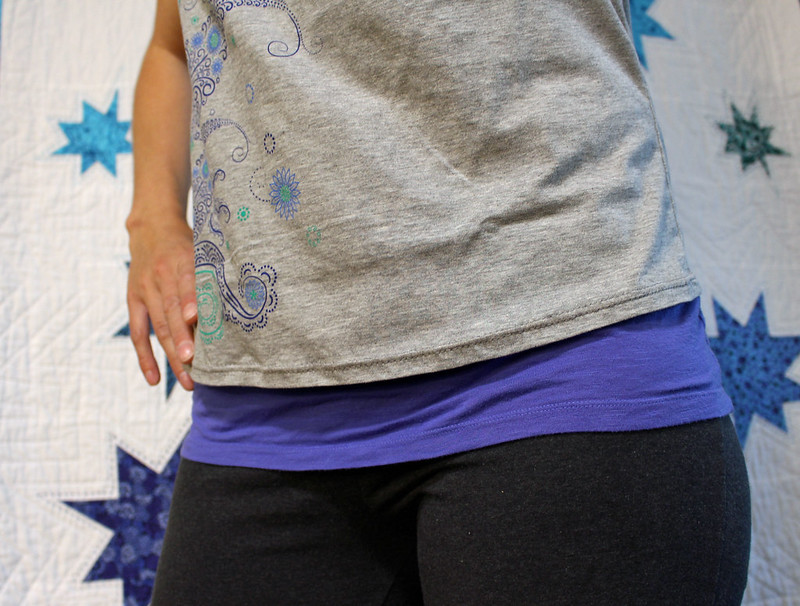
I'm tall. 6 feet, 1/4 inch, and fine with my height. Until I try shop at a non-specialty shop. Most tops are just too short for me (besides my favourite online-only-tall Old Navy tees). So last week I was going through some shirts, and came up with this simple solution to extending (haha-pun!) the use of some tops! Thought I'd share a semi-tutorial for other girls out there, or those who just like their shirts longer.


First, find two too-short tshirts that coordinate. Preferably they should be a similar width at the bottom. (My gray one was wider so I actually took the sides in a bit.)

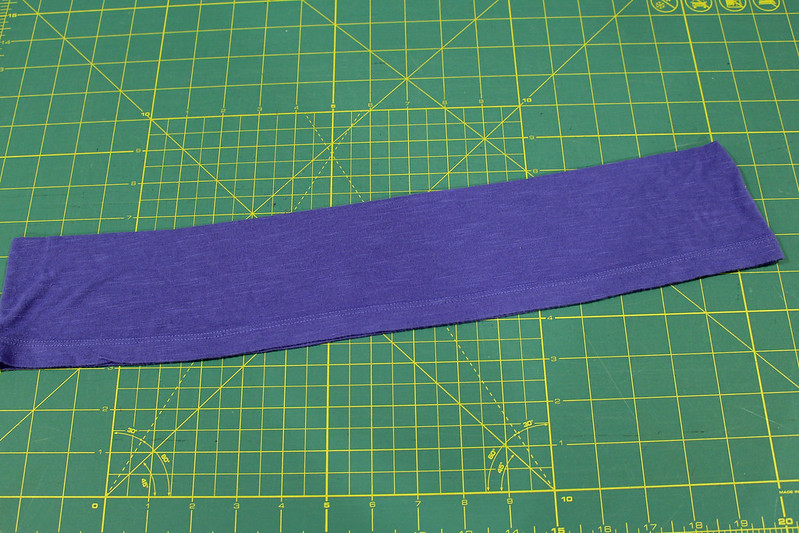
Once you've decided which will be the bottom layer of your fooler shirt, evenly cut a 2.5" - 3.5" strip from the bottom of the tshirt. I used my rotary cutter and mat to make it really easy. You'll be using the existing hem.


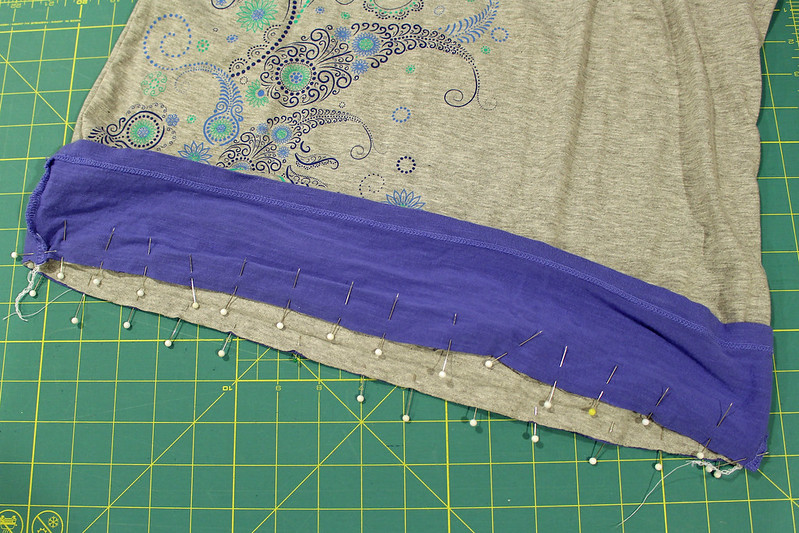
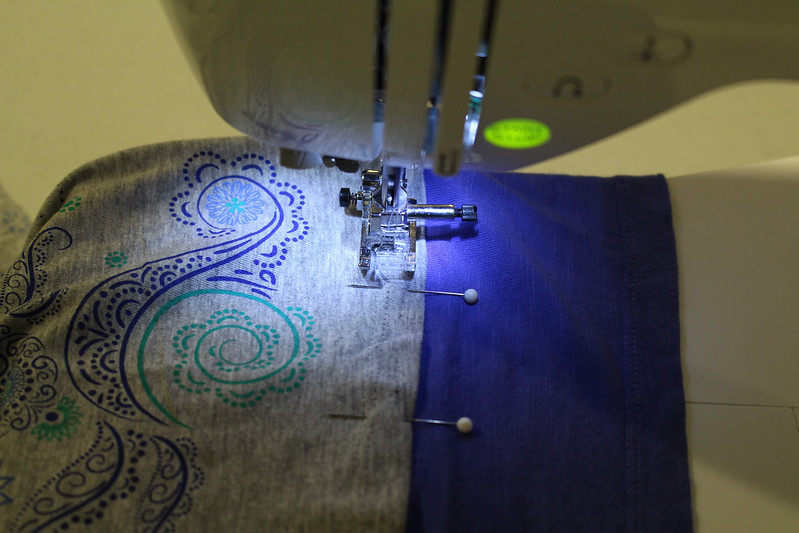
On your upper shirt, remove the hem stitching. (sorry, no photo) If the hem is coverstitched, this tutorial from reallyhandmade.com might come in handy. Then pin the top edge of the under layer, raw edges together, to the other layer.


 Stitch or serge together.


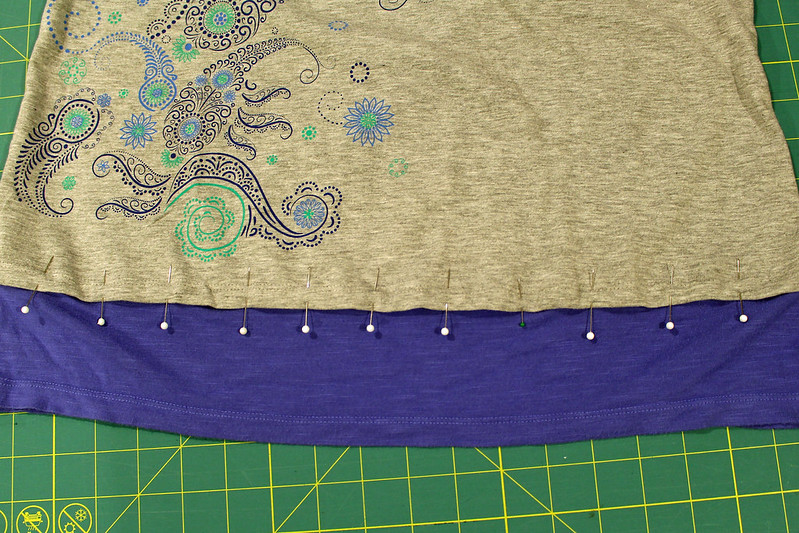
Flip the under layer down and refold the hem of the tshirt, with the seam facing up, and pin through both layers.


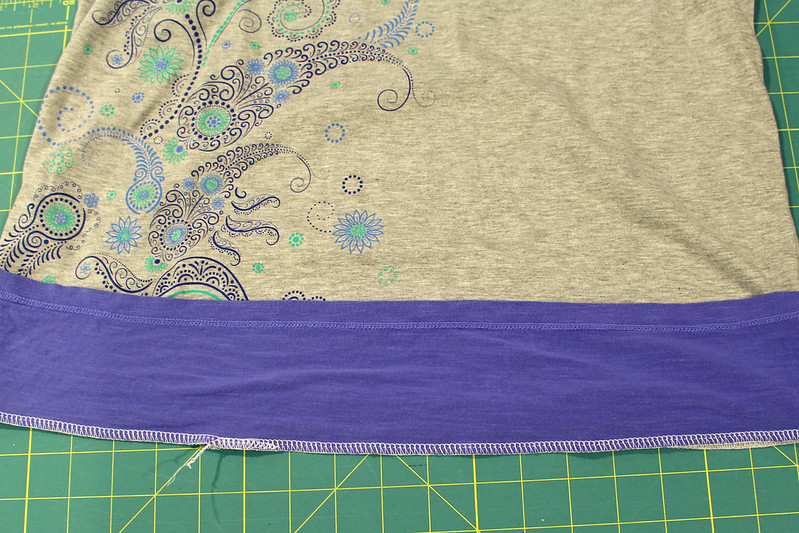
Topstitch - I used a 4.0mm double needle to topstitch for a professional-looking result.


Voilà! Your lengthened hem is finished!


Friday, June 13, 2014

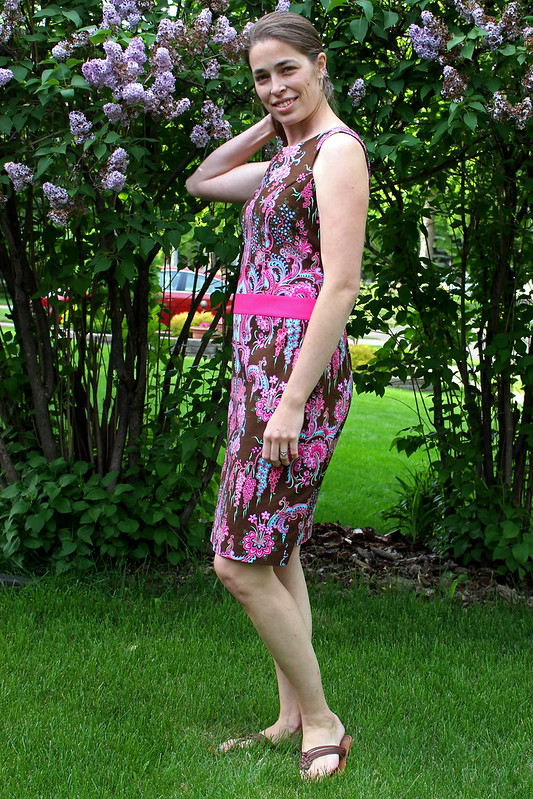
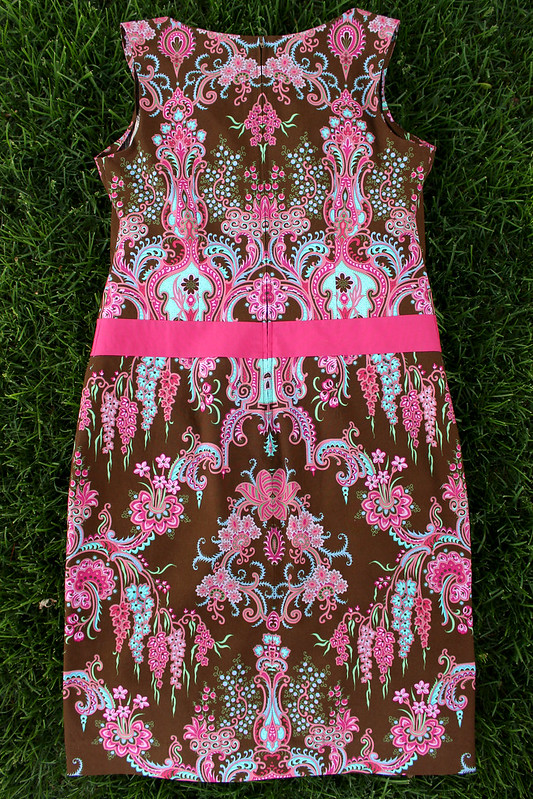
Crazy Love Rebecca Shift

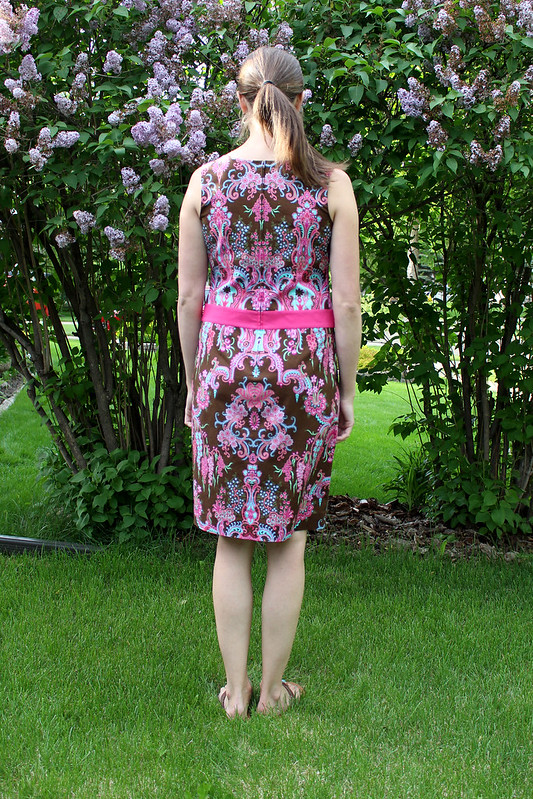
Another dress for me! This is the Rebecca Shift Dress pattern by SisBoom, same pattern line as my Jenny maxi dress. I'm in love.


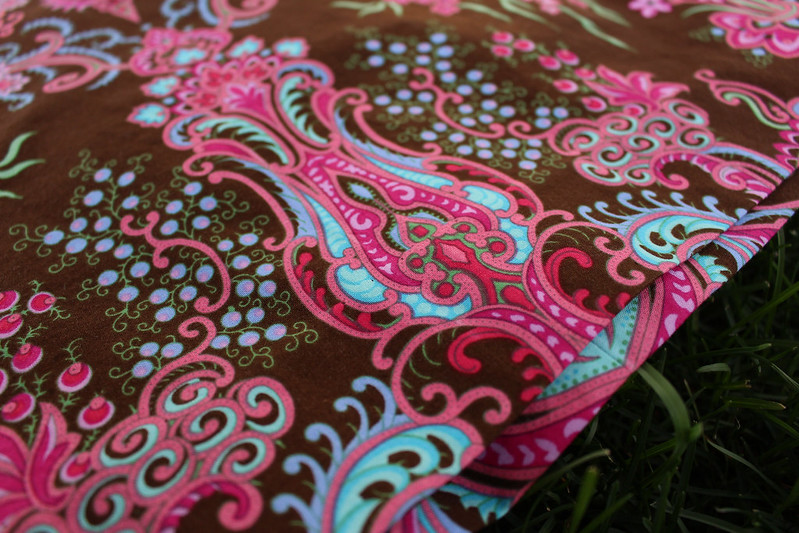
The fabric is Jo Ann in brown from the gorgeous Crazy Love line by Jennifer Paganelli, who together with Carla Hegeman Crim (the Scientific Seamstress) designed the SisBoom fabrics and patterns. 

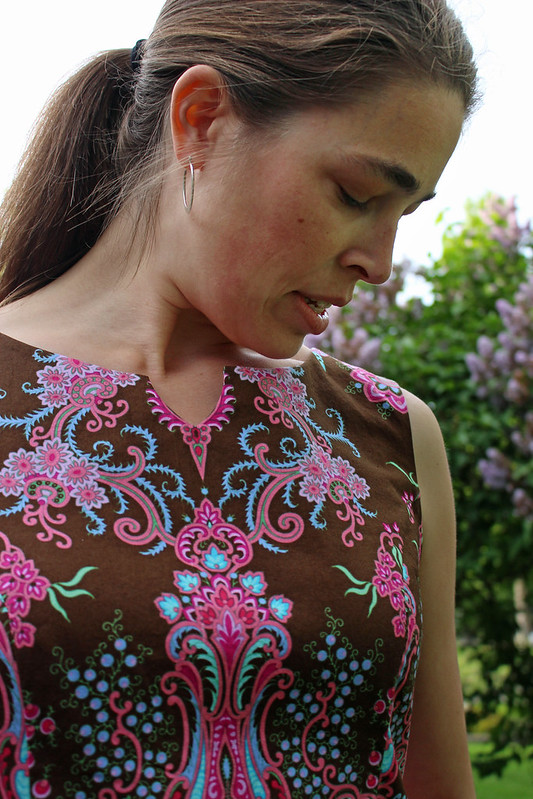
I started with a muslin out of "ugly" fabric to get the size right and found out quickly that I needed to go down a size from what my measurements said I should be. The bodice is Medium 8 and the waistband and skirt are Medium 10. I used the "frankenpatterning" ideas included in the pattern to transition between the sizes. I nipped in the princess seams under the bust about 1/4" each, took the back darts in at the middle about 1/4" each, and took out an extra 1/4" on each side down the centre back, tapering out by the end of the zipper.


I chose to understitch the neck facing and armhole bias bands and then hand-tack them down inside for a neater finish, instead of the topstitching the pattern suggests. I also hand-stitched the facing over the top of the zipper.

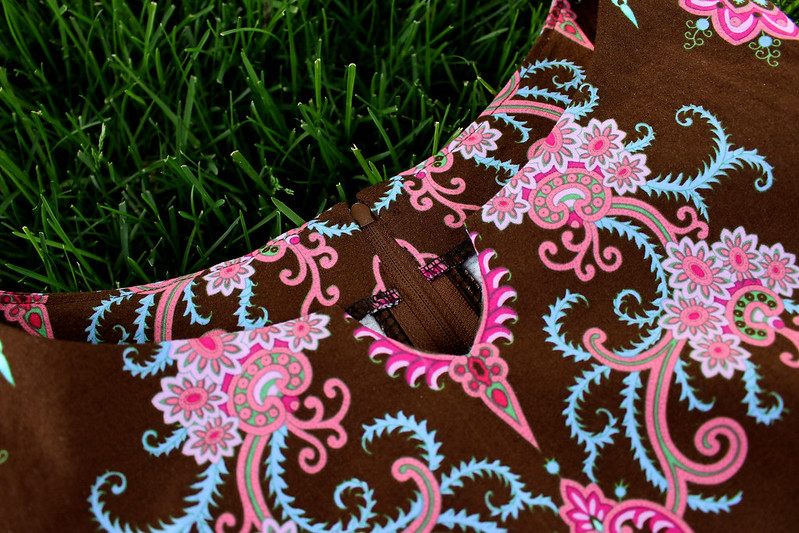
Super happy with how the neckline notch just happened to end up inside a motif!


The pattern includes a unique way to get a zipper in perfectly - a gluestick! I used this method first on my Jenny dress and loved it. It was especially useful for this dress, with the symmetrical pattern! I switched to pink thread at the waistband when stitching in the zipper.


Hand hemmed to continue the invisible finishing. I think the last item I hand-hemmed was the little satin brocade dress I made for Abigail for my sister's wedding two years ago...


Best of all - when I walked upstairs wearing the finished dress, my husband was very impressed - he loves bold colours so I guess this was a good choice, even though very out there for me.


Linking up to SewJo Saturday!

Monday, June 9, 2014

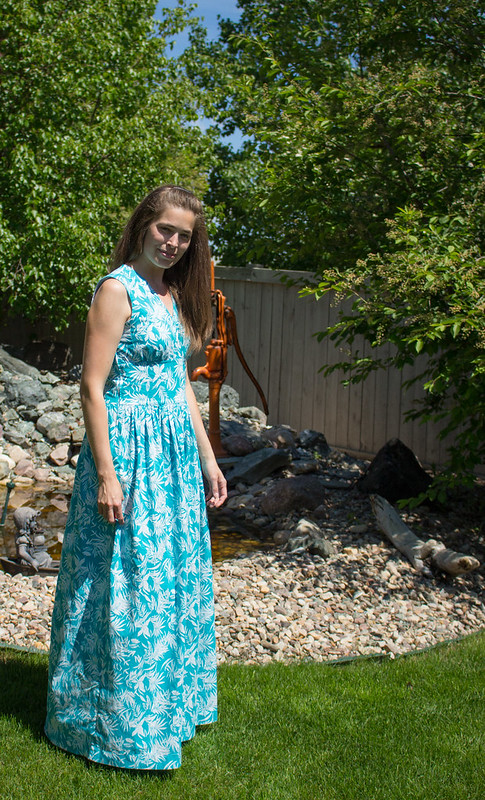
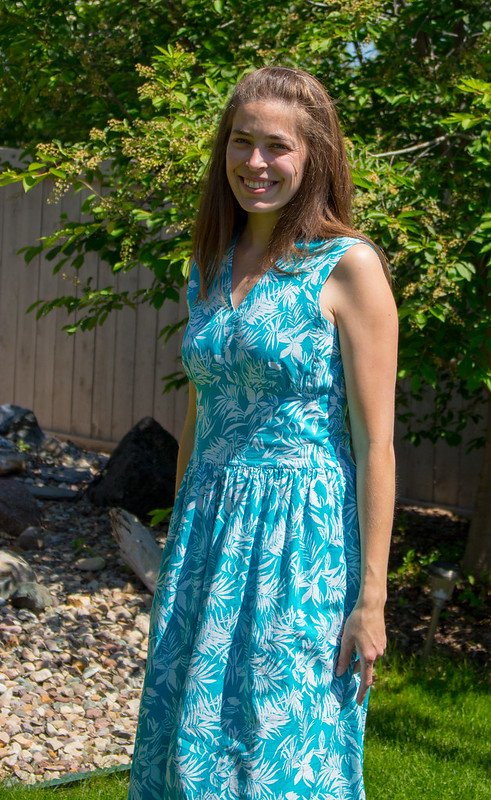
Jenny Maxi dress for moi!

Actually made this one in March, on time to take along to Mexico, but finally got proper photos yesterday! Nice weather is here, hopefully to stay!


Details
Pattern: Jenny Dress by SisBoom
Fabric: apparel weight cotton floral
Size: Large Tall, A cup, modest neckline option

I started out with a muslin and made just a few tweaks to the sizing, but the cotton I used for the muslin was a different weight and hand than my good fabric so I ended up needing to take it in a good deal. I originally used the cutting line for tall on the midriff piece but had to go down to regular as it seemed to sit wrong. Once I had the whole thing together and the zipper in I realized it was still roomy so had to take the sides in another 1/2" on each side. Next time I'll choose a smaller size to start, I think.


Very pleased with how it turned out, overall! It's very exciting to actually have a full-length dress, as a tall girl.


Monday, June 2, 2014

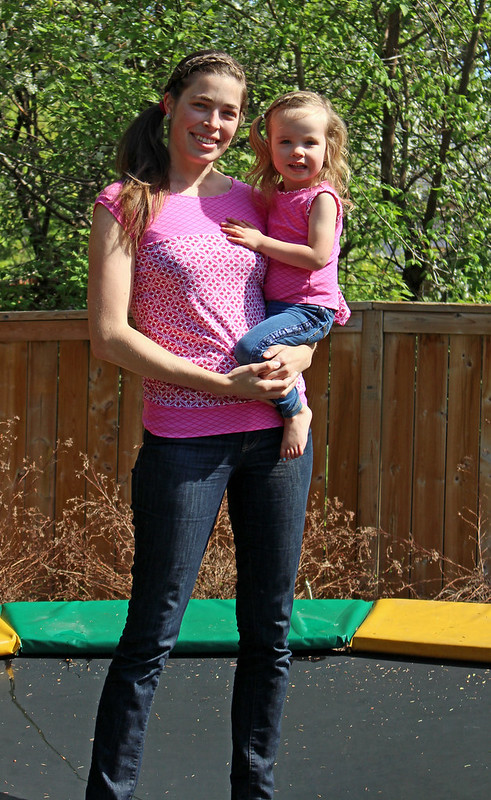
Mommy & Me!

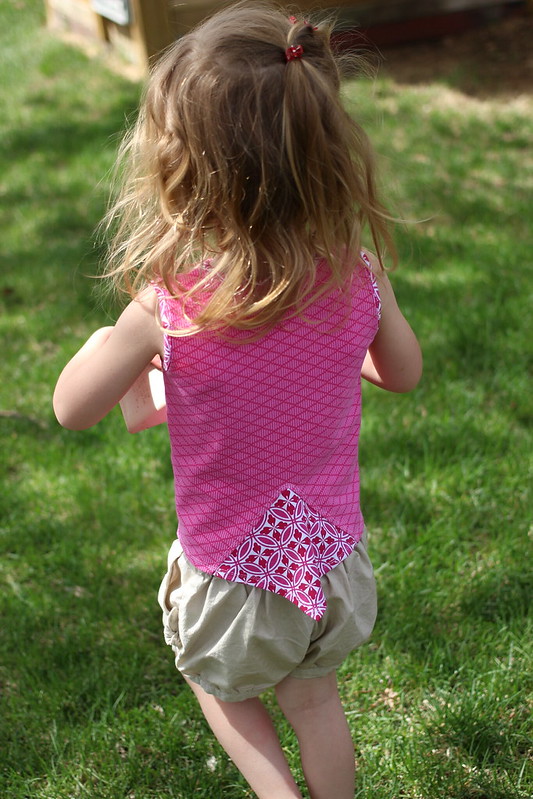
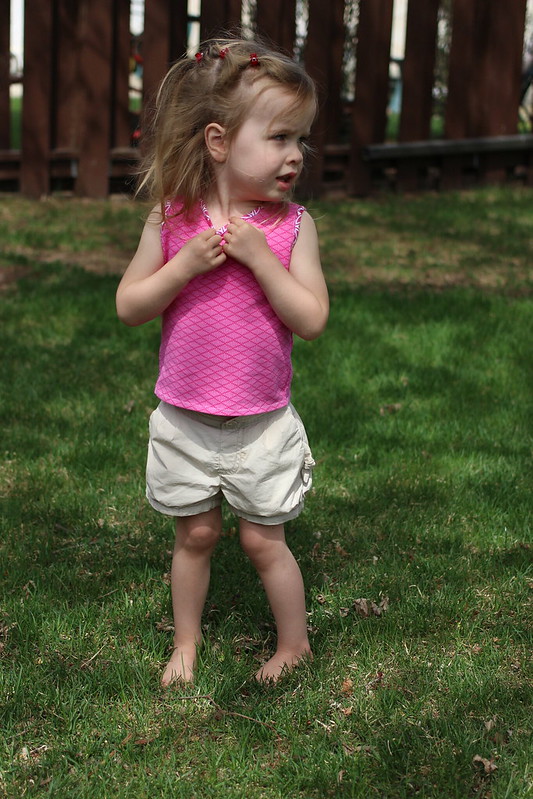
I had a chance to test a pattern for my friend Jess (Gracious Threads) - the new Skylark Tank & Tee!


Such a fun little top, with a surprise at the back!


Super pattern! The pattern pieces are computer drawn and print out accurately. The photo tutorial style directions are simple to follow and contain some good tips and techniques for working with stretch fabrics. Since the testing phase, Jess has added some length to a few of the sizes - Abigail's is a tiny bit short on her.


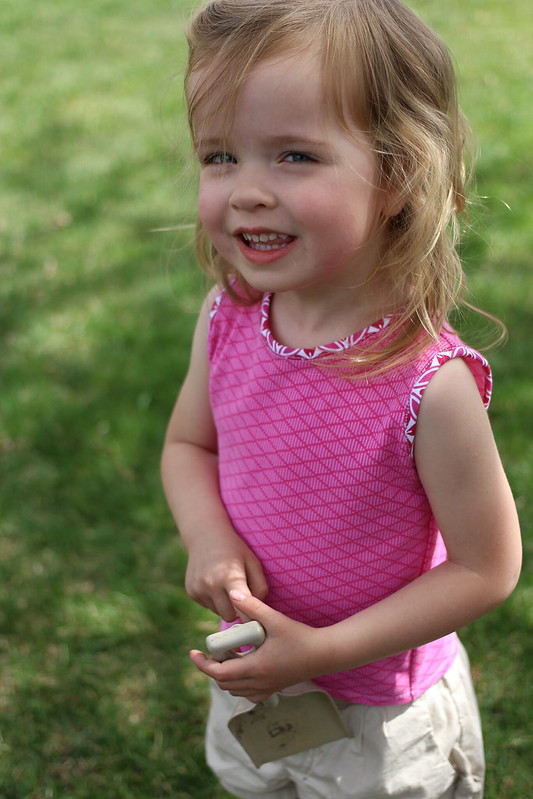
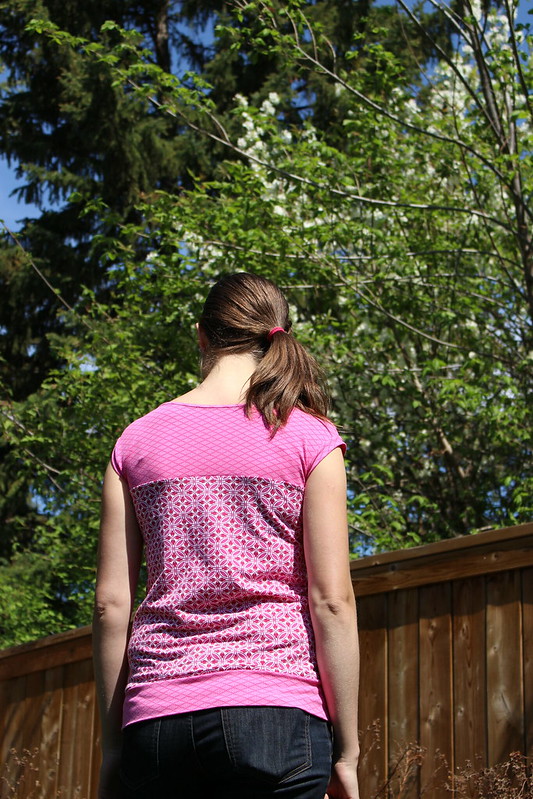
I had a remnant of Patty Young's Heaven & Helsinki pink lattice jersey leftover from another project, and for the trim/back I used part of a ladies' tank top I found at a thrift sale. For 50¢ no less! I was able to cut the binding and back insert out of the shelf bra of the tank, leaving the main body for a shirt for me!


I drafted a pattern for myself based on a t-shirt that fits well, and then cut the top part out of the Patty Young print as a yoke and took in the sides of the original tank a bit. Simple bound neckline and banded cap sleeve edges made it super fast, and then I added a band at the bottom.


Love banded tees! They stay put nicely. Plus I'm tall, so nothing ever seems quite long enough. This one is juuuust barely, but I'm pretty happy with it.


YES! Sunshine after 4 days of rain and cloud! And I think we can safely say our two weeks of spring have arrived. Everything is green and all the trees and blooming. Hot weather coming up soon!