Showing posts with label boy. Show all posts

Saturday, May 30, 2015

A Yellow & Blue Wedding!

My husband's sister got married in March. Two of our kids were in the bridal party, along with two other little people, so I got to do some fun sewing!


The other flower girl's mom and I used Vogue 7819 to make the two flower girl dresses. The dress has an organza overlay, a partial circle underskirt with a netting sewn on for volume, pleated sash, and invisible zipper. The satin was a little tricky to work with, but the result was so cute!


I'm blogging over at Sew So Easy with techniques on working with sheer fabrics today. Click over to check out more details on construction of the dress.


I used the Dapper Lad pattern by Ellie Inspired to make the vests for Benjamin and the other ring bearer (wait, I guess they were actually sign bearers!), and this pattern, scaled down a little and with a slide at the back for the bowties.


Hamming it up during the official photos - that's my handsome almost 6-year-old on the left!


Of course Ian needed a matching tie - I used a white on yellow polka dot for the tie tip, just for fun.


And a shot of the family together! My dress happened to match the bridal party, and my husband was in the party, so nice & matchy matchy.  :)


While I was working on the vests I took a couple of photos - thought I'd share them for tips on working with satin - look for a post very soon!

Wednesday, October 8, 2014

Autumn is here! Time for long sleeves

We've been having a gorgeous Indian Summer/Fall here! Often Alberta has an abrupt 2 weeks of autumn between a hot summer and many months of snow, so I'm enjoying this.

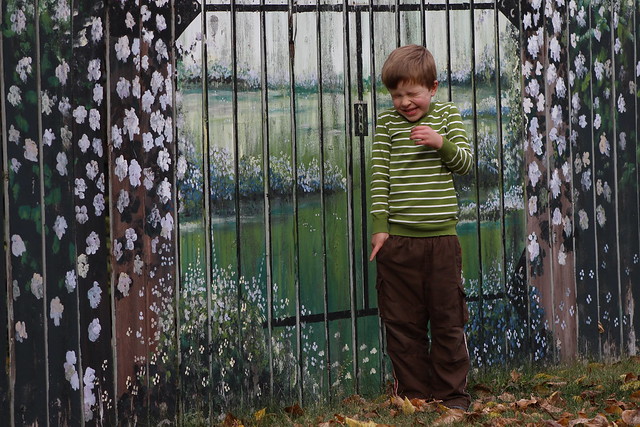
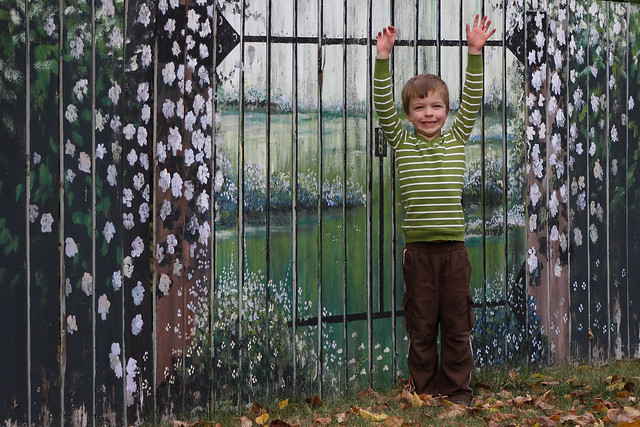
Benjamin might not be - he's suddenly shot up, all in the upper body, it seems! Every time he lifts his arms his midriff is quite...chilly. Which means sewing, of course. He's very pleased with his new sweater, hopefully one that will do for Sundays this fall/winter.


I bought a soft Tommy Hilfiger men's XL v-neck sweater for $0.50 at a thrift sale this spring (of course forgot to take a before photo... sorry). The pattern I used is a basic long-sleeve shirt pattern from Ottobre Design magazine: #34 Mr. Bear from Winter 6/2013. I cut size 110 with a length of 122 for my long-torsoed son.

I started by cutting the front on the fold, guessing at where the v-neck should be, as the pattern is a crew neck. From there I cut the back, matching the stripes at the sides. So the only part I had to sew the neck ribbing on was the back neck.


Then I cut the sleeves, trying to line up the stripes to the sleeve openings. Not the best success there because I wanted to re-use the knitted-on cuffs.


I topstitched the ribbing at the back neck edge to keep it lying flat. Looks pretty similar to the front.


So it was pretty simple to put together - the last thing was the hem ribbing, which I sewed back on after I had the right length in the top. He's very pleased with his warm new sweater!


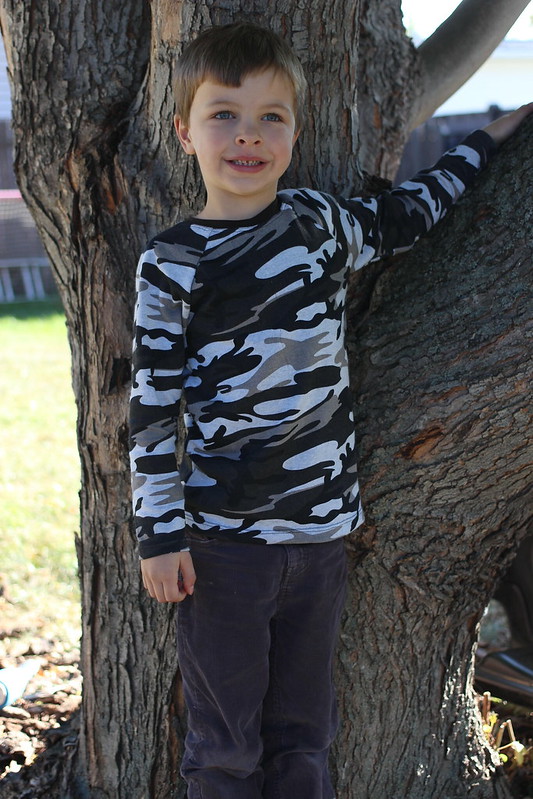
The other shirt I completed last week is a simple raglan style shirt, using the pattern Streamline Tee by Terra's Treasures, size 7. Goes together so fast!


The fabric is a poly-cotton blend french terry I got on clearance for $2.50/m a bit ago, plus a bit of brown cotton interlock for neckline binding. I left off the cuff and just hemmed the sleeves at about 3/4" and it's perfect for him.


So two shirts down and he's very thrilled! I like quick projects like this. :)


Friday, May 30, 2014

Embellish is for BOYS! Ooga Booga Fun

Jess over at Gracious Threads is running a series called Embellish is for BOYS.


Last week I won the pattern giveaway - the Streamline Tee from Terra's Treasures! I wanted to embellish along that week but things got too busy. SO - this week I doubled up. This week's theme is applique and last week's was freezer paper stencilling.

Look! A spiderweb!
Details
Pattern: Streamline Tee
Size: 5
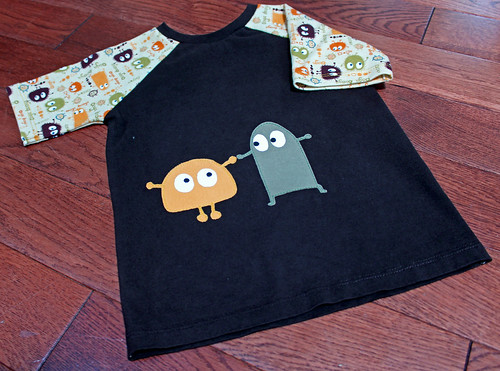
Fabric: Upcycled tee, Ooga Booga interlock, jersey scraps

I used Heat 'N Bond to fused the monsters onto the shirt before assembling it, then used the stencil method and fabric paint to make the eyes.


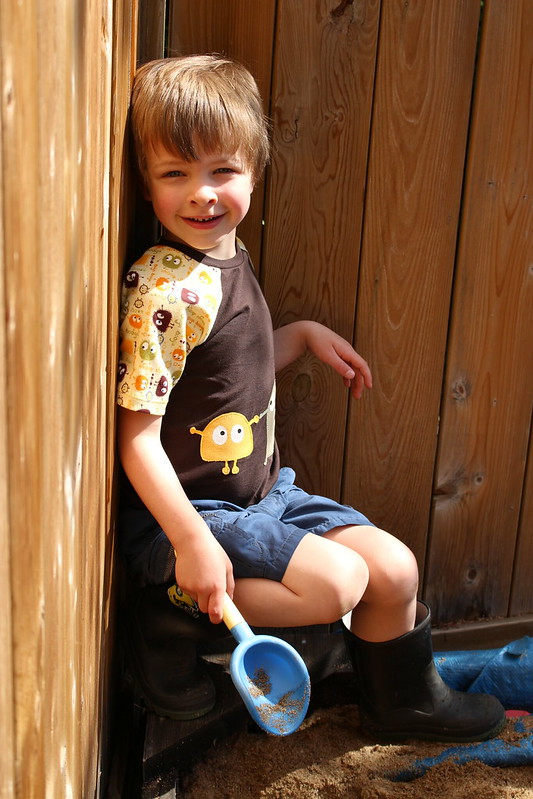
And by happy chance, the little Ooga Boogas are holding hands! :) He's very pleased with his new shirt, which makes me very happy - I was afraid my big guy would be too old for monsters.


Friday, November 1, 2013

Halloween 2013 - Attack of the Gauls!

Asterix, Obelix and Dogmatix came knocking tonight!


Ian chose Asterix when his school had Book Character Dress-up Day this month - Asterix is his favourite comic! Obelix and Dogmatix are obvious choices for the other kids.

Asterix's pants/shirt/belt were from my friend and I was just going to make the hat, mustache and sword and keep it at that - until the night before dress-up day when he was very sad there was no sheath and no magic potion bottle. So I spent a couple of hours sewing up some leather scraps and Asterix was very happy.


A paint stir stick with some carved detail and a bit of paint made a nice sword and I just sewed the leather sheath onto the belt. (ICK! sewing the sheath was a pain. I ended up handstitching the tip because my machine wouldn't make stitches through 4 layers of leather.)


Bottle with magic potion inside (just some scraps of leftover tshirt fabric):


I couldn't figure out why Benjamin was reluctant to be Obelix until he said, "I'm not fat. I don't want anyone to think my tummy is so big!" He changed his mind when I assured him everyone would know there were pillows stuffing his pants... Speaking of which pants, really simply made - I just took a pair of his pants as a pattern, cut the pieces kind of in gores, extended for the torso part, all bargain sweatshirt fleece. Obelix's "chest slipped" (heehee) till I added a pair of straps to hold the pants up. The belt circles are craft foam with fabric glued on, attached to the pants by snaps so if it needs washing they come off.


The helmets: I simply draped an old tshirt over each boy's head and covered it with duct tape. The knobs are balls of tinfoil covered in duct tape, the feathers are layers of white craft foam cut to shape. Both mustaches are yarn tied to clear elastic, looped over the ears. Obelix's braids are also yarn, tied with fleece bows and attached inside his helmet.

Dogmatix: I pieced together the hoodie from largish scraps of white and black fleece on the shelf, added ears with a strip of boning inside each, and pinned a tail onto her (bought) black pants. Abigail's favourite part was the black nose! Here she is, stuffing her puppy face with chocolate and drooling over her spoils of war:


Tuesday, September 3, 2013

First day of Grade 1!

Can't believe my oldest is going to school full time. It was a little hard to be cheerful for Ian this morning. No photo of him ready with his backpack - it was full of his school supplies so when he put it on he nearly fell over backward!


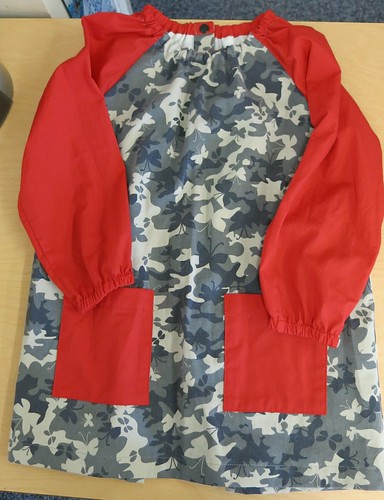
He needed a paint shirt for school this year, so I got oliver + s: little things to sew out of the library and got to work on the Art Smock. (sorry for the crummy photos)


I also made one for Avery, his best buddy (girlfriend?) from kindergarten.


Both smocks are the medium size. The pixelated camo is a light canvas and the butterfly camo is twill, so they should hold up well. They close at the back with snaps.

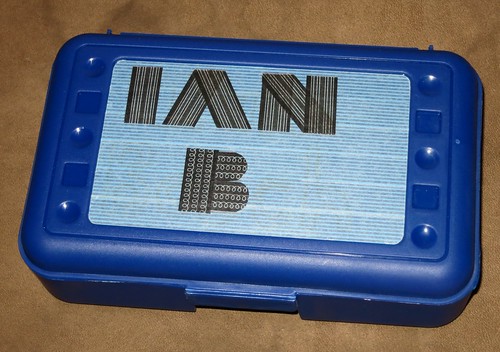
And I had a little fun with my washi tape collection! Fairly simple way to label a pencil box - I just covered it with striped tape, then used an X-acto knife to cut the strips for letters and scissors for the letter B. Then I covered it with contact paper so it doesn't rub off.