Be sure to have a look at each - there is a wide variety of fabric and notions available from our wonderful list of sponsors. Don't forget to mention you learned about them from our quilt retreat!
Friday, April 24, 2015
Canadian Sponsors for 2015 Quilt Retreat
Be sure to have a look at each - there is a wide variety of fabric and notions available from our wonderful list of sponsors. Don't forget to mention you learned about them from our quilt retreat!
Quilty Pleasures Quilt Retreat 2015!
It's always so much fun to see what everyone else is working on, different types of quilting and other sewing. Here are a couple of the projects we worked on:
During the day we had a couple of fun games, like the Fat Quarter Toss. We each took turns picking a fq, then attempting to toss it into a basket. If successful, the tosser got to keep the fq, if not, they joined the end of the line.
A few of the attendees also generously donated quilts and crocheted blankets they had made during the year, so we have a nice bundle to bring to the Pregnancy Care Centre again this year!
Some of the very cute blankets and quilts that were donated.
Thursday, April 16, 2015
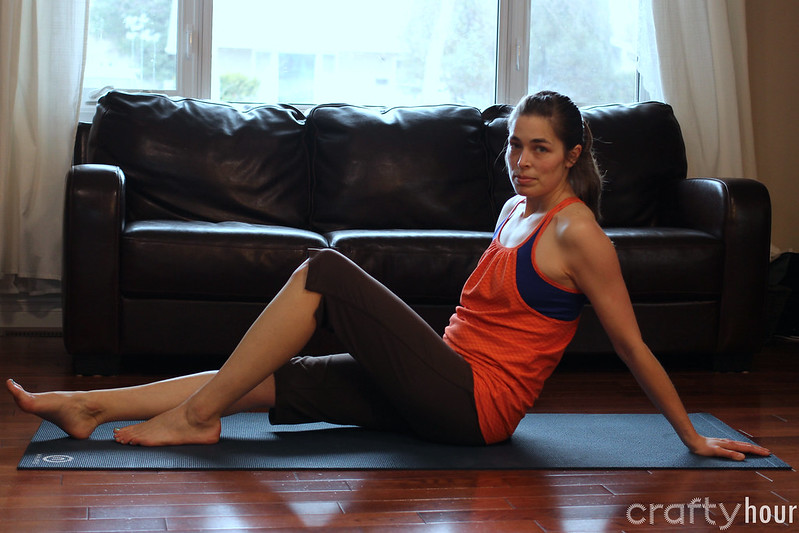
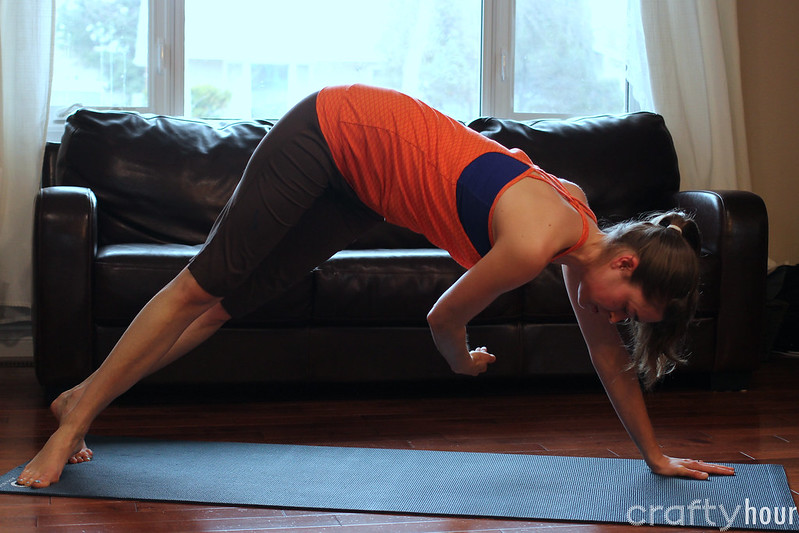
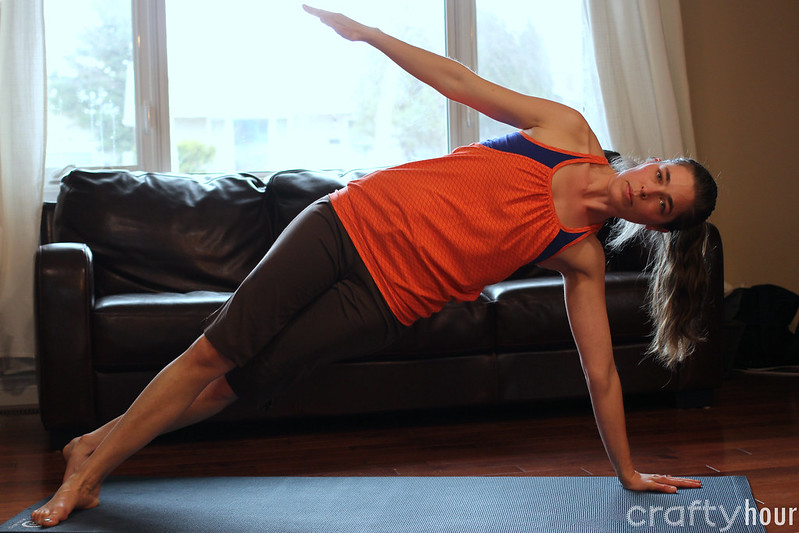
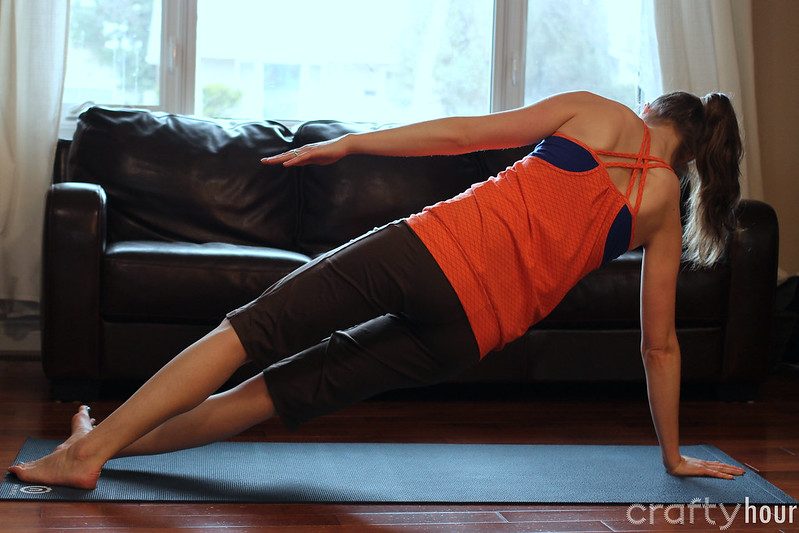
Agility Tank by 5 out of 4 Patterns
Wednesday, February 25, 2015
Spool Love Mug Rug
Download the paper-piecing spool pattern at this link. (Be sure to print the pdf with no scaling)
Materials: You will need some scraps, as follows:
- background (gray), 1 about 4″ x 5″, 2 about 3″ x 1.5″, 4 about 1″ x 1.5″- spool “thread” (pink or color of your choice), 2 about 3″ x 2″, 2 about 1″ x 3.5″
- spool top and base (faux bois), 2 about 3.5″ x 2″
- binding, about 25″ x 2.25″ wide
- batting (scrap about 6″ x 8″)
- backing (about 6″ x 8″)
You can roughly cut your scraps to the right sizes, or just hold them up on the back of the paper to make sure they will cover the area. So, starting with the spool centre piece, cut out the paper pattern piece (doesn't have to be exact). Hold your spool centre scrap up behind the paper to make sure it will cover the centre, labeled #1. It should be with the wrong side toward the paper back. Then take your next scrap, a background piece, and lay it right side facing the centre piece. You want to make sure it covers space #2 when it is stitched and folded out toward the side.
Press the whole spool block – your paper-piecing is done! Trim the unit to 3″x4″. Next, cut two strips of the backing fabric 1″x3″ and stitch to the top and bottom of the spool block. Press the strips away from the block. Cut one piece of the background fabric to 4″x5″ and stitch to the side of the completed spool unit. Press seam. Your mug rug top is finished! Trim to 5″x6.5″. Layer the mug rug top, scrap of batting, and the backing fabric and baste.
Now you get to have fun quilting your little mug rug! I chose to stitch in the ditch around the spool ends and then free motion some “thread” around the spool, leading into a word.
TIP – use an erasable marker to draw out your word or design so you can follow the writing as you sew and then erase it afterward.
The last step is to trim the excess batting and backing and bind the mug rug. If you're looking for a good tutorial on binding, the last part of my Wonky Stars Mug Rug tutorial has one.
Your sweet mug rug is finished and ready to keep your sewing table clean and your mug happy!
Wednesday, February 11, 2015
The Haven Acres Mini Collection is here!
Jennifer's design is unique, but I'm even more impressed with her pattern! It looks so professional - from the beautiful watercolour cover to the thorough and easy to understand directions and perfect pattern pieces! One of my favourite things about Jennifer's pdf patterns is that she uses layers for the different sizes, so you can just turn off the sizes you don't need and print just one size, or two if you need to grade between sizes!
![]() |
| Sweet Pea Cap |
It's been a long haul, testing this collection over the last couple of months but Jennifer stuck to it and has this beautiful pattern collection to show for it.
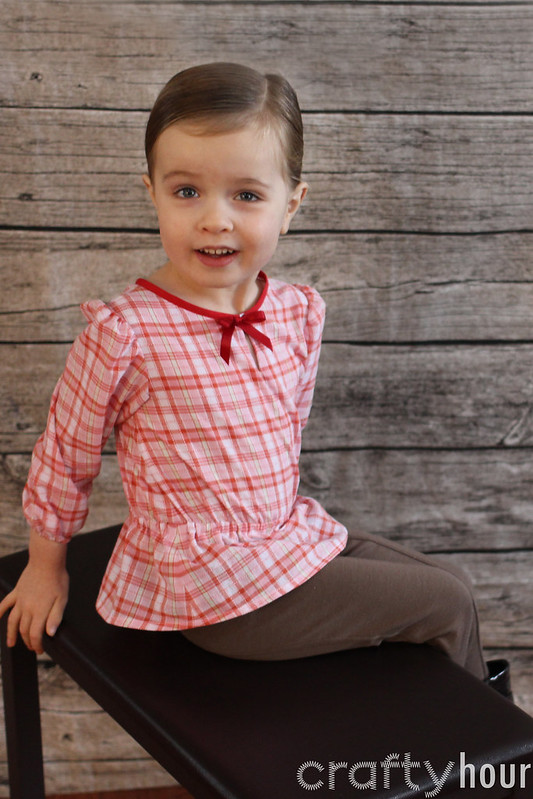
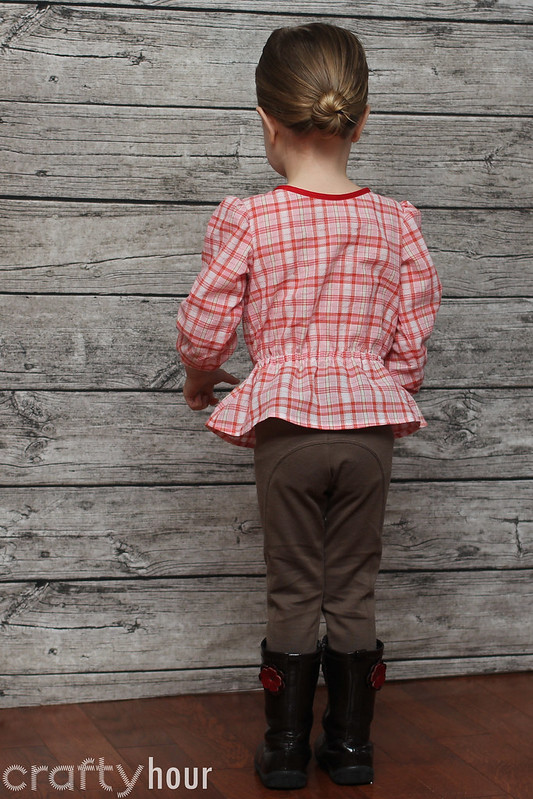
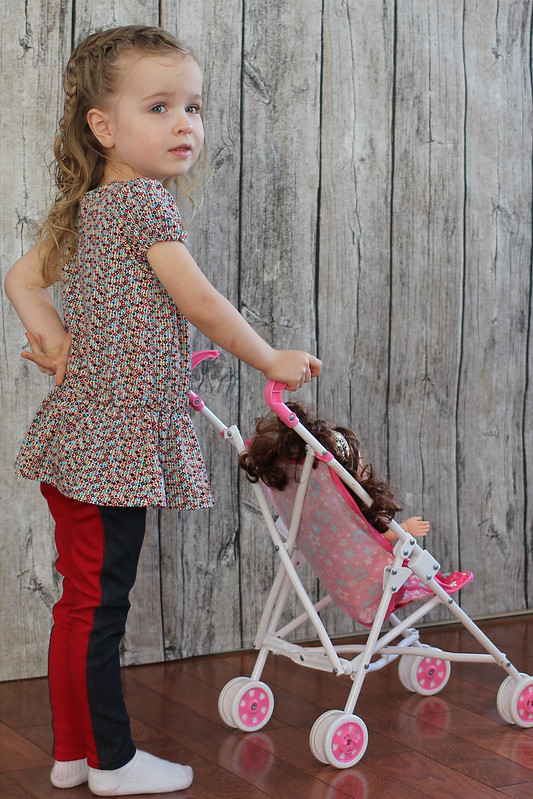
The Dressage Leggings pattern has options for basic leggings or the equestrian-style paneled version, and each of those versions also has a regular rise or a high rise for the smaller sizes, to accommodate cloth diapers. The leggings fit great and the paneled pattern pieces are perfectly drafted to make them easy to put together, including an option for flat-felled seams for comfort. This first pair I made out of a tan ponte di roma - since then a few tweaks have been made to the pattern to perfect the fit.
The little red plaid blouse is the pre-test version of the Haven Acres Blouse - since then the length of sleeves and bodice have changed a bit and the front keyhole is a slightly different shape. I used a pretty soft cotton lawn plaid for a more country feel riding blouse, and she adores it. The blouse has the prettiest little peplum flounce with elastic casing at the waist, softly puffed sleeves in two lengths, and a bias-bound neckline with an elastic loop/button closure under a ribbon, or the option to add ties over the keyhole.
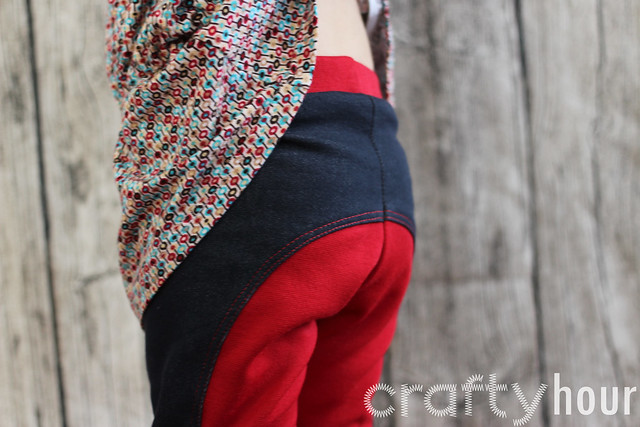
Here's the back of the Dressage Leggings for a better view of the riding-inspired panels:
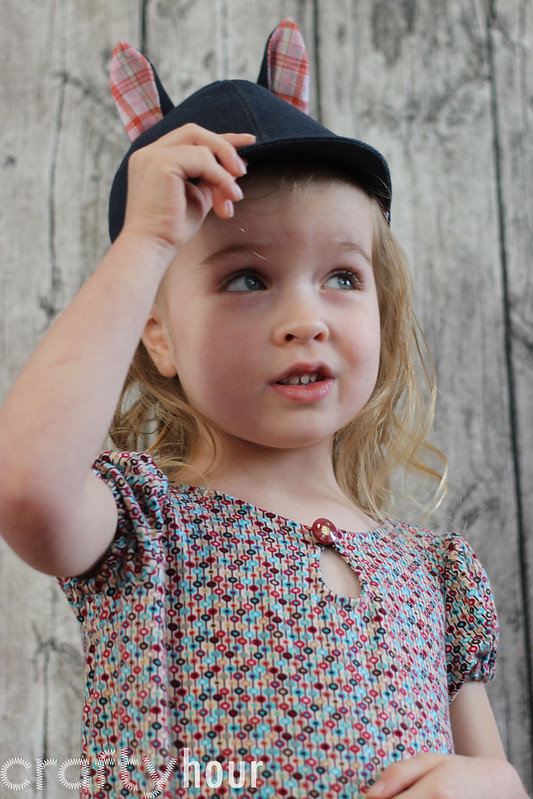
And the last piece in the collection is the Sweet Pea Cap, the most adorable little riding-style cap because PONY EARS! (or so I am told by little miss.)
One of the testers also came up with a sweet design for kitten ears, which Jennifer kindly added to the pattern for even more options. The cap is a super simple sew with several sizes based on head measurements (thankfully! My girlie has a huge head for a 3 year-old).
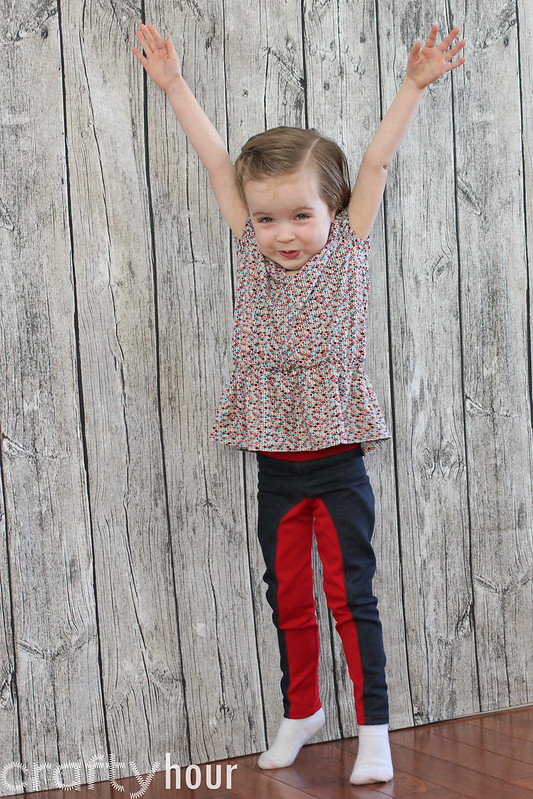
I did another pair of the Dressage Leggings and a blouse, all in colours to mix & match. For the leggings I used stretch denim with a red ponte di roma for the inner panels, and went up one size to account for the denim not being as stretchy. They fit like a dream on my skinny, no-butt girl!
Love the red topstitching. I had to use a regular needle in two passes instead of a twin needle because of the denim, and just regular thread to topstitch.
This version of the Haven Acres Blouse I used a soft jersey knit instead of a woven, just to try it out. I love the result!
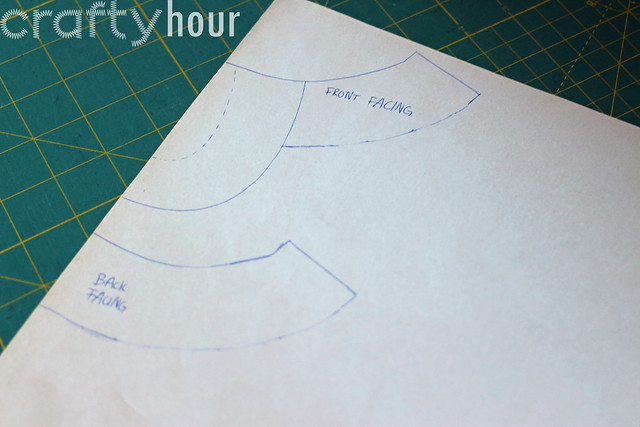
Details of this blouse: I used her regular size, the size 3, just with a little added length to account for her long back. Instead of using binding at the neck, I drew a facing pattern based on the necklines combined with the keyhole facing.
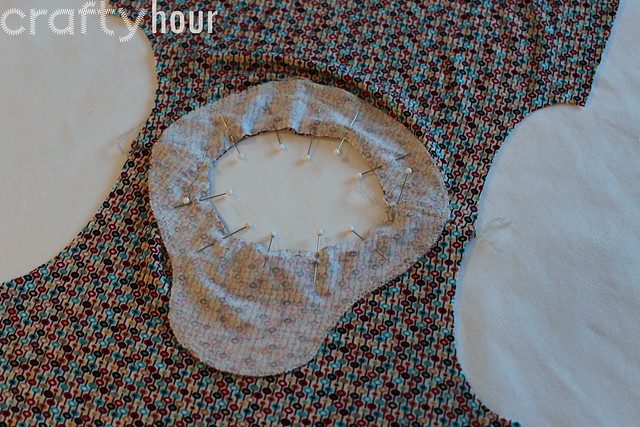
I cut out the facing pieces from the same fabric and stitched them together at the shoulders. The I finished the outer edge with the serger (alternatively, this could be left raw, as jersey wouldn't fray).
Once I had sewn the shoulder seams of the blouse together as per the pattern, I pinned and sewed the neckline facing in place, and then stitched the keyhole opening as the pattern describes. From there it was simple to turn the facing inside and tack it down just at the shoulder seam. Alternatively it could be topstitched down all the way around, either very close to the neckline or close to the outer edge of the facing.
Thanks for the opportunity to test such a unique collection, Jennifer! I know there are more pairs of Dressage Leggings for sure and also another Haven Acres Blouse on the horizon for Abigail!
Monday, January 12, 2015
Quilt Retreat 2015 is coming up!
We've secured the same amazing, light-filled, spacious venue we've used in other years - Immanuel church's foyer!
Such a fun event, perfect timing to break up the winter blues. This year's Quilty Pleasures retreat (haha! I still get a chuckle out of that name!) is scheduled for Saturday, February 28, 2015, from 9am till 9pm. A whole day of sewing, chatting and yummy food that I don't have to cook! I'm in, for one! :D
Monday, January 5, 2015
Rainbow Diamonds Quilt
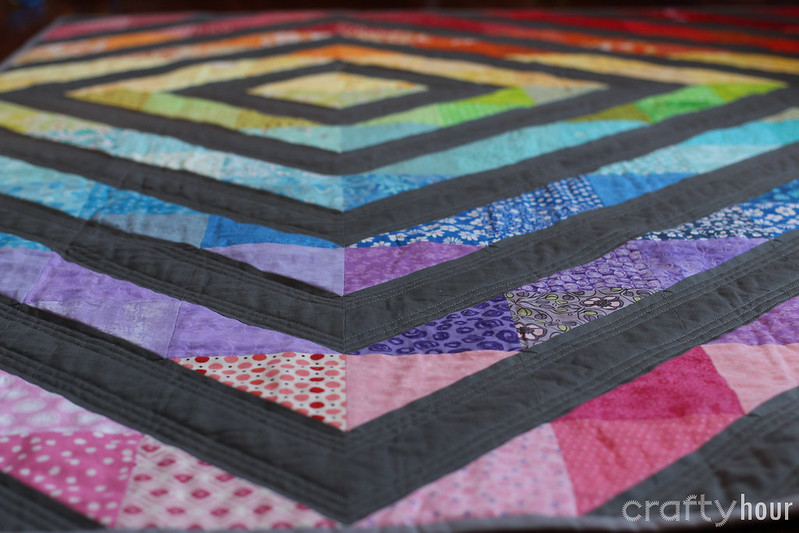
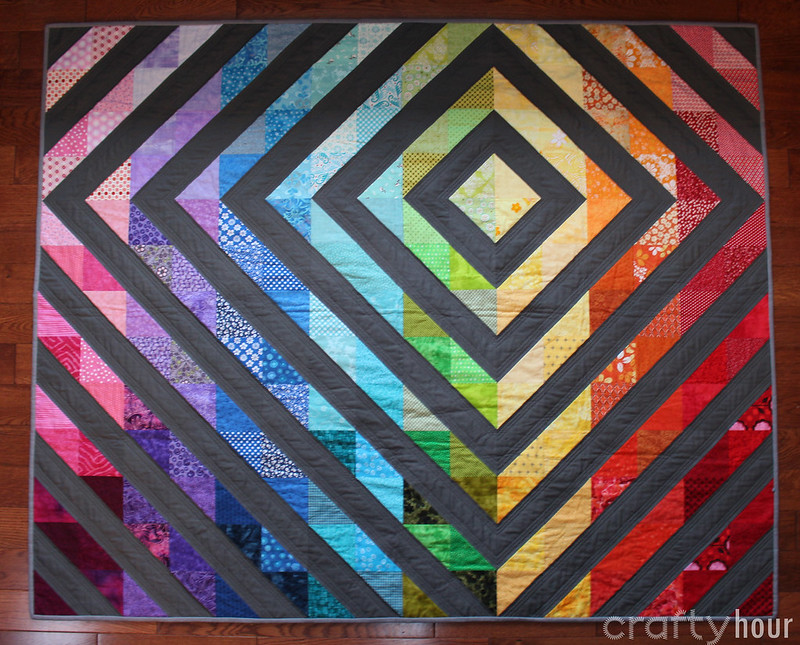
Then I cut some more from my own (very small) cotton scrap bin, and Suzanne let me dig through her scraps for the rest, till I had 13 of each colour total. I added gray to make them into half-square triangles. Part of the reason this took so long to make was because I couldn't decide how to arrange the blocks. There are just too many options with half-square triangles! I debating doing a spiral, chevron, or random placement, but eventually came up with this off-centred diamond rainbow.
The quilting was easy enough - just straight-line echoes in the gray. For binding I debated several options, but anything with a colour in it made that colour in the rainbow jump out, and the same dark gray made the gray the focus. I settled on solid light gray and I think it's just perfect.
I love the awesome backing! I found this great cursive script numbers fabric at IKEA a while back and knew it had to be a quilt backing. Especially for $3.99/metre! If I recall correctly, it's called Nummer. Slightly thinner quality cotton, but just fine for a backing.
At about 52" x 64", it's a great length for one person (even a tall one!), or it's also good across two laps - just what we need for the couch.