Friday, December 5, 2014

Sew Fab Bundle - Extraordinary Girl and Capitol Hill

The new Sew Fab Bundle is here! This time it's a Winter Women's Bundle, with 10 new patterns, available till December 15th.


And, yes, that's me, top right corner, wearing the Extraordinary Girl by Filles à Maman. I also did my own version of the Capitol Hill by Straight Stitch Designs. For pattern descriptions and size charts, take look over here.


For the Extraordinary Girl, I did two versions during testing. This pattern is fun - I would never have thought of a lap-shoulder top for a woman, but it's a fun and unique detail and surprisingly easy to sew. This was my first try with the original pattern (since then the sides have been shaped a little more).
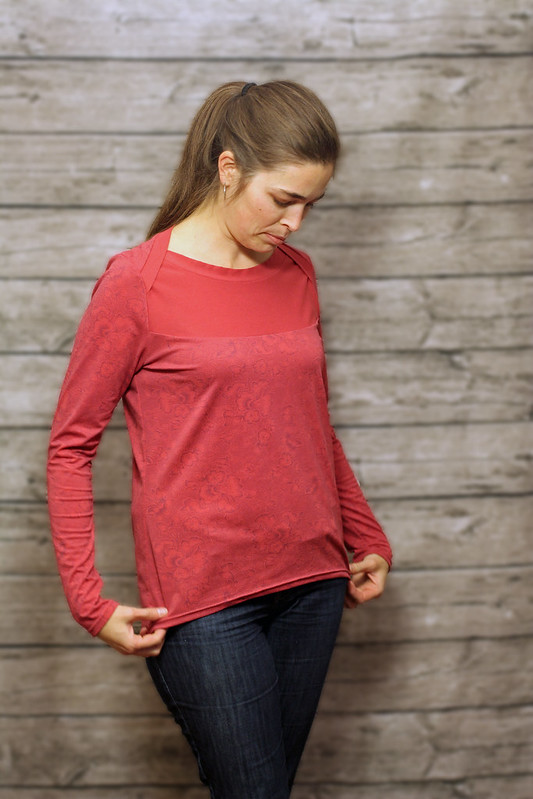


I used some fashion jersey, almost a coral colour with dusky roses printed all over it. I used the reverse of the same fabric for the contrast yoke and neck bands. I made my usual adjustment for long back by adding 1.5" inches to both front and back and 1" to the sleeve length.


With the final pattern I made my favourite version:


The fabric for this is much softer feeling - it's a Michael Miller knit from the Heaven and Helsinki line by Patty Young. The orange-red was a remnant I picked up ages ago.


This is a very bold colour for me! I usually stick to greens and blues and blacks for myself, but this was so happy I had to try it. I love the slight hi-lo hem.


The twin-needle hems worked out great - this time I just used regular thread in the bobbin instead of wooly nylon, as lately I can't get any good tension with that stuff.


I also tested for Kimberly of Straight Stitch Designs. After a lot of hard work and versions, she came out with this gorgeous design:
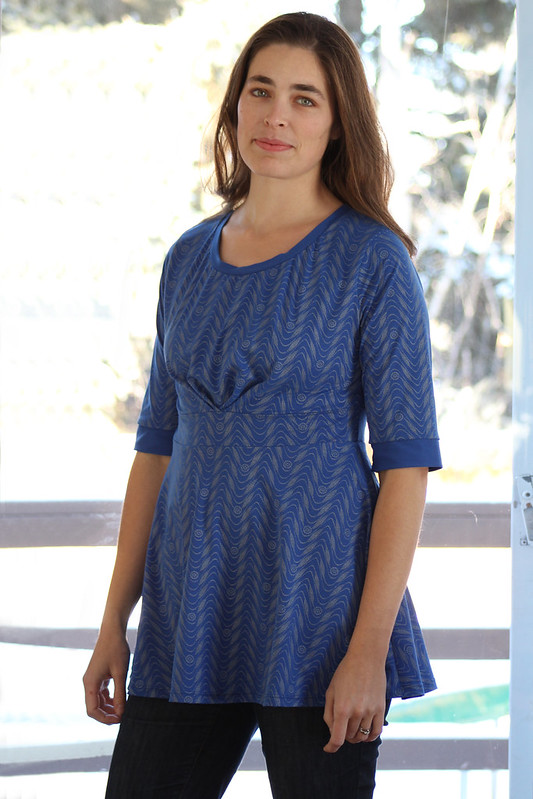


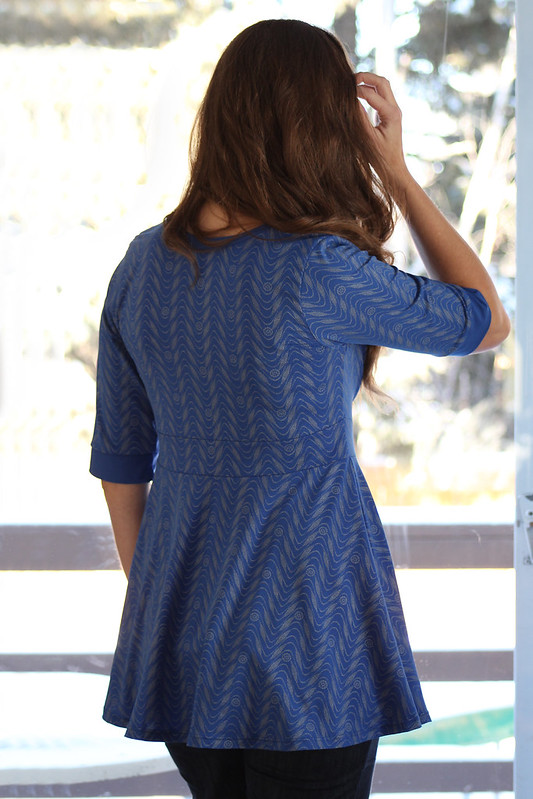
The Capitol Hill top and dress has lots of options and unique details! I did the elbow length banded sleeves and 3/4 circle skirt tunic length for mine. There are also options for a gathered skirt and full circle skirt, each in tunic or dress length, and long sleeves too. The bust shaping comes from overlapped double pleats at the centre, which Kimberly did a video walkthrough of as well as a thorough description in the pattern.

So check out the rest of the Sew Fab Bundle and enjoy!


Friday, November 14, 2014

Cathedral Windows

I can finally share this one! I'm a contributor over on So Sew Easy, first article today! Check out my tutorial for creating this beautiful Cathedral Window Cushion. I sure had fun doing this one.


Wednesday, October 8, 2014

Autumn is here! Time for long sleeves

We've been having a gorgeous Indian Summer/Fall here! Often Alberta has an abrupt 2 weeks of autumn between a hot summer and many months of snow, so I'm enjoying this.

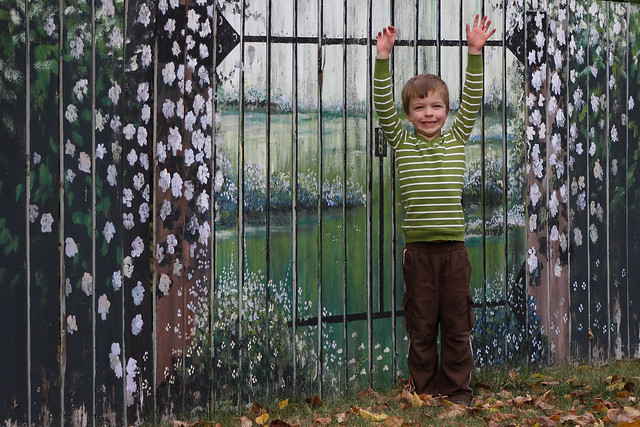
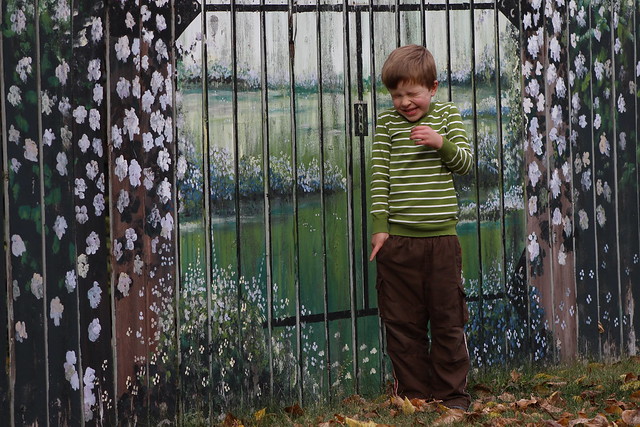
Benjamin might not be - he's suddenly shot up, all in the upper body, it seems! Every time he lifts his arms his midriff is quite...chilly. Which means sewing, of course. He's very pleased with his new sweater, hopefully one that will do for Sundays this fall/winter.


I bought a soft Tommy Hilfiger men's XL v-neck sweater for $0.50 at a thrift sale this spring (of course forgot to take a before photo... sorry). The pattern I used is a basic long-sleeve shirt pattern from Ottobre Design magazine: #34 Mr. Bear from Winter 6/2013. I cut size 110 with a length of 122 for my long-torsoed son.

I started by cutting the front on the fold, guessing at where the v-neck should be, as the pattern is a crew neck. From there I cut the back, matching the stripes at the sides. So the only part I had to sew the neck ribbing on was the back neck.


Then I cut the sleeves, trying to line up the stripes to the sleeve openings. Not the best success there because I wanted to re-use the knitted-on cuffs.


I topstitched the ribbing at the back neck edge to keep it lying flat. Looks pretty similar to the front.


So it was pretty simple to put together - the last thing was the hem ribbing, which I sewed back on after I had the right length in the top. He's very pleased with his warm new sweater!


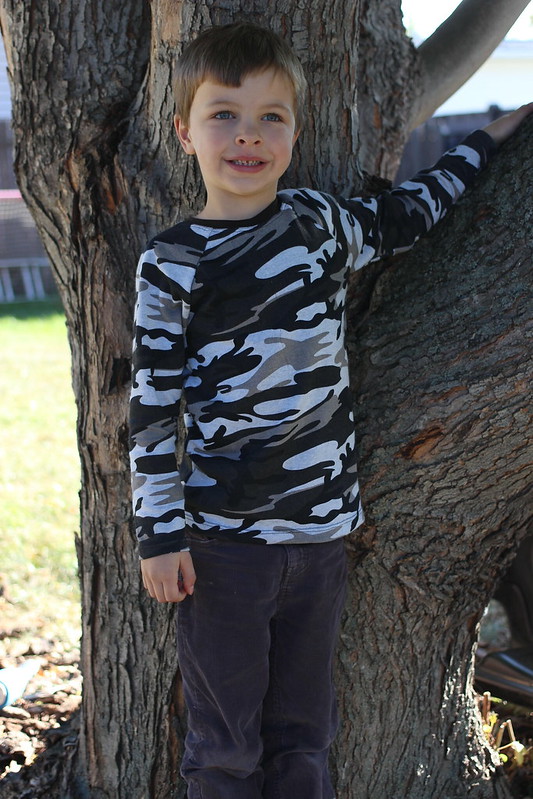
The other shirt I completed last week is a simple raglan style shirt, using the pattern Streamline Tee by Terra's Treasures, size 7. Goes together so fast!


The fabric is a poly-cotton blend french terry I got on clearance for $2.50/m a bit ago, plus a bit of brown cotton interlock for neckline binding. I left off the cuff and just hemmed the sleeves at about 3/4" and it's perfect for him.


So two shirts down and he's very thrilled! I like quick projects like this. :)


Sunday, September 28, 2014

Birdie Dress Coat

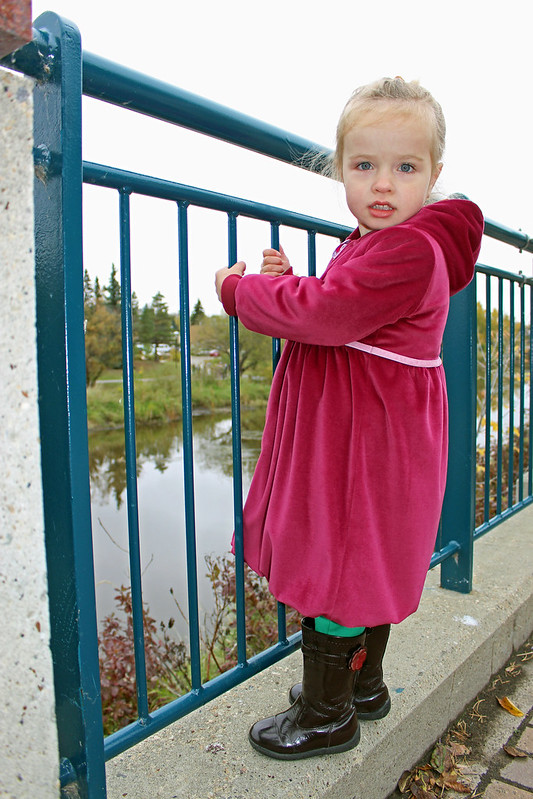
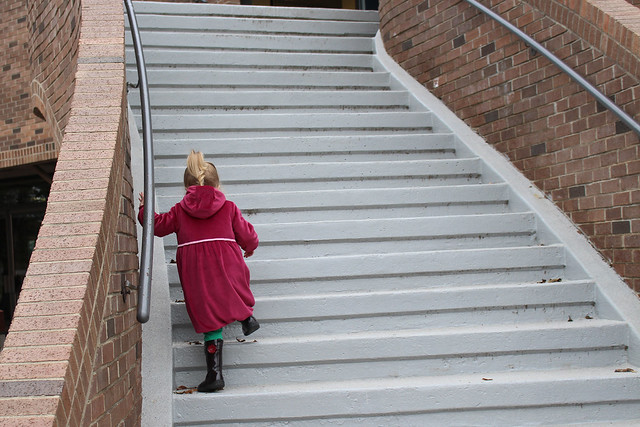
I've had this fabric for 2 years - finally got up the courage to tackle a coat for Abigail.


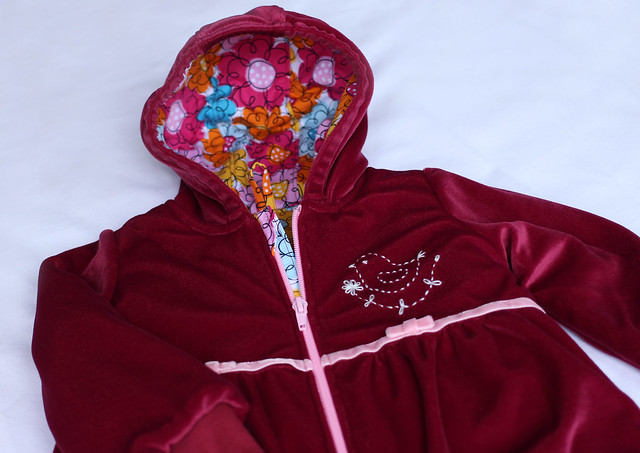
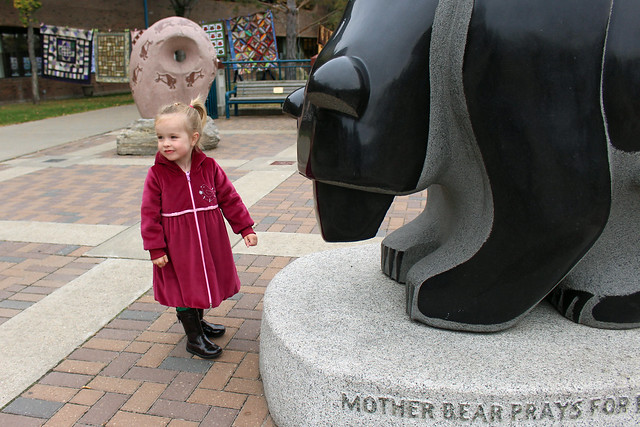
The pattern is called Lintunen, #9 from Ottobre Kids magazine, Winter 6/2012. I used Abigail's measurements to choose the size, cutting size 80 for width and 92 for length. The outer fabric is fuchsia velour, with a lining of cotton poplin, an interlining of microfleece, and a vest interlining of Thinsulate.


I used the birdie design included with the pattern, with three strands of silver embroidery floss. The bows and waist trimming are velvet ribbon. I've never done a zipper shield before and had to sort of guess because the directions were a touch sparse.


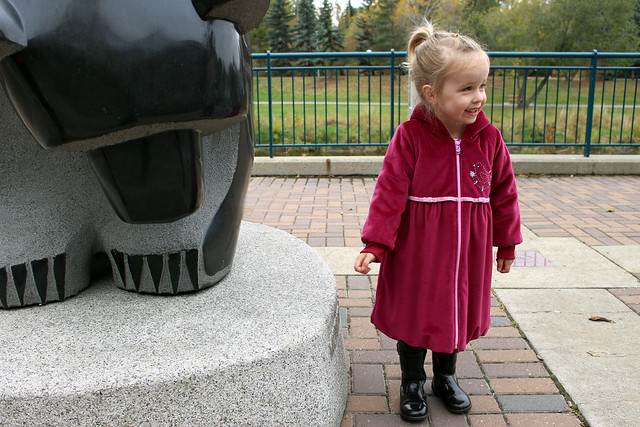
I love the length on Abigail. It should easily keep her quite warm for all but the coldest winter days. The only sad part is that the hood is too small for her head, in part because I didn't realize I needed seam allowance on the front of the hood, but also just because her head is so big!


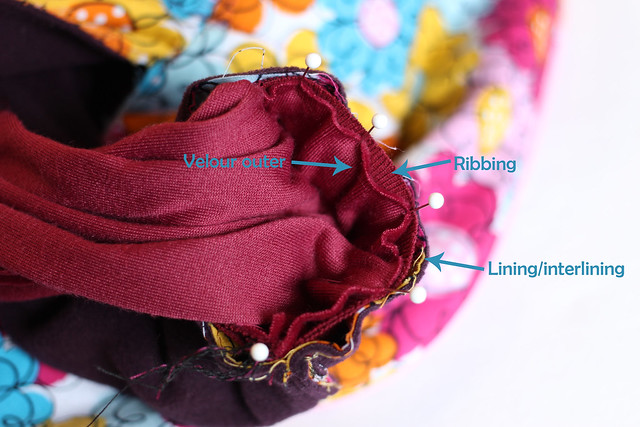
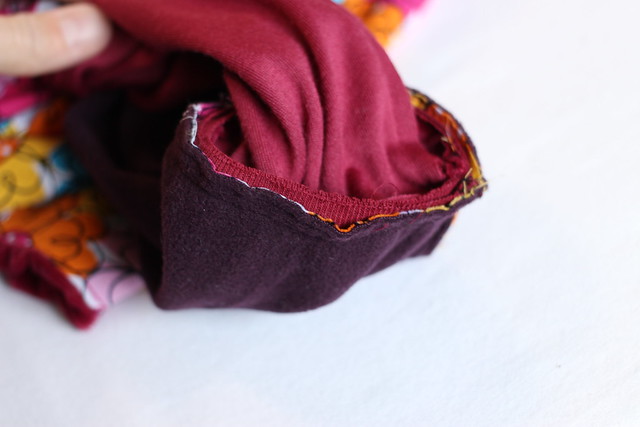
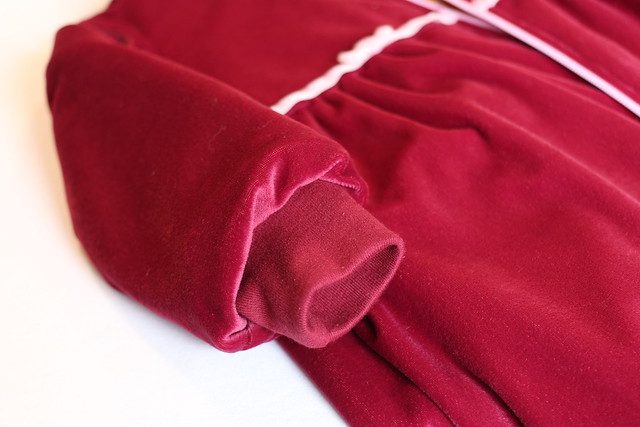
The only real alteration I made to this pattern was to add ribbed cuffs to keep her wrists draft-free, instead of the cased elastic the pattern calls for. (this same idea would work to add cuffs to a ready made coat too!) I took a few quick photos of how I did the cuffs. I cut cuffs to fit her wrist, about 3" long when doubled. Where the pattern calls for the edges of the lining and outer sleeves to be sewn right sides together, I just sandwiched my double-layered cuff between, and pinned with all raw edges together.


Sewn together:


Once turned right side out through the opening in the lining, the longer outer fabric blouses over the ribbed cuff.


View of the lining side:


Little missy is very pleased with her new birdie coat, so I am too!


Wednesday, September 24, 2014

Selfish Blue Roses - A Dress for Me

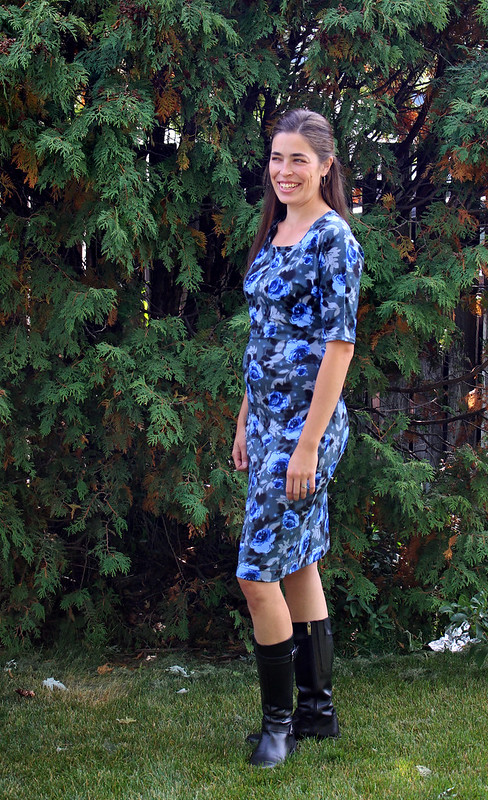
Well, this week is Selfish Sewing Week, so I knew I'd be dropping my "must sew" list for at least one selfish project. We'll see if any others happen, but in the meantime, I'm super pleased with my latest dress!


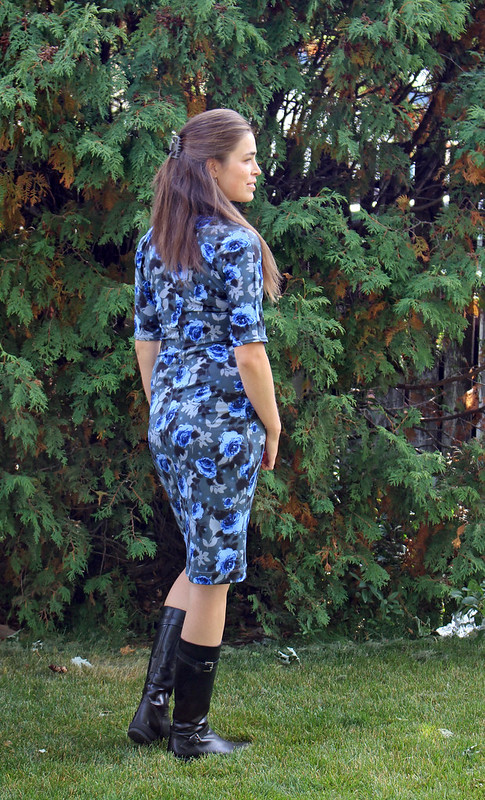
I bought this soft single jersey several years ago when I was expecting Abigail, meaning to make a pretty maternity top or something, then ended up on bedrest not needing much more than a lovely hospital gown. Since then, it's beckoned to me several times, until I recently found the perfect pattern to show off the beautiful print - the Wear Everywhere Dress by So Sew Easy. Free pattern too!


The pattern printed perfectly and the dress went together as if it'd been meant for this fabric. The only adjustments I made were cutting between sizes 4 and 5 to fit my measurements, and adding 2.5" to the length to suit my height. I used wooly nylon in the bobbin with a straight stitch to topstitch and understitch at the neck. The tricky part was getting the neckline to lie flat. The weight of the facing wanted to make it gape a little. At first I was going to stabilize it by sewing in some Lastin but I'm clear out. I ended up handsewing a line of running stitches along the inside edge from shoulder seam to shoulder seam for a little stability. 


The fit is perfect and it feels so comfy! BUT I think this may be my "goal" dress for now... unless I find some spanx! lol No room for mummy tummy in here! :D


(UPDATE: My goal comment was a bit of a joke slash snide commentary on myself - I'm not really that self-conscious about it [or at least I try not to let it bother me] Thank you, all my wonderful friends telling me to just rock this dress!! )

Monday, September 1, 2014

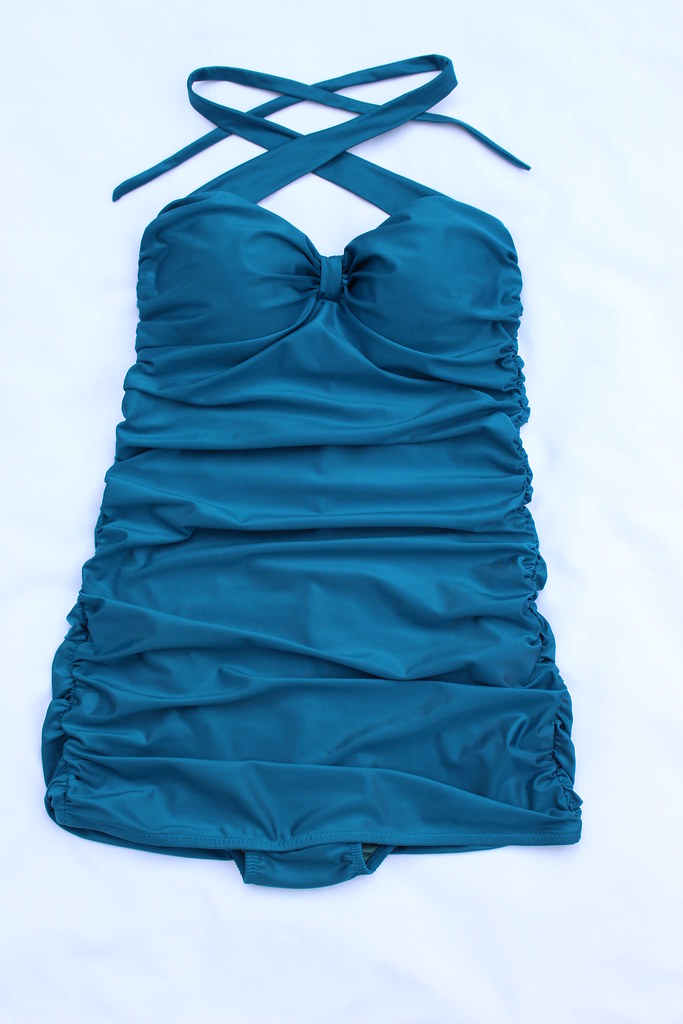
Bombshell Bathing Suit

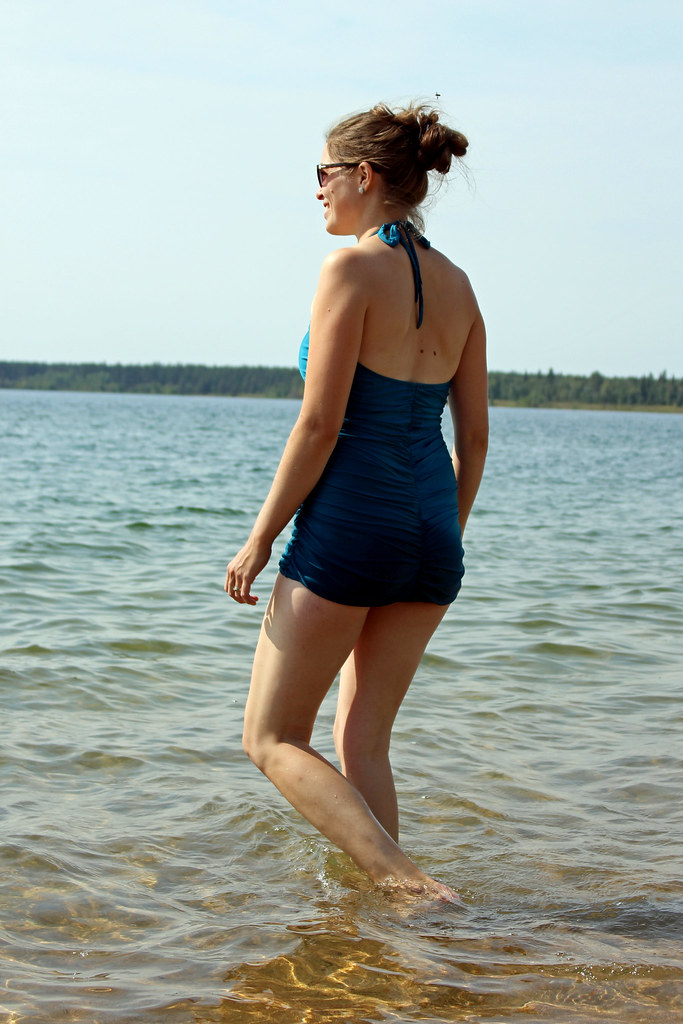
I didn't think this one would happen yet this summer, and then I had an unexpected whole free day before our lake vacation. I printed and assembled the pattern 9am and worked most of the day on it, and another hour the next evening finished it, just on time for the lake!


Details
Pattern: Bombshell Swimsuit by Closet Case Files
Fabric: Tricot Satin Matte Nylon Spandex
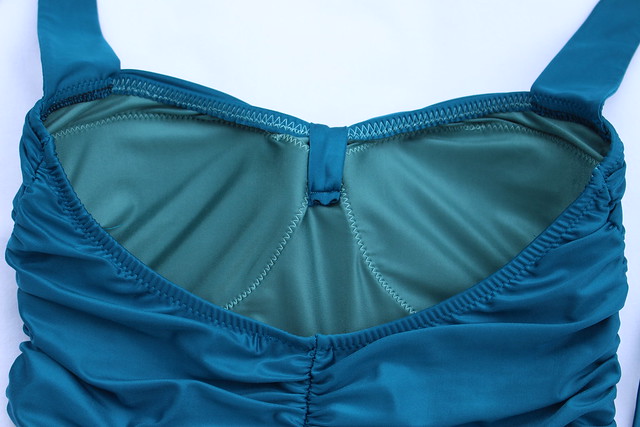
Lining: Satin Milliskin Nylon Spandex Lining, both from Girl Charlee (referral link)
Size: 12 waist/hips, tapering to 10 at the bust


Mods: I added 1.5" in length to both front and back to accommodate my long torso. Also used 80% negative ease on the elastic around the top of the suit and on the front "skirt" part to keep from gaping. Inside I added cups from a cheap bikini.


Fits perfectly - first swimsuit ever to fit so well! I was so impressed with the pattern and directions and the sewalong covers any point that needed clarification.


The fabric was amazing to sew with - now I know this suit pattern works on me, I may just need to stock up on some more colours from Girl Charlee! I could see a bright red one, black, gray....

Thursday, August 14, 2014

Raindrop Tee & giveaway

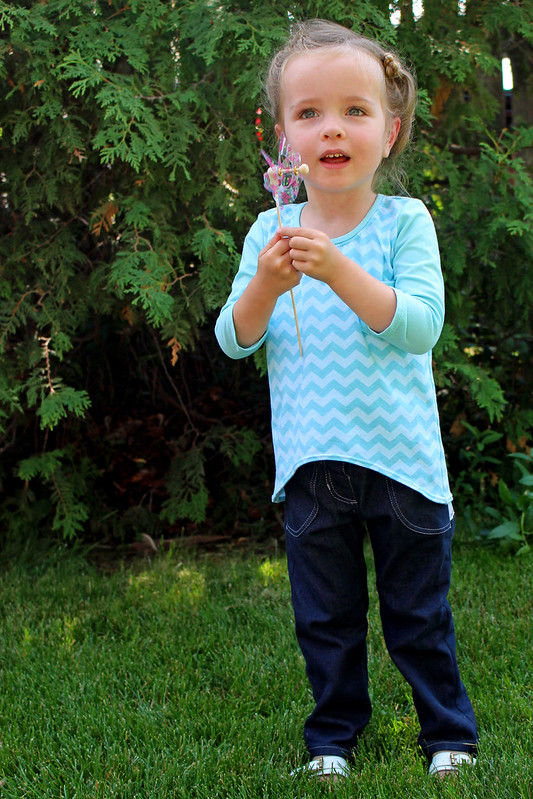
Gracious Threads has a new pattern - the Raindrop Tee! I was able to test the pattern for Jess.


The first one I did is in Riley Blake's jersey (95% cotton, 5% spandex). This fabric sews up like a dream! It has great recovery and drape.


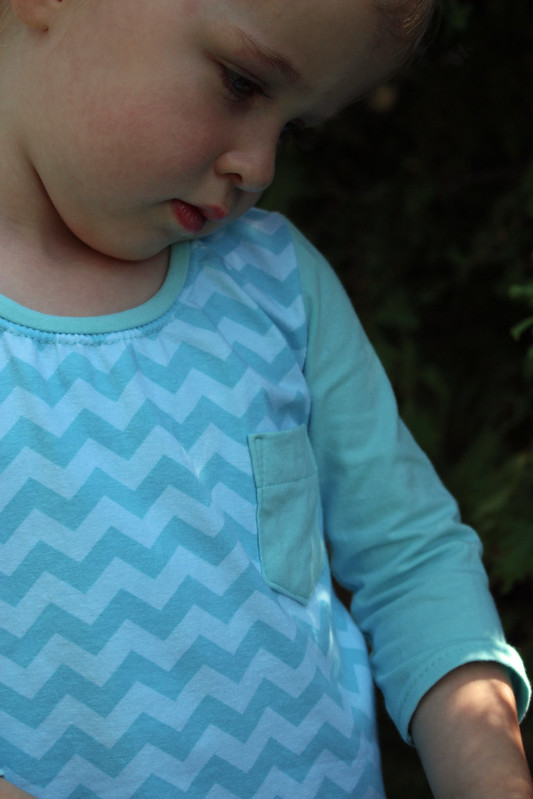
Styled with her Titchy Threads Skinny Jeans, which finally fit her (though still not really skinny). The teeny pocket is a fun detail that my sweetie loves!


The Raindrop Tee has great, clear instructions for applying the neck binding - I still managed to mess it up a bit. After washing, the neckline binding puckered up a bit. I guess I should have used a little more length there. It's still wearable though.


Doesn't it have the prettiest profile? The hi-lo hem is just perfect. I chose to do the 3/4 length sleeves. The pattern also comes with a short sleeve option.


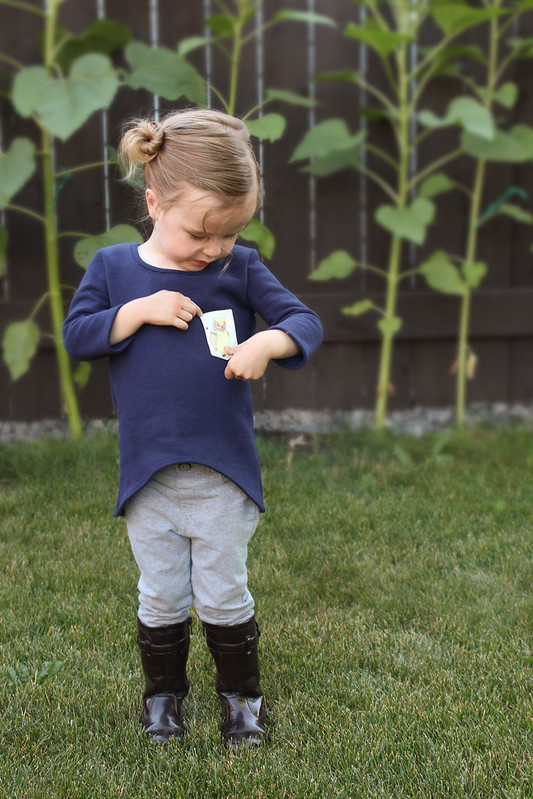
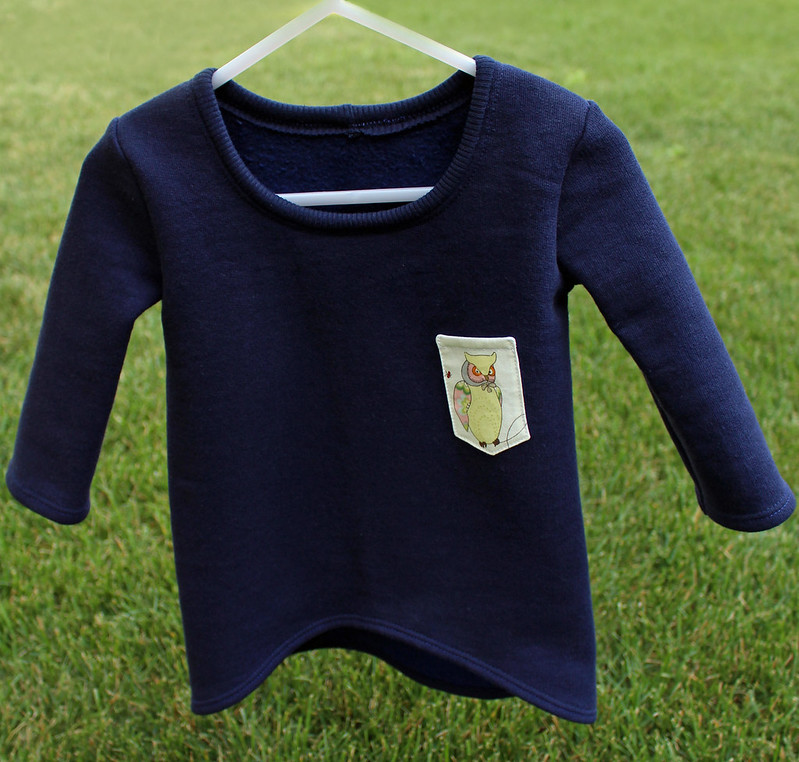
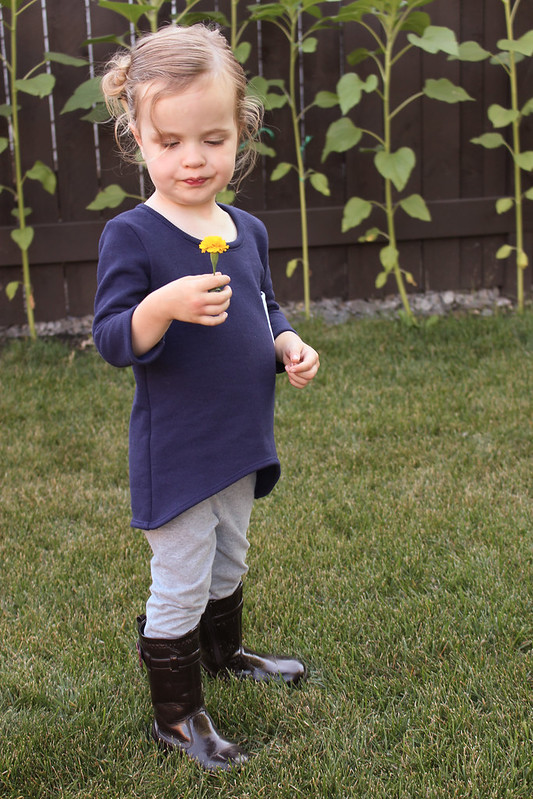
This one is sweatshirt fleece. It actually has an interesting story: My family moved out of province when my younger sisters were toddlers. A lady in the community had cut out sweaters for them and could not finish them before we left. She gave the cut pieces to my mom. They ended up sitting on the shelf the last - oh - 15 years? when my mom gave the pieces to me. They were just big enough for me to re-cut into a Raindrop Tee for my daughter!


Loving the pocket again! She chose the owl print for the pocket. I cut a lining for the pocket out of white cotton so it would be sturdier and not see-through.


Thinking this one will be perfect for fall with the heavier fabric and elbow-length sleeves.


Jess is giving away a copy of the pdf print at home pattern for the Raindrop Tee! It's also available on Etsy and Craftsy.


a Rafflecopter giveaway