Monday, April 8, 2013

Mod Dots Pleated Dress

pattern: Pleated Dress by Leila & Ben
size: 12months
materials: cotton blend outer, quilting cotton lining, poly resin snaps, purchased piping


Sorry for the blur - she never stops moving!

Fun pattern, once again! The fabric is leftover from my sewing room curtains. It has a fault every so often - the pocket and the tag are covering the two that were on this length of fabric!  The piping was a bear to get in nicely... I could not figure out how to do square inside corners without having it bench out. Oh, well...  Buttonholes refused to work evenly on this because of the bulk of the piped edge, so I did snaps instead. Abigail is in size 1T or 18mo now, so I'd say this pattern fits a little on the large size.


Monday, March 25, 2013

Peasant Blouse + Elastic Smocking Technique

Abigail needed a white blouse to wear until summer, under all her pretty dresses. I took my trusty peasant dress pattern (Sweet Little Dress by Leila & Ben) and adapted the 2T size into a blouse/tunic top for her.  No sense buying more patterns!


I used a remnant of dotted cotton voile that I found last week - I bought 4 remnants for $3.80, so this is a really cheap top!   These were my mods.  I held the body and sleeve pattern pieces against Abigail to see how long I wanted each to be and made a new pattern piece. I tapered the sleeve down a little instead of just drawing lines straight down to a cuff.


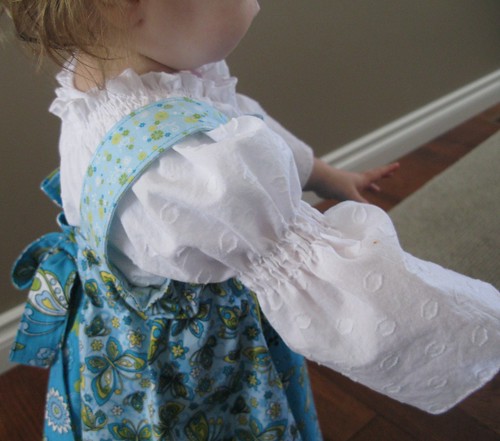
Then I sewed the raglan seams and finished the neck edge.  I did a rolled hem on my serger at the neck.  I tried the "normal" way to shirr with elastic thread, but somehow the top thread kept getting sewn through the elastic thread, so it was not possible to adjust the fullness at all.  So instead I zigzagged over the elastic thread with a narrow, long stitch length and normal thread.  I did three rows on the neck, about 3/4" in from the hemmed edge.  Then I sewed the underarm seams, finished the sleeve edges and hem of the blouse, and smocked the sleeve.  Here are some more detailed photos of the elastic shirring on the sleeves:


I used an erasable marker to mark in from the sleeve edge 6" every few inches.  I took the flatbed attachment off my sewing machine so I could fit the sleeve over it, then started zigzagging over the elastic thread, being careful not to catch it in my stitches.  When I came back around the sleeve to where I'd started, I jogged over and continued a second row 1/4" away from the first row.  Altogether I sewed three rounds, then tapered the last little bit back in toward the last row. I tied off the threads in the inside, and then pulled up the elastic to adjust the shirring evenly.  After tying the ends of the elastic thread together, I trimmed the ends to 1/2".

I was afraid it would be too "blousey", so I did two rows of smocking at the waist too.  This summer as she grows, I will trim the sleeves off an inch below the smocking and then it can be a summer blouse!

Monday, March 18, 2013

Woodland Insa skirt

I have been hanging on to this set of fat quarters for a very long time! I bought them with Abigail in mind, but could not decide on a pattern - I wanted to use all five fabrics, and I wanted the patterns to show well.  Finally figured out I could just squeeze an overskirt and underskirt of the Insa skirt out of each of four prints, and then the yoke and ruffle out of the fifth!


Details:
Fabric: Fabric Palette (Walmart)
Pattern: Insa Skirt from the book Sewing Clothes Kids Love
Size: 18mo-2T (smallest size)
Trims: grosgrain ribbon
 
It can be worn any direction, but the brown panel to front is my fave!   Back view:


Detail:

Friday, March 1, 2013

Another tutu!


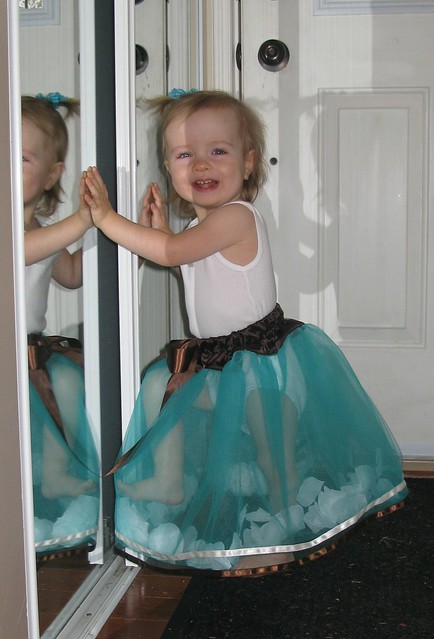
This one is a bit large... I figure if I keep going like this, I'll have a range of sizes for dress-up things!  I followed the tutorial here for a filled tutu, hemmed the two outer edges with ribbon, added a waistband and elasticated ribbon similar to this tutorial here.


Lots of fun!  Tricia came over last night and she made pink and yellow filled tutus.


And we barely made dent in the bolts... hmmm - what besides tutus can you use hundreds of yards of teal, beige, pink and yellow tulle for??


Saturday, February 23, 2013

What's on the go:

- My wonky stars quilt (my first foray into quilting, inspired by Jenny!). At the quilt retreat a few weeks ago I finally got the top pieced together. This week I hand-stitched around all the stars with variegated thread, about the weight of embroidery floss.  Next up: I want to echo-quilt in white around all the stars.


- Pink square in a square (not sure on the name!) quilt. I have so much pink!  All from stash.  These blocks went together so fast! I chain-pieced just a couple at a time, during naptimes.  I'll probably move them around a bit more before sewing them together.


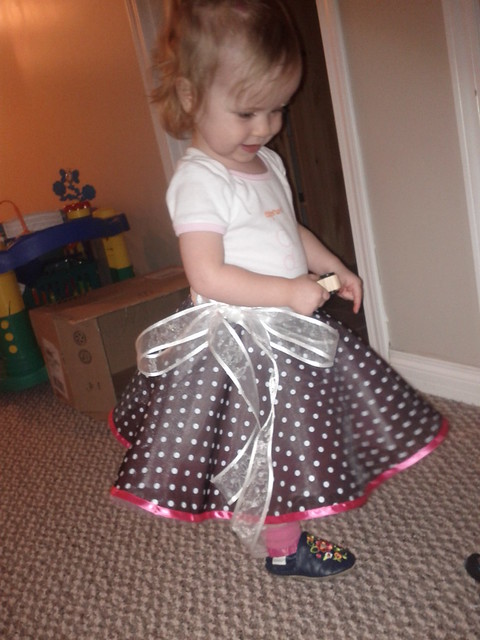
And one finished item!  My sister gave me a couple of bolts of tulle, and I had this black/white polkadot organza on the shelf from another project.  I'll be posting a tutorial for this circle skirt style tutu.  (excuse my crummy photos and bad lighting today!)  This has been nearly done for several weeks - today I finally had time to sew the ribbon on the hem.


Wednesday, February 20, 2013

A Scrappy Trip Around the World!

Finished!  I finally managed the free motion loops borders at a quilt retreat my friend organized a couple weeks ago - I think my machine behaved because it was intimidated by all the nice machines there!  My first large machine quilted quilt!  A learning process, for sure - I learned the importance of scant 1/4" seam allowances and accurate cutting, that using some cotton/poly blends is not the best idea, how to add borders and piece a backing, how to make a quilt sandwich, how to wrestle a large quilt through a domestic machine, how to free motion quilt swirls (though somewhat unevenly), how to add a label to the back...


Closeup:


Back:


And here are some interesting numbers for my quilt:

quilt top before quilting/binding: 53"x77"
number of blocks: 24
number of 2" finished squares: 864
total yardage used = 8yds:
- [24 blocks x 6 strips (144) @ 2.5"x16"] 4 yards (counting fabric at approx 40" wide, 16 2.5" wide strips can be cut side by side in one full width. 144/16=9 lengths of 16", so 144", which is 4 yds exactly)
- backing and binding = 4 yds

All the fabric is from my stash!  The biggest part of it, mostly "ugly" fabrics. The batting is part of a queen I bought for $14, and maybe a couple dollars on thread, so this quilt cost me maybe $10-12?


Sunday, February 3, 2013

Bunny doll quilt & bedding

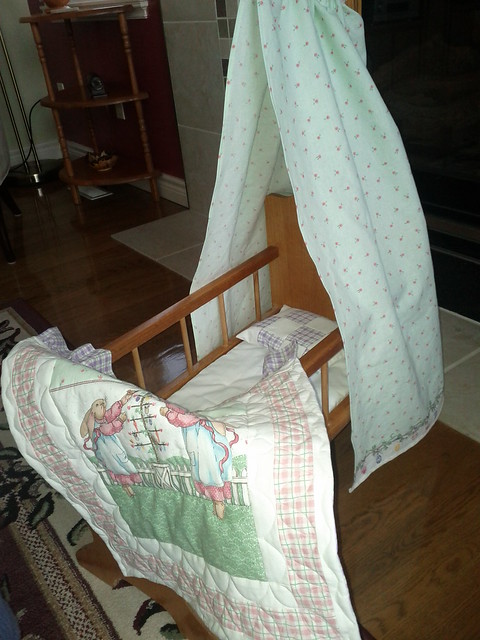
My inlaws pulled out my SILs old doll cradle for Abigail to play with at their house.  They also bought a doll for her for there.  The only problem: the cradle didn't have bedding anymore.  No longer a problem:


My MIL had also given me a stack of fabric, among which was this Daisy Kingdom fabric.  The bunnies I cut from a dress or pinafore panel, and the pale green with roses is the rest of the panel.  The wavy plaids are also Daisy Kingdom and coordinate great.


I made a simple white mattress with some poly batting inside, a set of tapered canopy curtains from the end of the dress panel, a patchwork pillow, and a little quilt.  The quilt was fun!  It was a fun chance to try my free motion foot again.  I did several different borders - a random wavy one, an orange peel design, and spaced scallops.  Then I outlined the bunnies and fence post and a few things...


Here is a close-up of some of the borders WIP. My machine actually had no problems doing free motion quilting this time!!  The only issue here is my unsteady hands.  By the time I was done the third border I felt like I was finally getting it!